Wood finishes explained: oil, wax, varnish, polyurethane and stain
How oils, waxes, varnishes, polyurethane and stains differ, which suit indoor or outdoor wood, and how to prepare and apply them for an even, lasting finish.
The finish decides how a piece of wood looks, how well it copes with spills, sun and rain, and how easy it is to repair. Shelves of tins labelled oil, varnish, polyurethane and stain don't make the choice easy, and some products do quite different jobs. This guide explains the main types, which ones suit indoor and outdoor wood, and how to apply them well.
Two families: penetrating and film-forming
Almost every clear finish falls into one of two groups:
- Penetrating finishes (oils and some oil blends) soak into the surface and harden inside the wood. They look natural, feel like wood and are easy to touch up, but they protect less against water, heat and scratches.
- Film-forming finishes (varnish, polyurethane, lacquer, shellac) build a hard layer on top. They protect much better, but when the film is damaged, it has to be sanded and recoated, and outdoors it can crack and peel.
Stain sits apart: it changes the colour of the wood but gives little or no protection by itself, so it is usually followed by a clear finish.
| Finish | Protection | Look | Repair | Typical use |
|---|---|---|---|---|
| Oil (linseed, tung, Danish) | Low to moderate | Natural, low sheen | Easy: wipe on more | Furniture, turned items, worktops (with care) |
| Hardwax oil | Moderate | Natural, satin | Easy, spot repairs | Floors, tables, worktops |
| Wax | Low | Soft sheen | Easy | Over other finishes, low-use pieces |
| Shellac | Moderate (not heat or alcohol) | Warm, glossy | Easy | Sealer coat, traditional furniture |
| Varnish / polyurethane | High | Satin to gloss | Sand and recoat | Tables, floors, doors, cabinets |
| Exterior varnish (spar/yacht) | High, flexible | Gloss or satin | Sand and recoat | Outdoor doors and trim |
Oils: natural look, easy upkeep
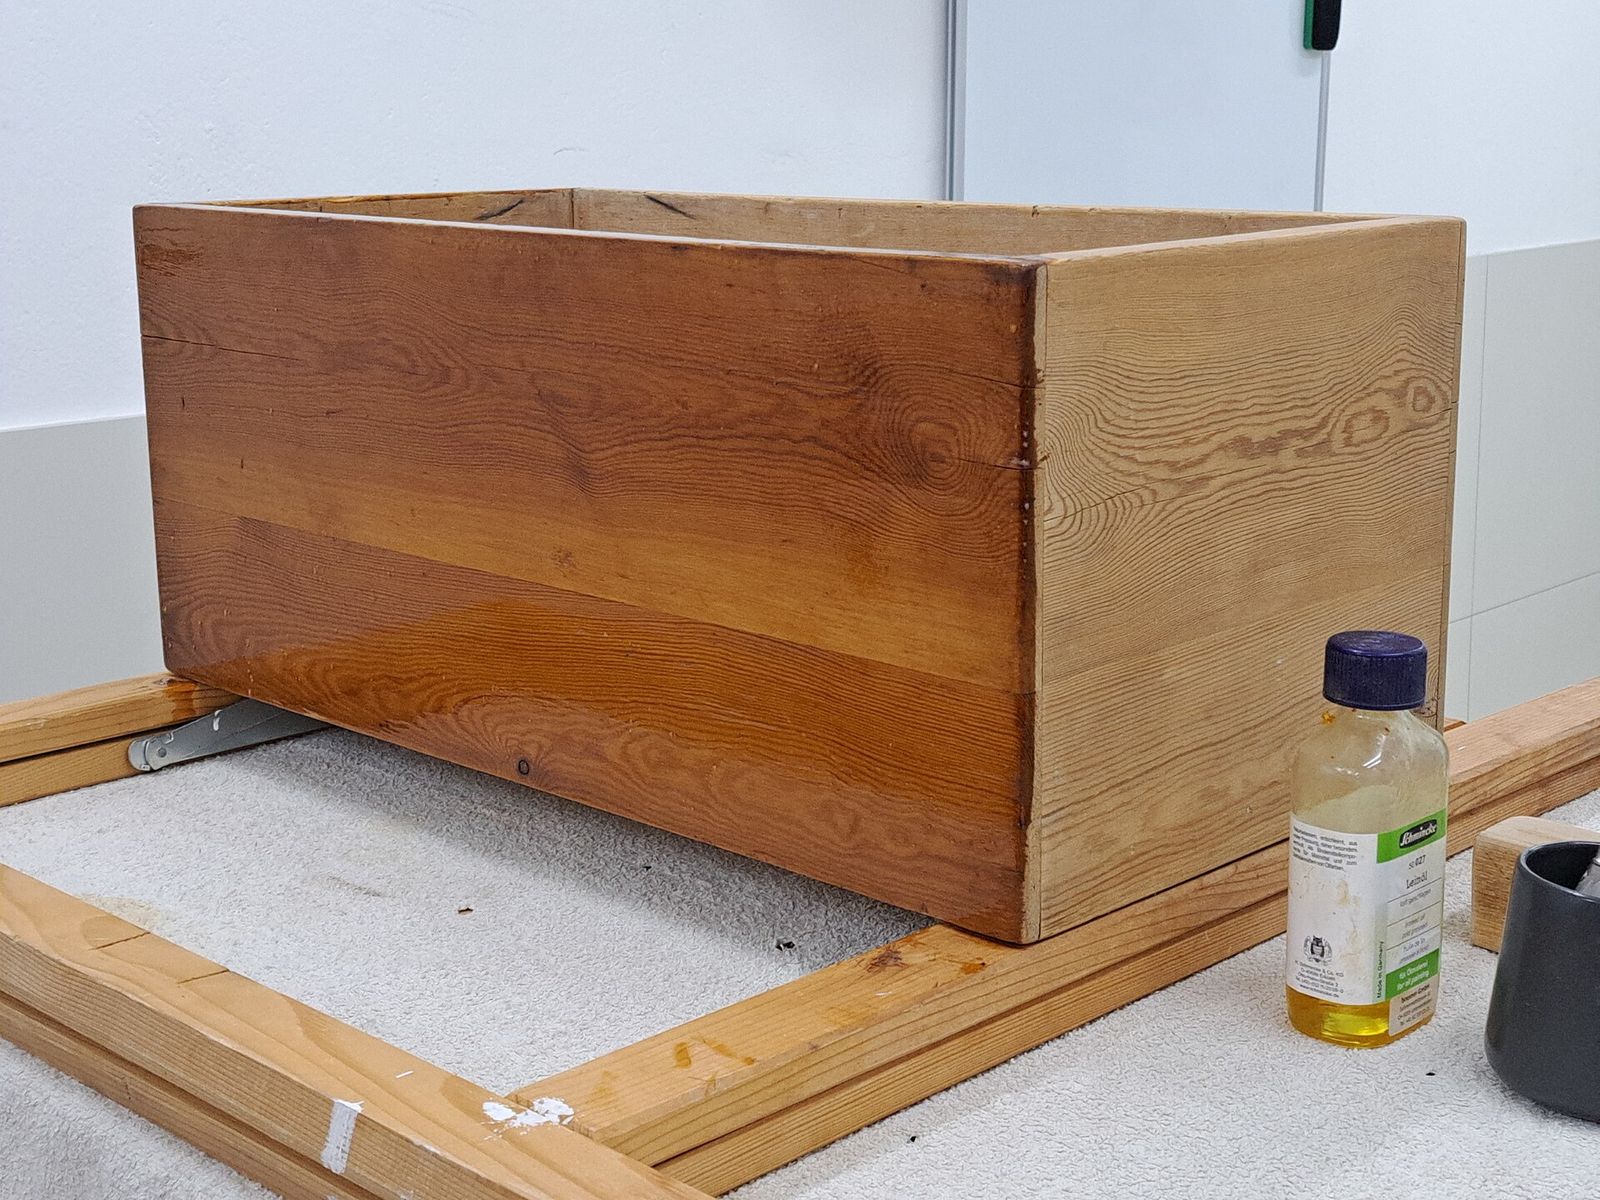
Boiled linseed oil contains driers so it hardens far faster than raw linseed oil, but still slowly; it gives a warm, amber tone. Pure tung oil dries to a slightly harder, more water-resistant finish but needs many thin coats and days between them. Danish oil and similar "finishing oils" are blends of oil, varnish and solvent: easy to wipe on, quicker to build and a little tougher than oil alone.
Hardwax oils combine oils with waxes and are popular for floors and tabletops: they penetrate, leave a satin surface, and worn areas can be refreshed without sanding the whole piece.
Safety: rags soaked in drying oils such as linseed or tung oil can heat up and catch fire on their own as they cure. Lay them flat outdoors to dry, or put them in a sealed metal container with water, and follow the disposal advice on the tin.
Wax and shellac
Paste wax gives a soft sheen and a pleasant feel but very little protection against water or heat. It works best as a final layer over oil or shellac, or on low-use items such as picture frames. It isn't suitable outdoors.
Shellac is a natural resin dissolved in alcohol. It dries in minutes, adds warmth and is an excellent sealer coat under other finishes, especially over resinous knots or blotchy woods. Spilled alcohol and heat mark it, so it's not ideal for kitchen tables on its own.
Varnish and polyurethane: the tough coat
Varnish is a hard, clear film. Polyurethane is a kind of varnish and the most common choice for tables, floors and cabinets because it resists scratches, water and household chemicals well.
- Oil-based polyurethane adds an amber glow that deepens over time, builds quickly and is very durable. It dries slowly and has a strong smell.
- Water-based polyurethane stays clearer (good over pale woods such as maple and birch, or over white paint), dries fast and has less odour. It may need an extra coat to match the build of oil-based.
- Sheen (matt, satin, semi-gloss, gloss) is a matter of taste; matt and satin hide dust and small scratches better.
Floor finishes are formulated for heavier wear; use a product made for floors if that's your project. Lacquer is a fast-drying film finish usually sprayed; see our guide to paint sprayers if you plan to spray.
Stains: colour, not protection
Stains come in two main types:
- Pigment stains lodge in the pores and scratches, so they emphasise grain and are easy to control.
- Dye stains soak in evenly and give clearer, more vivid colour.
Softwoods such as pine and some hardwoods such as cherry, birch and maple often blotch, taking stain unevenly. A wood conditioner, a thin wash coat of shellac, or a gel stain helps. Always test stain on an offcut of the same wood, finished with the same top coat, because the clear coat changes the colour too. Make sure the stain and the top coat are compatible (oil-based under oil-based, or as the maker allows).
Indoor or outdoor
Outdoors, wood faces sun, rain, frost and constant swelling and shrinking. That changes the choice:
- Penetrating exterior oils and stains for decks, fences and garden furniture don't peel; they fade and need a fresh coat regularly, often every year or two, but recoating is quick.
- Film finishes outdoors must be flexible and contain UV absorbers, such as spar or yacht varnish. Ordinary interior polyurethane tends to crack and peel in full sun.
- Exterior wood stains range from semi-transparent (grain shows, more frequent recoating) to solid colour (closer to paint, longer lasting).
- For teak and similar hardwood furniture, see our guide to patio furniture materials.
Indoors, the question is wear. A dresser can take oil or wax; a dining table, kitchen worktop or floor usually needs polyurethane or a hardwax oil. For items that touch food, such as chopping boards and salad bowls, many people use food-grade mineral oil or a product sold as food-safe; check the label for food-contact suitability.
Preparing and applying the finish
Most finish problems start before the tin is opened.
- Sand evenly. Work through the grits without skipping; for most finishes, stopping around 180 to 220 grit is enough. See our guide to sander types and grits.
- Remove all dust with a vacuum and a slightly damp or tack cloth.
- For water-based finishes, wipe the bare wood with a damp cloth, let it dry and sand lightly: this raises and removes the grain so the finish stays smooth.
- Apply thin coats. Wipe oil on and wipe off all the excess after the time on the label. Brush varnish along the grain with a good brush; our guide to brushes and rollers explains which suits which finish.
- Sand lightly between film coats with a fine abrasive (around 320 grit) once dry, then remove the dust.
- Let it cure. A finish can be dry to the touch in hours but take days or weeks to reach full hardness. Go easy on tables and floors at first.
Temperature and humidity affect drying, so read the label and work in a ventilated space. Many finishes give off fumes; wear suitable gloves and a respirator where the maker advises it.
The short version
- Oil for a natural feel and easy repairs; hardwax oil for more durable surfaces.
- Polyurethane for tables, floors and anything that sees spills; water-based to stay clear.
- Stain only adds colour; test it and top-coat it.
- Outdoors, use exterior oils, stains or spar varnish, and expect to recoat.
- Sand, clean and apply thin coats, and dispose of oily rags safely.
Bloiq is reader-supported. Some links may earn us a commission; it never affects what we write. How we make money.
Cover photo: Ylænelle, CC BY-SA 4.0, via Wikimedia Commons