Angle grinders: disc sizes, disc types, guards and kickback safety
How to choose an angle grinder size, which disc to fit for cutting, grinding or masonry, how guards and switches protect you and how to avoid kickback.
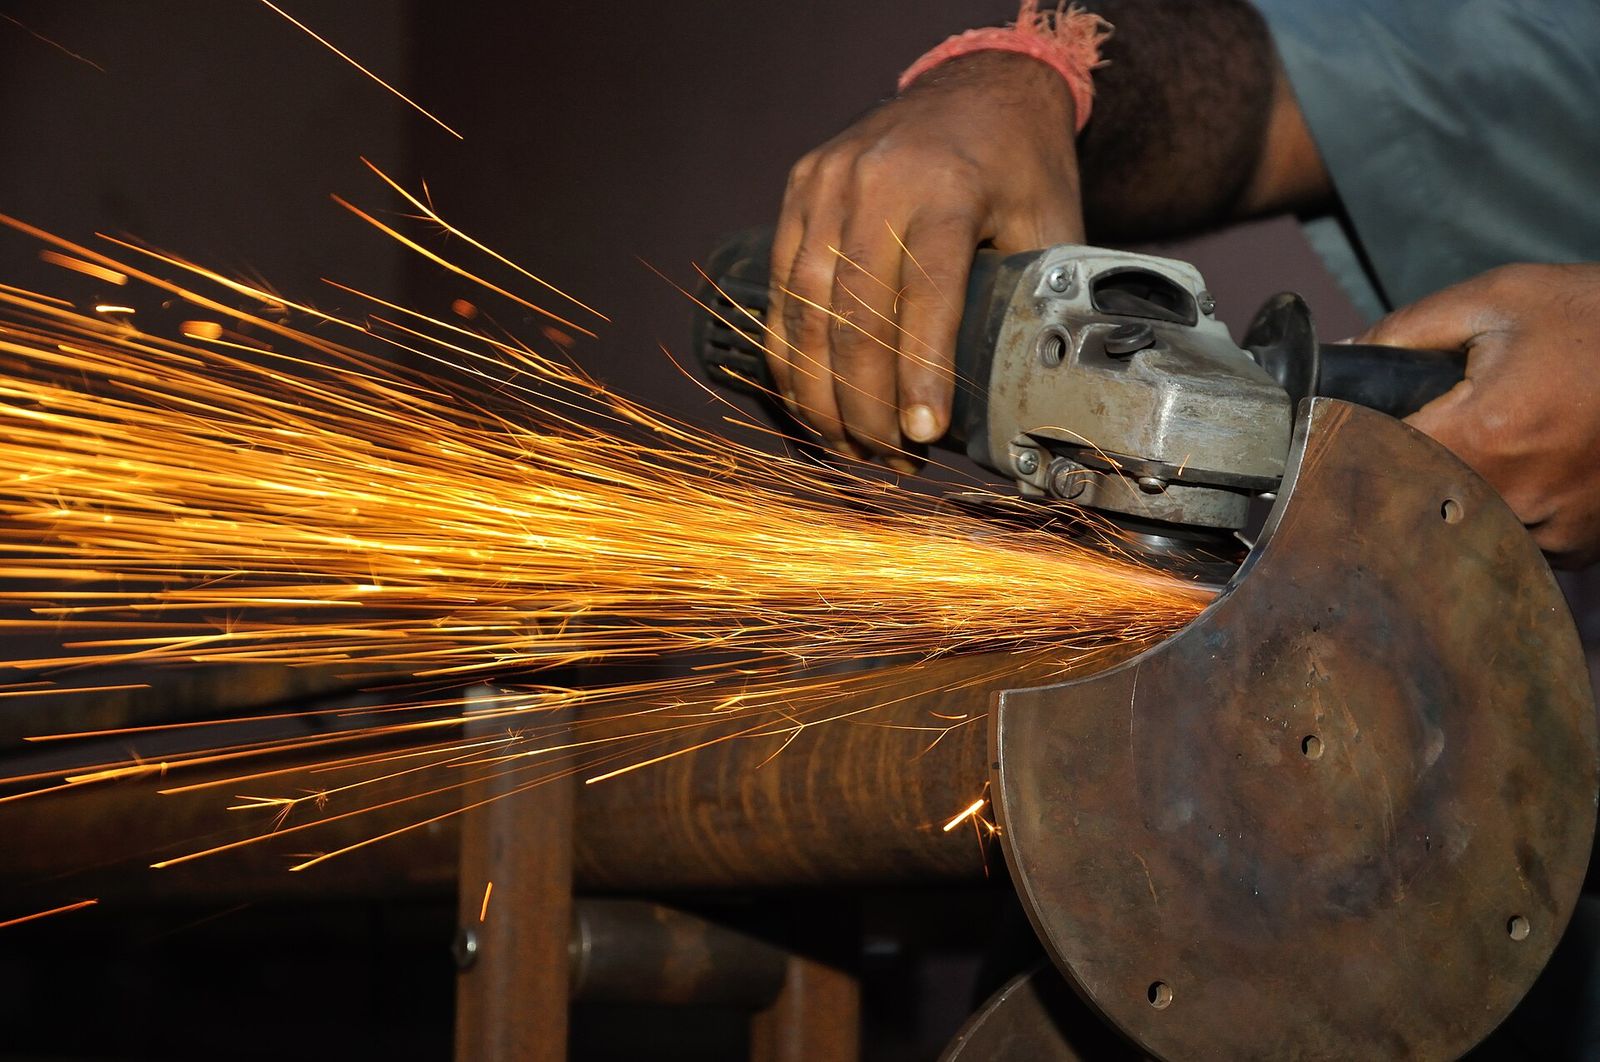
An angle grinder is one of the most useful tools in a workshop: it cuts steel, removes rust, cleans welds, sharpens blades and slices through tile and paving. It's also one of the most dangerous, because a disc spinning at over 10,000 rpm doesn't forgive mistakes. This guide explains sizes, disc types and safety features, and the handling habits that prevent most accidents.
Sizes: what the disc diameter tells you
Angle grinders are named by the largest disc they take:
| Size | Typical use |
|---|---|
| 4-1/2 in (115 mm) | Light DIY, small cuts, rust removal; the lightest and easiest to control |
| 5 in (125 mm) | The most popular all-rounder; a little more cutting depth |
| 6 in (150 mm) | Heavier grinding and cutting |
| 7 in and 9 in (180 and 230 mm) | Two-handed, heavy tools for thick steel, paving and masonry |
Smaller grinders spin faster and are much easier to handle. For most DIY users, a 4-1/2 or 5 in grinder covers almost everything. The larger sizes have much more torque and a stronger reaction if the disc catches, so they're best left to experienced users.
The spindle thread differs by region: 5/8-11 UNC in North America and M14 in much of the rest of the world. Discs themselves usually have a standard 7/8 in (22.23 mm) bore, but threaded accessories such as cup brushes must match your spindle.
Disc types and what they're for
Discs are often described by a "type" number that indicates their shape:
- Type 1 / Type 41 (flat) cut-off wheels. Thin discs for cutting steel, bolts, rebar and sheet metal. Very thin (around 1 mm) discs cut fast and cleanly but are fragile. Cut with the edge only, never grind with the face of a cutting disc: side pressure can shatter it.
- Type 27 (depressed centre) grinding wheels. Thicker discs for grinding welds, bevelling edges and heavy material removal, used with the face of the disc at a shallow angle, roughly 15–30°.
- Flap discs (Type 27 flat or Type 29 conical). Overlapping abrasive flaps that grind and finish in one step, leaving a smoother surface than a grinding wheel. Available from coarse (around 40 grit) to fine (around 120). A good first disc for rust, paint and weld clean-up.
- Wire wheels and cup brushes. For rust, scale and old paint. Twisted (knotted) wire is aggressive; crimped wire is gentler. Loose bristles fly off, so eye and face protection is essential.
- Diamond blades. For tile, stone, brick, paving and concrete. Segmented rims cut fast and cool; continuous rims cut cleaner edges in tile; "turbo" rims are a compromise. For lots of tiling, see our guide to tile saws and tile tools.
- Specialist discs such as strip discs for paint removal and polishing pads (which need a variable-speed grinder).
Always match the disc to the material: discs are labelled for metal, stainless steel (inox) or stone and masonry.
Rule: the maximum speed printed on the disc must be at least as high as the grinder's no-load speed, and the disc must be the right diameter for the guard.
Don't fit toothed wood-cutting blades or saw-chain discs to an angle grinder unless the grinder's manufacturer specifically approves them. They're a well-known cause of severe kickback injuries.
Check discs before fitting them: discard any that are cracked, chipped, damp or have been dropped. Resin-bonded abrasive discs age, and many are printed with an expiry date; don't use them past it.
Guards and handles
The guard is there to deflect fragments if a disc breaks, and to direct sparks away from you. Keep it fitted, and position it between the disc and your body.
- A standard grinding guard covers half the disc from behind.
- For cut-off work, many manufacturers supply or recommend a cutting guard that encloses both sides of the disc more fully, giving better protection if a cutting disc shatters. Check your manual.
- Tool-free adjustable guards make it easy to reposition the guard rather than remove it.
The side handle should always be fitted. Two hands on the grinder give you control if the disc catches.
Switches and electronic safety features
- Paddle switch (often with a lock-off): the grinder stops when you let go. It's the safer choice for most users.
- Slide switch with lock-on: convenient for long jobs but keeps running if you drop the tool.
- Kickback control / electronic clutch: cuts power when the disc suddenly stalls or the tool jerks.
- Restart protection (no-volt release): the grinder won't restart by itself after a power cut or when a battery is fitted with the switch on.
- Soft start: reduces the jolt when the motor starts.
- Electronic brake: stops the disc within a few seconds instead of letting it coast.
- Variable speed: useful for flap discs, wire brushes and polishing.
Cordless grinders are now common and convenient, particularly with brushless motors; they draw a lot of current, so larger battery packs work best. See our guide to cordless battery platforms.
Understanding and avoiding kickback
Kickback happens when the disc is suddenly pinched or snagged. The disc stops, and the motor's force throws the grinder towards or away from you, sometimes violently.
Common causes and how to avoid them:
- Pinching in a cut. Support the work so the cut opens as you go, not closes. Don't cut in the middle of an unsupported span.
- Snagging on edges and corners. Take particular care at corners and sharp edges, and avoid letting the disc bounce or catch on them.
- Twisting a cutting disc in the cut, or trying to cut curves with it.
- Forcing the tool. Let the disc reach full speed before it touches the work, and let the disc do the cutting.
- Wrong stance. Stand to one side of the disc's plane, not directly behind or in line with it, with a firm footing and both hands on the tool.
Safety essentials
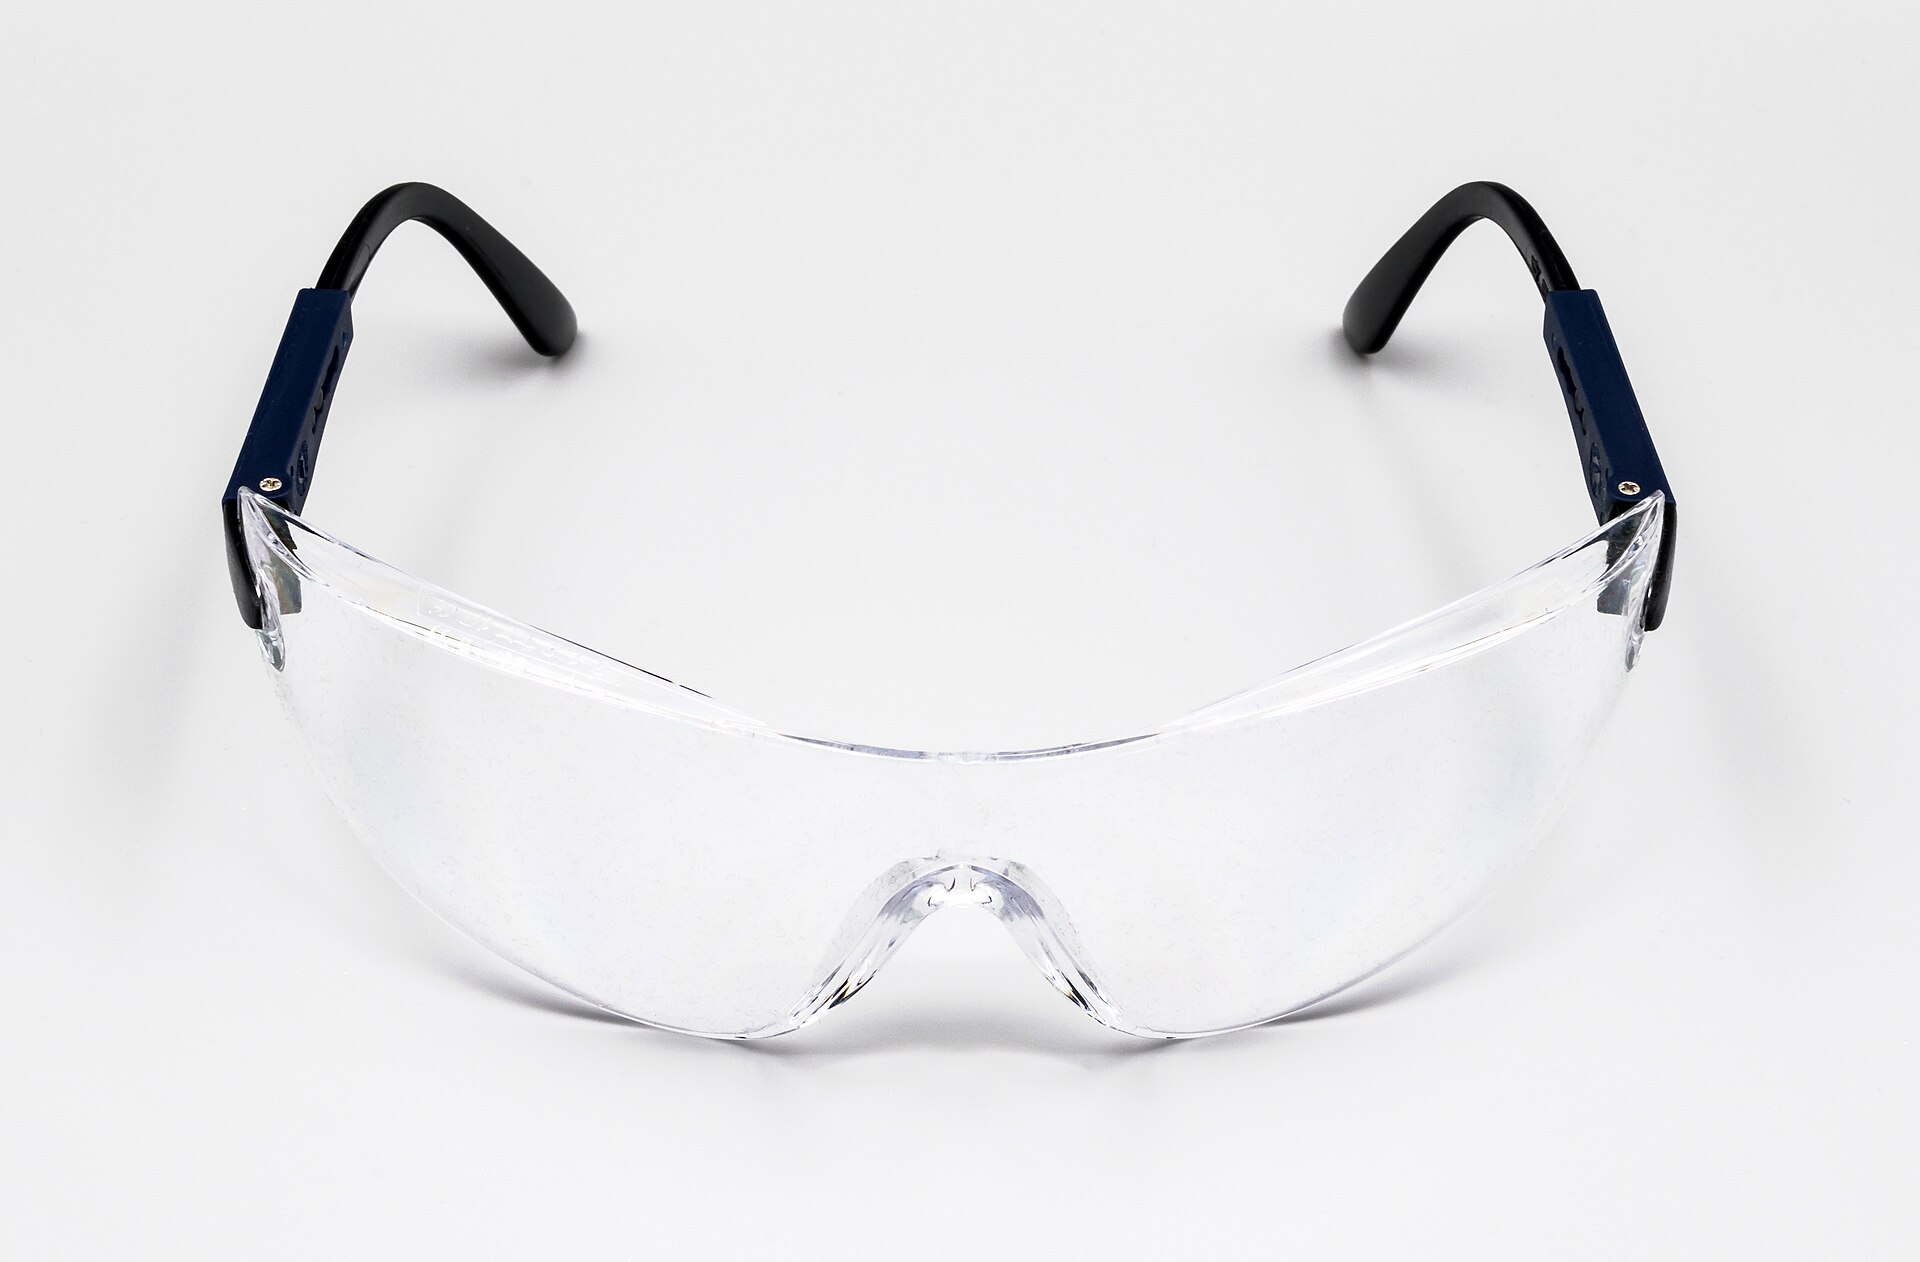
- Face and eyes: safety glasses plus a full face shield.
- Hearing protection: grinders are very loud.
- Gloves and clothing: leather gloves and close-fitting, non-synthetic clothing with sleeves down. Nothing loose that can catch.
- Clamp the work securely in a vice or with clamps. Never hold small pieces by hand.
- Sparks start fires. Clear flammable materials, keep an extinguisher nearby, and check the area afterwards, as smouldering can start later.
- Dust: cutting or grinding concrete, stone, brick and tile releases crystalline silica, which causes serious lung disease. Use water suppression or a shroud connected to a suitable extractor, and wear a respirator rated for fine dust. See our guide to wet/dry shop vacuums for dust classes.
- Disconnect power before changing discs, and only use the spindle lock when the disc has stopped.
- Keep bystanders away, and let the disc stop completely before putting the grinder down.
If you're also learning to weld, a grinder is the essential companion tool for preparing and finishing joints; see our guide to choosing a first welder.
The short version
- 4-1/2 or 5 in suits almost all DIY work.
- Flap discs for rust and weld clean-up, thin cut-off discs for cutting steel, diamond blades for tile and masonry.
- Disc speed rating must meet or exceed the grinder's speed; discard damaged or expired discs.
- Keep the guard and side handle on, and prefer a paddle switch with kickback control and restart protection.
- Clamp the work, stand aside, wear a face shield and control sparks and dust.
Bloiq is reader-supported. Some links may earn us a commission; it never affects what we write. How we make money.
Cover photo: Biswarup Ganguly, CC BY-SA 3.0, via Wikimedia Commons