Choosing your first welder: flux-core, MIG, stick or TIG?
The four welding processes compared, plus what 120 V versus 240 V, amperage, duty cycle and multi-process machines mean for a first-time buyer.
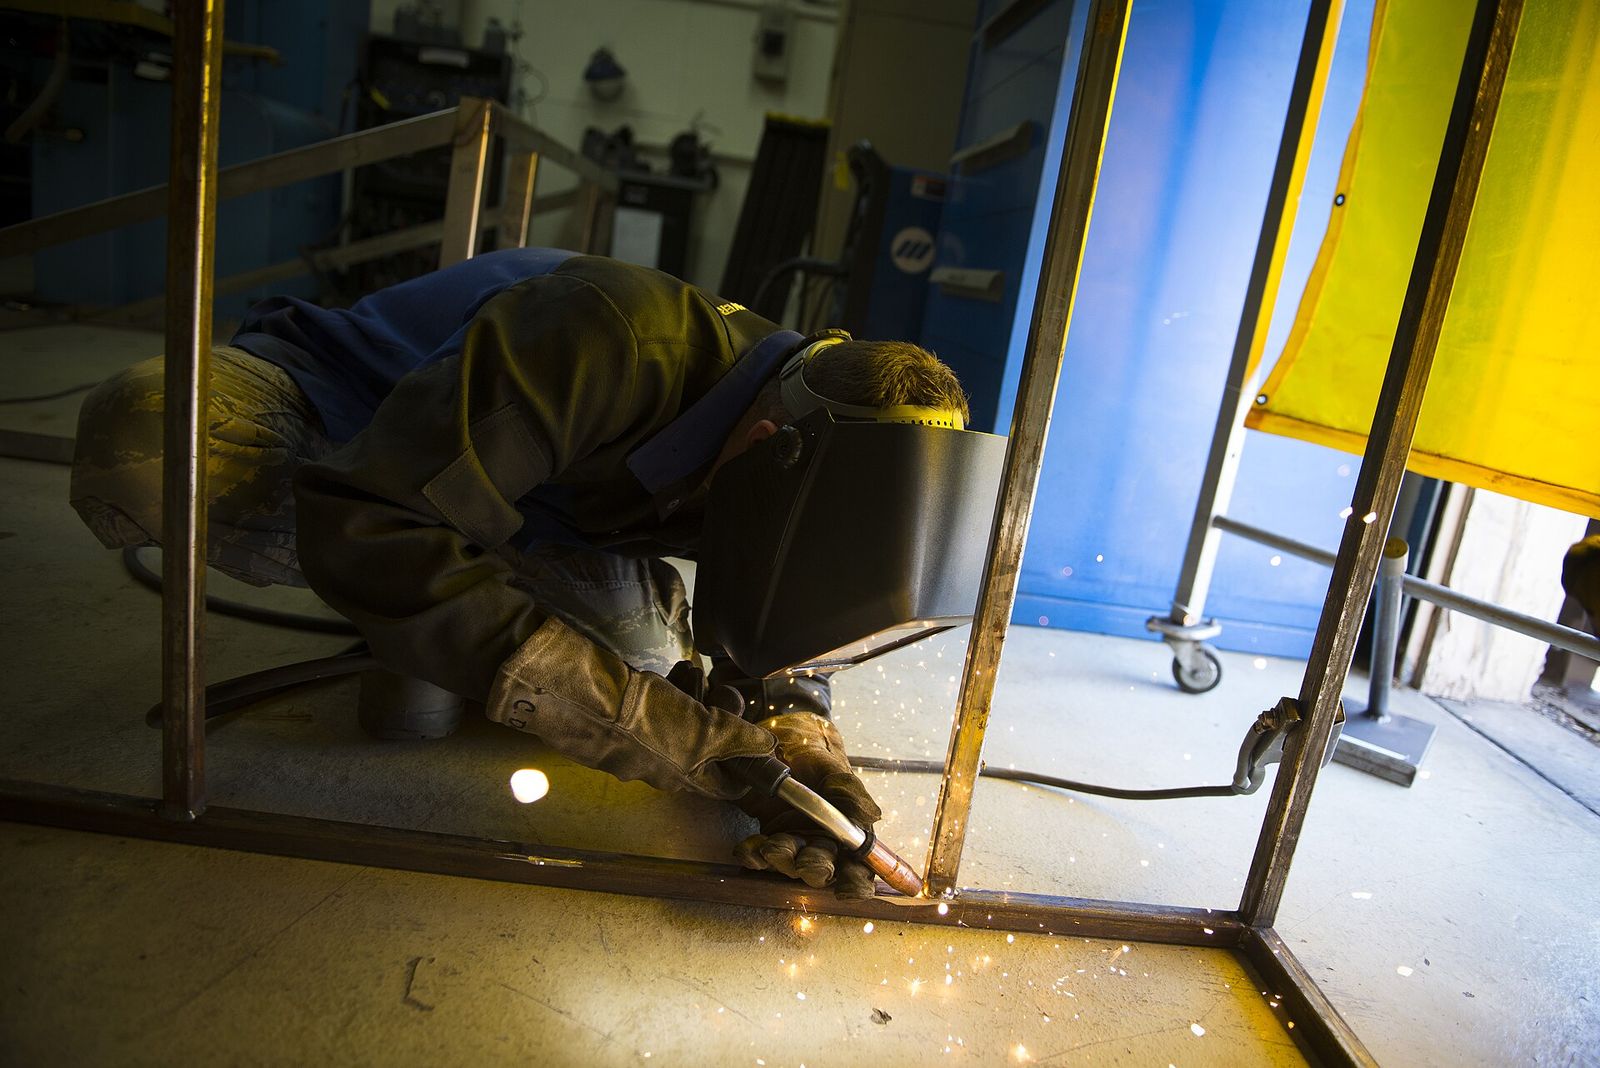
Learning to weld opens up a lot of projects, from repairing gates and trailers to building furniture and workshop benches. The hard part is often choosing the first machine: there are four main processes, several power options and spec sheets full of amps and percentages. This guide explains how the processes differ, what the numbers mean and what safety gear you need before you strike your first arc.
The four processes at a glance
| Process | Shielding | Ease of learning | Best for | Main drawbacks |
|---|---|---|---|---|
| Flux-core (FCAW) | Flux inside the wire; no gas | Easy | Mild steel, outdoors, rusty or painted metal | Spatter and slag to clean; harder on thin sheet |
| Gas MIG (GMAW) | Bottled gas | Easiest | Clean welds on mild steel and thin sheet | Needs a gas cylinder; wind blows the gas away |
| Stick (SMAW) | Flux coating on the rod | Harder | Thick, dirty or rusty steel; outdoor repairs | Tricky arc starts; slag; poor on thin metal |
| TIG (GTAW) | Bottled argon | Hardest | Precise, neat welds; stainless; aluminium with AC | Slow; needs clean metal and two-handed skill |
Flux-core and gas MIG
Both are wire-feed processes: you pull a trigger and the machine feeds a wire electrode through the torch, which makes them the quickest to learn.
Flux-core wire contains flux that shields the weld as it burns, so no gas bottle is needed. That makes it cheap to start, portable and good outdoors, where a breeze would blow shielding gas away. The trade-offs are more spatter, a layer of slag to chip off, and fumes that call for good ventilation.
Gas MIG uses solid wire plus a shielding gas, typically an argon and carbon dioxide mix for mild steel (straight CO2 is cheaper but gives more spatter). Welds are cleaner and easier to control, especially on thin car-body sheet. You'll need a gas cylinder and regulator, and it works best indoors.
Most wire-feed machines can do both, so a common path is to start with flux-core and add gas later. Welding aluminium with a MIG usually needs a spool gun and pure argon.
Stick welding
Stick welding uses a flux-coated rod that you hold in an electrode holder. The machines are simple and inexpensive, and the process copes well with wind, rust and thick steel, which is why it remains popular for farm and field repairs.
It's harder to learn: the rod can stick when you start the arc, you need to feed it down steadily as it burns, and every weld has slag to remove. It's not the best choice for thin sheet metal. Rods such as 6013 are often recommended for beginners; 7018 is a common structural rod that needs dry storage.
TIG welding
TIG uses a non-consumable tungsten electrode and a separate filler rod fed by hand, with argon shielding. It produces the neatest, most controlled welds and is the usual choice for stainless steel, thin tube and aluminium.
It's also the slowest and most demanding process, needing clean metal and coordination between both hands and often a foot pedal. Aluminium requires an AC/DC TIG machine; DC-only machines handle steel and stainless. TIG is a rewarding second process, but most people find it frustrating as a first.
120 V or 240 V power
In North America, welders come in 120 V machines that plug into a standard household outlet, 240 V machines that need a dedicated circuit, and dual-voltage machines that do both.
- 120 V machines are limited by the household circuit. They typically suit steel up to about 6 mm (1/4 in) per pass on wire-feed, depending on the process and the manufacturer's figures. They may trip a 15 A breaker at higher settings; a 20 A circuit helps.
- 240 V machines deliver more current for thicker steel and longer welds. They need a suitable receptacle on a dedicated circuit, which should be installed by an electrician.
- Dual-voltage machines are a flexible choice if you might upgrade your wiring later.
In the UK and much of Europe, household supply is already around 230 V, so the question becomes current: many hobby machines run from a 13 A plug at lower settings, while larger ones need a 16 A or higher supply. Check the manufacturer's supply requirements before buying.
Avoid long, thin extension leads. If you must use one, choose a short, heavy-gauge lead rated for the machine's input current.
Amperage and duty cycle
Amperage controls how much heat goes into the weld. A long-standing rule of thumb for steel is roughly 1 amp per thousandth of an inch of thickness, so about 125 A for 3 mm (1/8 in) steel. Thicker metal can be welded with multiple passes and good joint preparation, but a machine's maximum output sets a practical limit.
Duty cycle tells you how long a machine can weld before it needs to cool.
Duty cycle: the percentage of a 10-minute period a welder can run at a stated amperage. A rating of 20% at 90 A means about 2 minutes of welding, then 8 minutes of rest, at that setting.
Duty cycle rises as you turn the amperage down, so always compare machines at the same amperage. A figure quoted only at a very low current flatters the machine. Most modern welders have thermal protection that stops them when they overheat. For hobby work with short welds and plenty of setup time, a modest duty cycle is usually fine.
Inverter machines and multi-process welders
Most new hobby welders are inverters: lighter, more efficient and easier to carry than older transformer machines. Many are sold as multi-process units that combine MIG, flux-core, stick and lift-arc TIG in one box.
These can be excellent value for a beginner who wants to try different processes, but check the details:
- Lift-arc TIG on most multi-process machines is DC only, so it can't weld aluminium.
- A "TIG-ready" machine may still need a separate gas-valve torch, gas and regulator.
- Look at which torches, leads and regulators are included, and whether consumables such as contact tips and liners are easy to find.
- Synergic or "auto-set" modes that match wire speed to voltage make learning easier.
Essential safety gear
Welding produces intense ultraviolet light, heat, sparks, fumes and electrical hazards. Before buying the welder, budget for:
- An auto-darkening helmet with a variable shade (typically about 9–13) and a recognised safety standard marking. Arc light can burn your eyes ("arc eye") and skin within seconds.
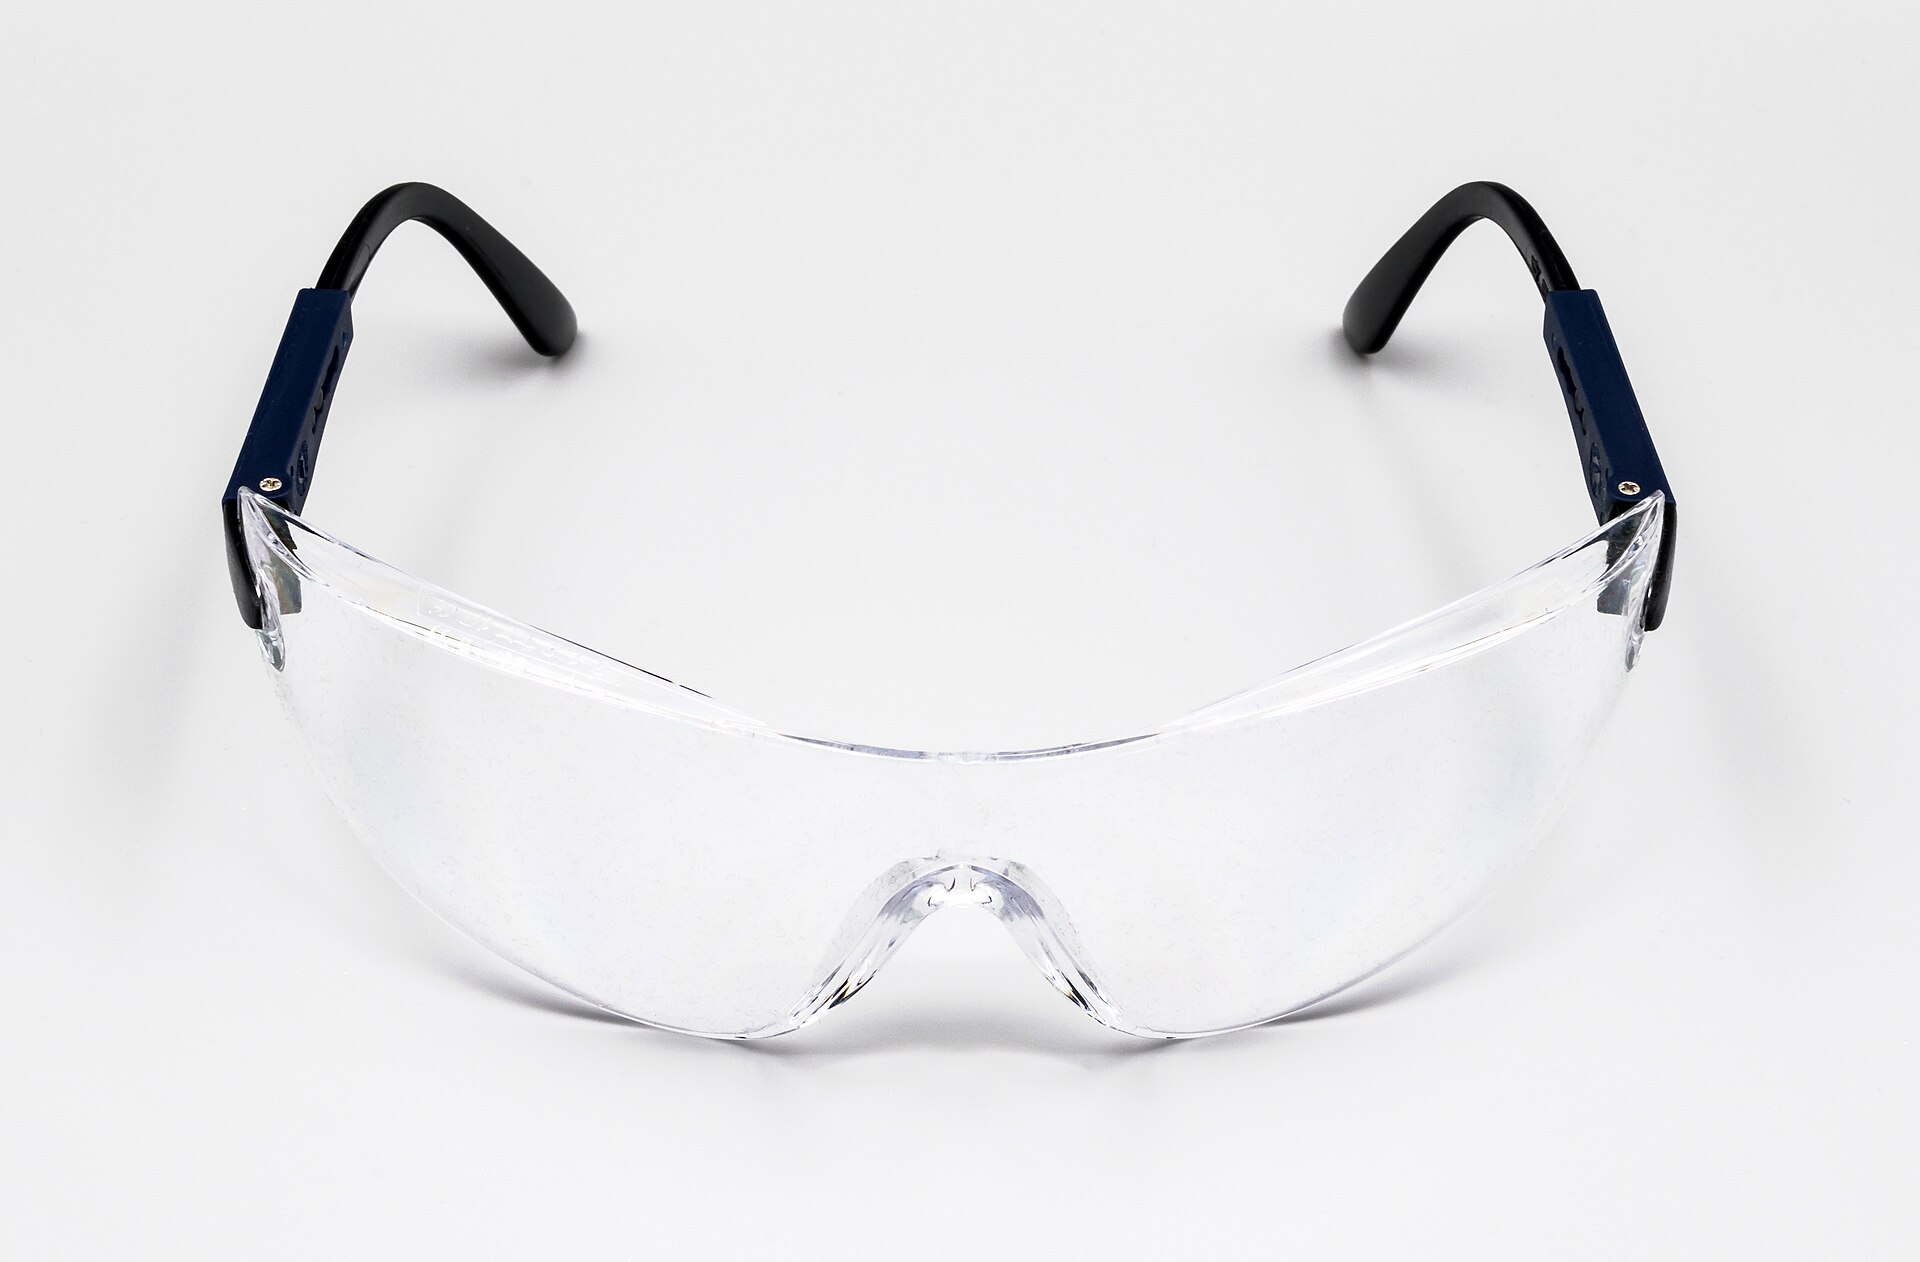
- Safety glasses under the helmet to protect against chipping slag and grinding debris.
- Welding gloves: heavy leather for stick and MIG, thinner ones for TIG.
- Flame-resistant clothing: a welding jacket or heavy cotton or wool, long sleeves and trousers without turn-ups. Synthetic fabrics can melt onto skin.
- Leather boots, since hot spatter lands on feet.
- Ventilation or fume extraction. Weld outdoors or with good airflow, and consider a respirator. Never weld galvanised or coated metal without removing the coating and ventilating well; zinc fumes can cause metal fume fever.
- A fire extinguisher within reach. Clear flammables from the area, as sparks can travel several metres, and check for smouldering material for a while after you finish.
Never weld or cut containers that have held fuel or other flammable substances. Keep gloves and clothing dry to reduce the risk of electric shock. If you have a pacemaker or another implanted medical device, speak to your doctor before welding.
The short version
- Want the easiest start? A wire-feed MIG that also runs flux-core.
- Mainly outdoor repairs on thick or rusty steel? Flux-core or stick.
- Aluminium and stainless, and patience to spare? An AC/DC TIG.
- Check your power supply before choosing a voltage.
- Compare duty cycle at the same amperage.
- On multi-process machines, check what's included and whether TIG is DC only.
- Budget for a helmet, gloves, clothing, ventilation and an extinguisher from day one.
Bloiq is reader-supported. Some links may earn us a commission; it never affects what we write. How we make money.
Cover photo: US Air Force from USA, Public domain, via Wikimedia Commons
.jpg)