Tile saws and tile tools: wet saws, manual cutters, grinders, trowels
Which tile-cutting tool suits which job, how wet saws and manual cutters compare, which diamond blades and trowels to use, and how to control silica dust.
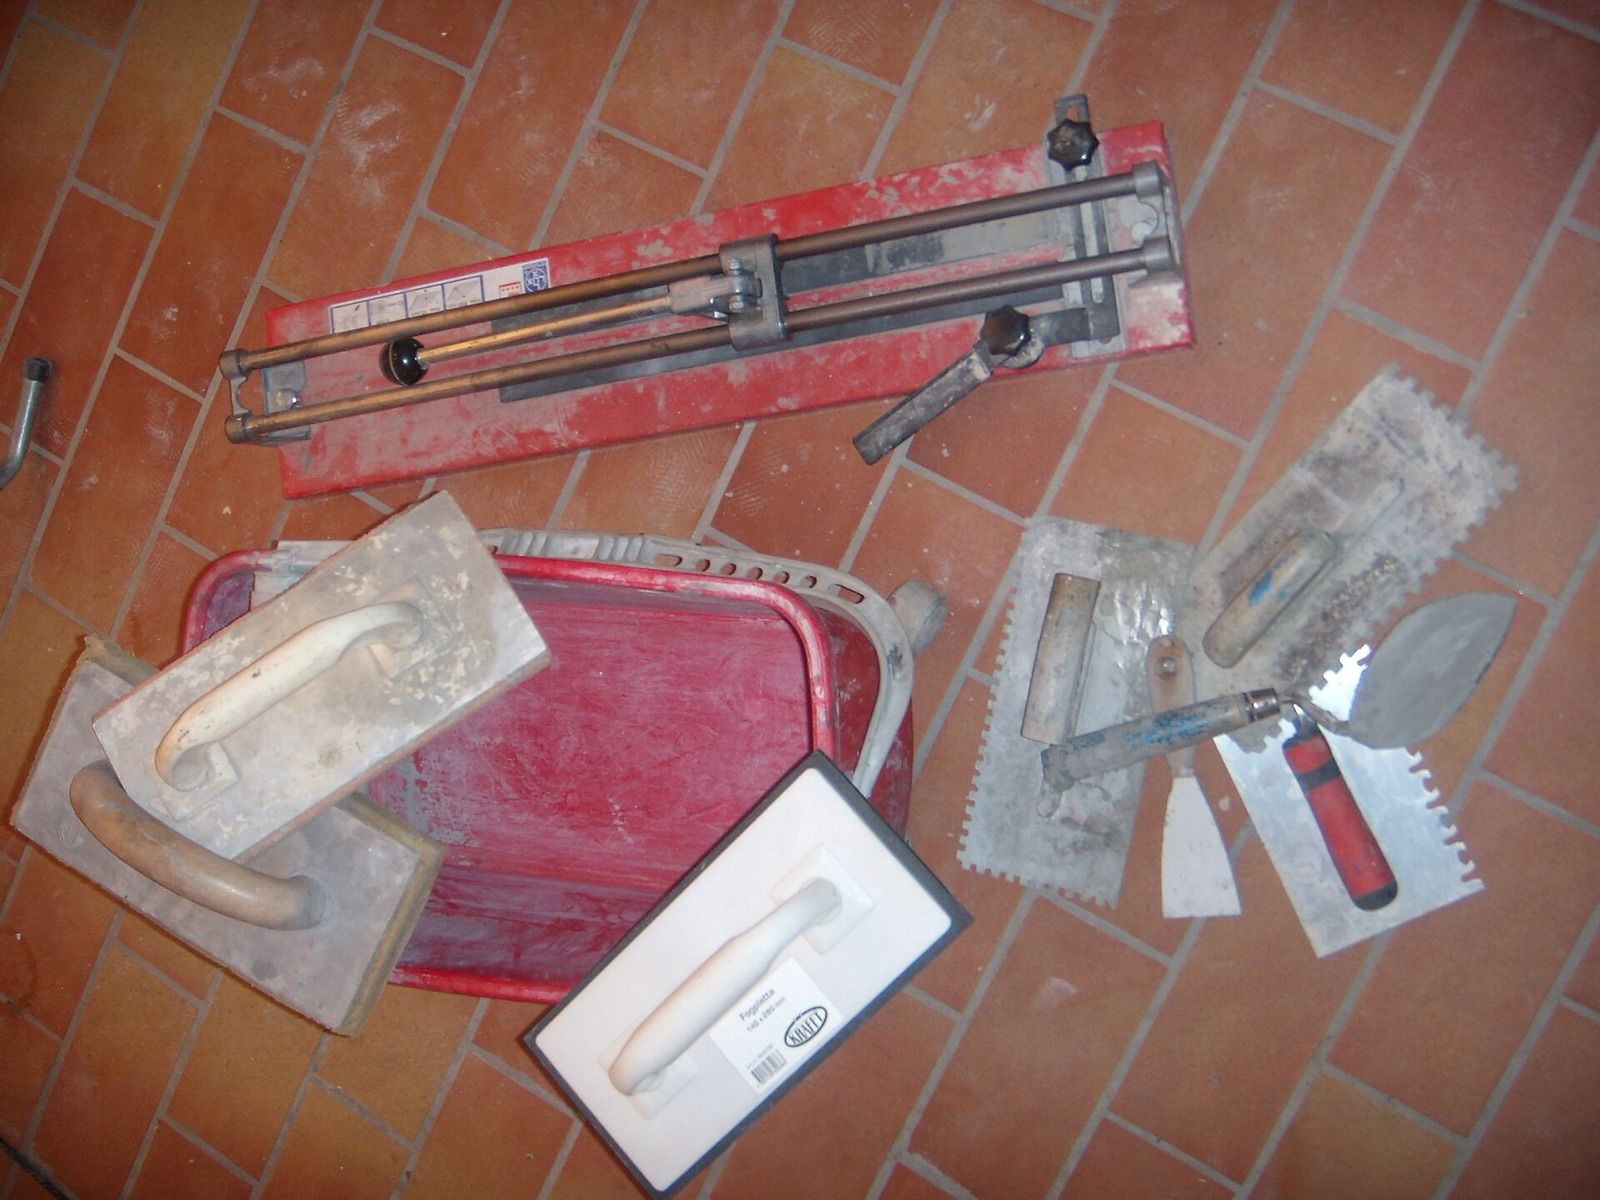
Tiling a splashback, bathroom or floor is a satisfying DIY project, and a large part of the result depends on clean cuts and an even bed of adhesive. The tools range from a simple hand cutter to a sliding wet saw, and the right choice depends on the tile material, its size and how many cuts you need. This guide explains what each tool does well, what to look for when buying, and how to keep the dust down.
Tile-cutting tools at a glance
| Tool | Best for | Limitations |
|---|---|---|
| Manual (score-and-snap) cutter | Fast, clean straight cuts in ceramic and many porcelain tiles | No notches, curves or very narrow strips |
| Tabletop wet saw | Straight and angled cuts, thick porcelain and stone | Messy; cut length limited by the table |
| Rail or bridge wet saw | Long cuts in large-format tile | Bulky and heavier |
| Angle grinder with diamond blade | Notches, L-cuts, cut-outs, trimming installed tile | Lots of dust when dry; needs a steady hand |
| Tile nippers | Nibbling small curves around pipes | Slow; rough edges |
| Diamond core bits and hole saws | Round holes for pipes and fittings | One hole size per bit |
Most tilers use at least two: a manual cutter for the bulk of straight cuts and a wet saw or grinder for everything else.
Manual tile cutters
A manual cutter has a scoring wheel that runs along a rail and a breaker that snaps the tile along the score. It's quiet, needs no power or water, makes almost no dust and is very quick once you have the knack.
What to check:
- Cutting length. Buy a cutter at least as long as the diagonal of your largest tile if you plan diagonal cuts. Large-format tiles need a long, rigid rail.
- Rail stiffness. A flexible rail wanders on hard porcelain.
- Scoring wheel size. Different wheel diameters suit different tile thicknesses and hardnesses; replacement wheels should be easy to find.
- Measuring guides and angle stops speed up repeated cuts.
Manual cutters struggle with very narrow slivers, and some dense or textured porcelain needs a wet saw for reliable results.
Wet tile saws
A wet saw uses a diamond blade cooled by water, which keeps the blade from overheating and captures much of the dust.
- Tabletop saws have a sliding table that carries the tile past a fixed blade. They're compact and suit most bathroom and kitchen jobs. Many DIY models use a blade of about 180 mm (7 in).
- Rail or bridge saws move the cutting head along a rail over a fixed tile. They handle longer cuts, often with a larger blade, and suit large-format porcelain.
Useful features include a bevel setting for 45-degree edges, a plunge function for cut-outs, a mitre guide, and a water tray that's easy to empty. Splash guards make a noticeable difference to the mess.
Water and electricity need care. Plug a wet saw into a GFCI (ground fault circuit interrupter) or RCD-protected outlet, as manufacturers generally require, and leave a drip loop in the cord so water runs off before reaching the plug. Keep hands clear of the blade and let it stop before reaching near it.
Angle grinders for tile
An angle grinder with a diamond blade is the fastest tool for notches, L-shaped cuts, openings for sockets, and trimming a tile already on the wall. It's also the most demanding to use safely.
- Keep the guard fitted and use a blade rated for the grinder's speed.
- Hold it with both hands, using the side handle, and clamp the tile rather than holding it.
- Make a series of shallow passes rather than forcing the blade.
- Dry cutting throws up a lot of fine dust. Use a dust shroud connected to a suitable vacuum, cut outdoors, or mist the cut with water where the tool allows.
Choosing diamond blades
Diamond blades differ by rim design:
- Continuous-rim blades give the smoothest, chip-free cuts in ceramic and porcelain, and are the usual choice for tile saws.
- Turbo-rim blades cut faster, with slightly rougher edges, and suit general tile and stone work on grinders.
- Segmented blades are for rough cuts in masonry and concrete, not finished tile edges.
Look for a blade specifically rated for porcelain if you're cutting it; porcelain is much harder than standard ceramic. Match the blade's bore (arbour) size and maximum speed to the saw.
Trowels and setting tools
The notched trowel controls how much adhesive (thinset or tile adhesive) goes under each tile, and the right notch size matters as much as the cutting.
- Small V-notch trowels suit small wall tiles and mosaics.
- Square-notch trowels, commonly around 6 mm (1/4 in) and up, suit most wall and floor tiles.
- Larger square or U-notch trowels suit large-format tiles, which also usually need back-buttering: a thin skim of adhesive on the back of the tile.
These are starting points only. Follow the adhesive and tile makers' recommendations, and check coverage by lifting a freshly laid tile now and then. You want full, even contact, especially on floors and in wet areas.
Other tools you'll want:
- Spacers or a levelling (lippage) system to keep joints even and edges flush.
- A spirit level and straightedge.
- A mixing paddle in a drill for adhesive and grout; see our guide to drills and impact drivers for what suits mixing.
- A rubber grout float, grout sponges and buckets.
- A rubber mallet for bedding tiles.
Dust and silica safety
Tiles, stone, grout and concrete contain crystalline silica. Cutting, grinding and drilling them releases fine respirable dust, and long-term exposure can cause serious lung disease. It's one of the most important risks in tiling.
Rule of thumb: control dust at the source first (wet cutting or on-tool extraction), then protect your lungs with a respirator.
- Prefer wet cutting or tools with dust extraction connected to a suitable vacuum (an M-class or HEPA-filtered unit is often recommended).
- Wear a well-fitted respirator, at least FFP3 or P100 class for heavy cutting.
- Clean up with a vacuum or damp methods, not dry sweeping.
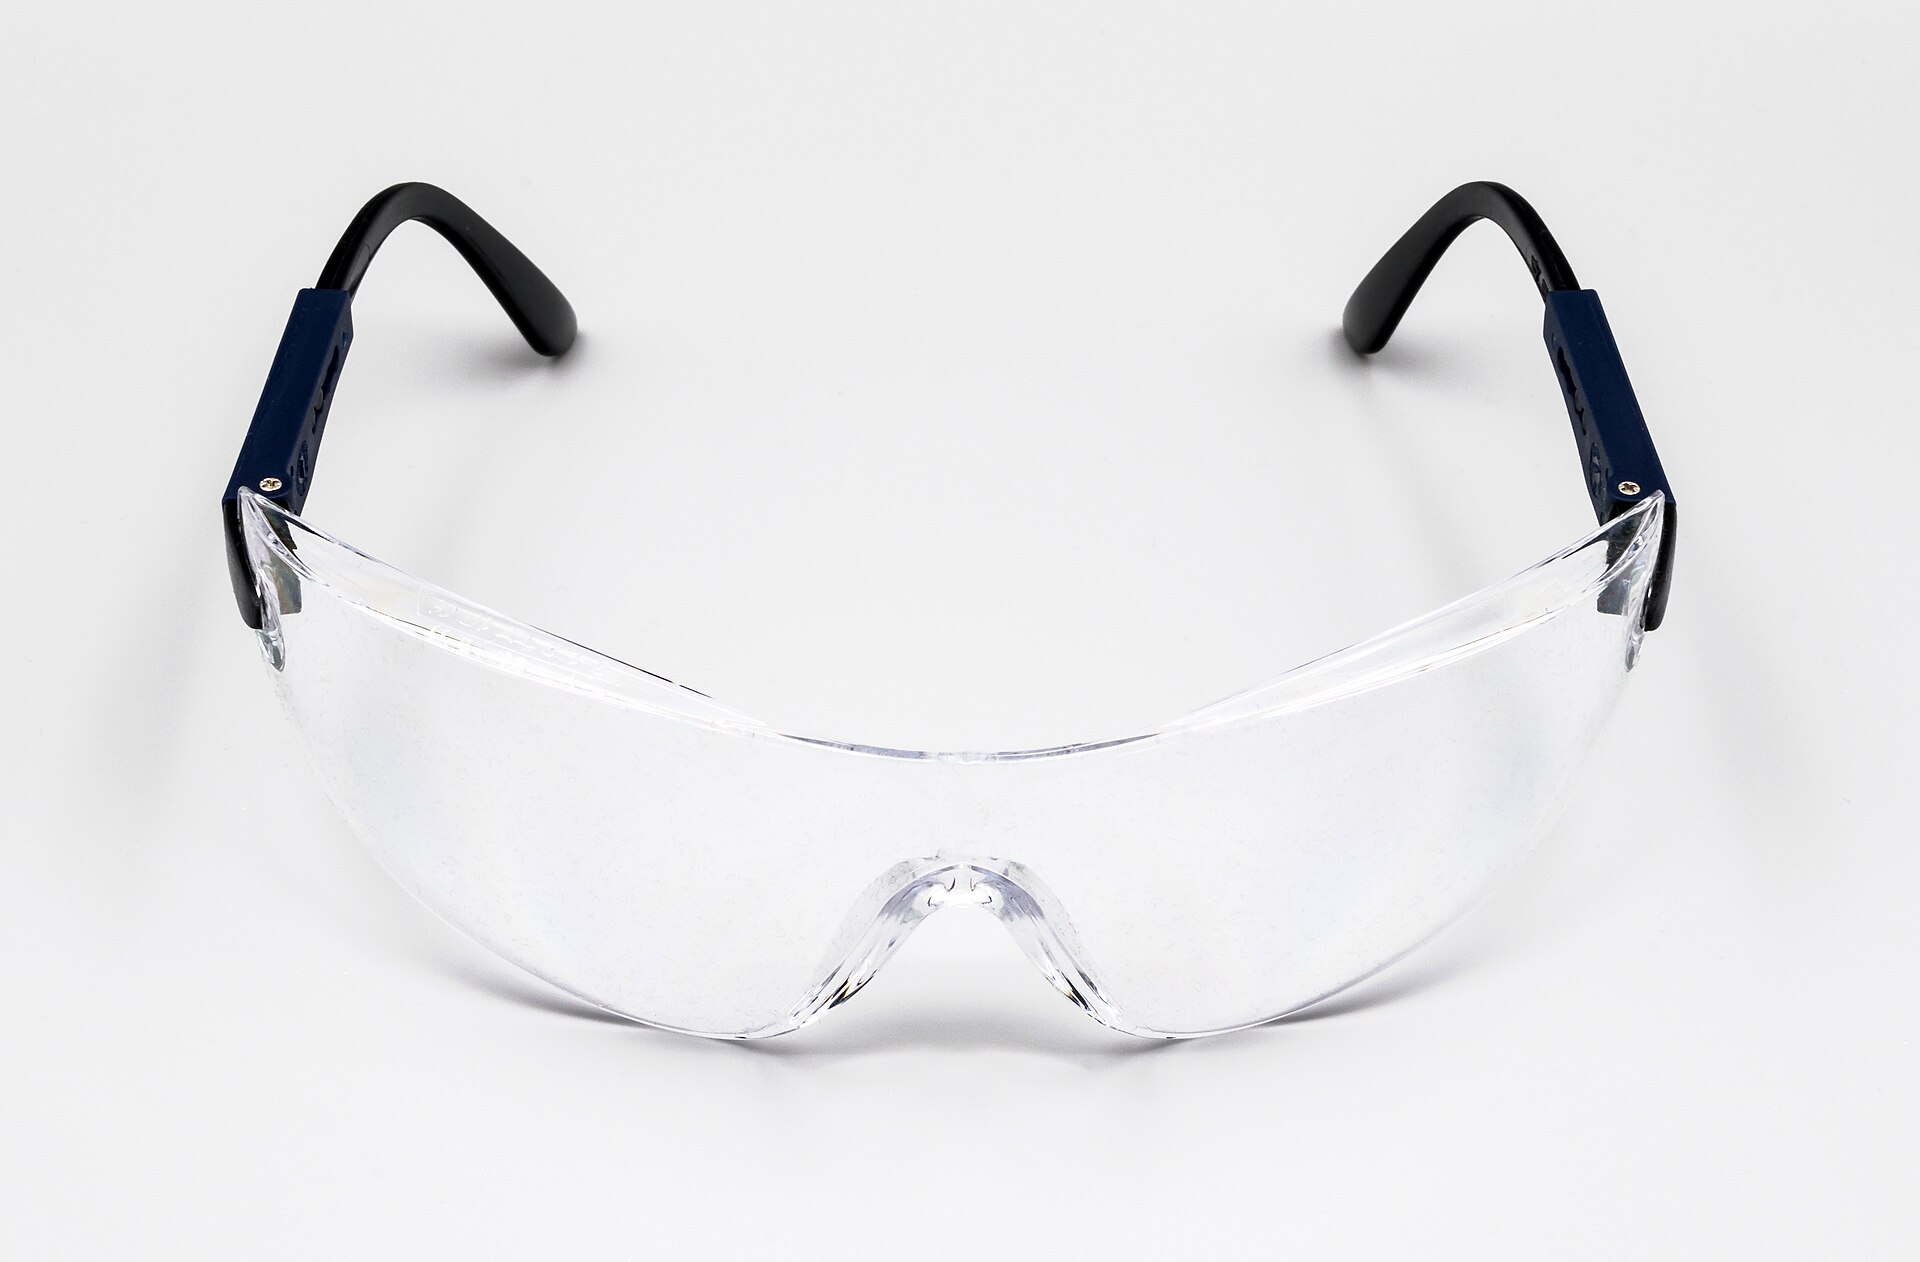
- Wear eye protection and hearing protection, plus gloves for sharp tile edges.
The short version
- A manual cutter handles most straight cuts quickly and cleanly.
- Add a wet saw for porcelain, stone, bevels and large tiles.
- Use an angle grinder for notches and cut-outs, with the guard on and dust control.
- Choose continuous-rim, porcelain-rated blades for clean edges.
- Pick the trowel notch to suit the tile, and follow the adhesive maker's guidance.
- Plug wet saws into a GFCI or RCD outlet.
- Treat silica dust seriously: wet cutting, extraction and a proper respirator.
Bloiq is reader-supported. Some links may earn us a commission; it never affects what we write. How we make money.
Cover photo: Boatbuilder, CC BY-SA 3.0, via Wikimedia Commons