How to wash a car at home: two buckets, foam and safe drying
A step-by-step method for washing a car at home without swirl marks: the two-bucket method, foam cannons, safe pressure-washer settings, wheels and drying.
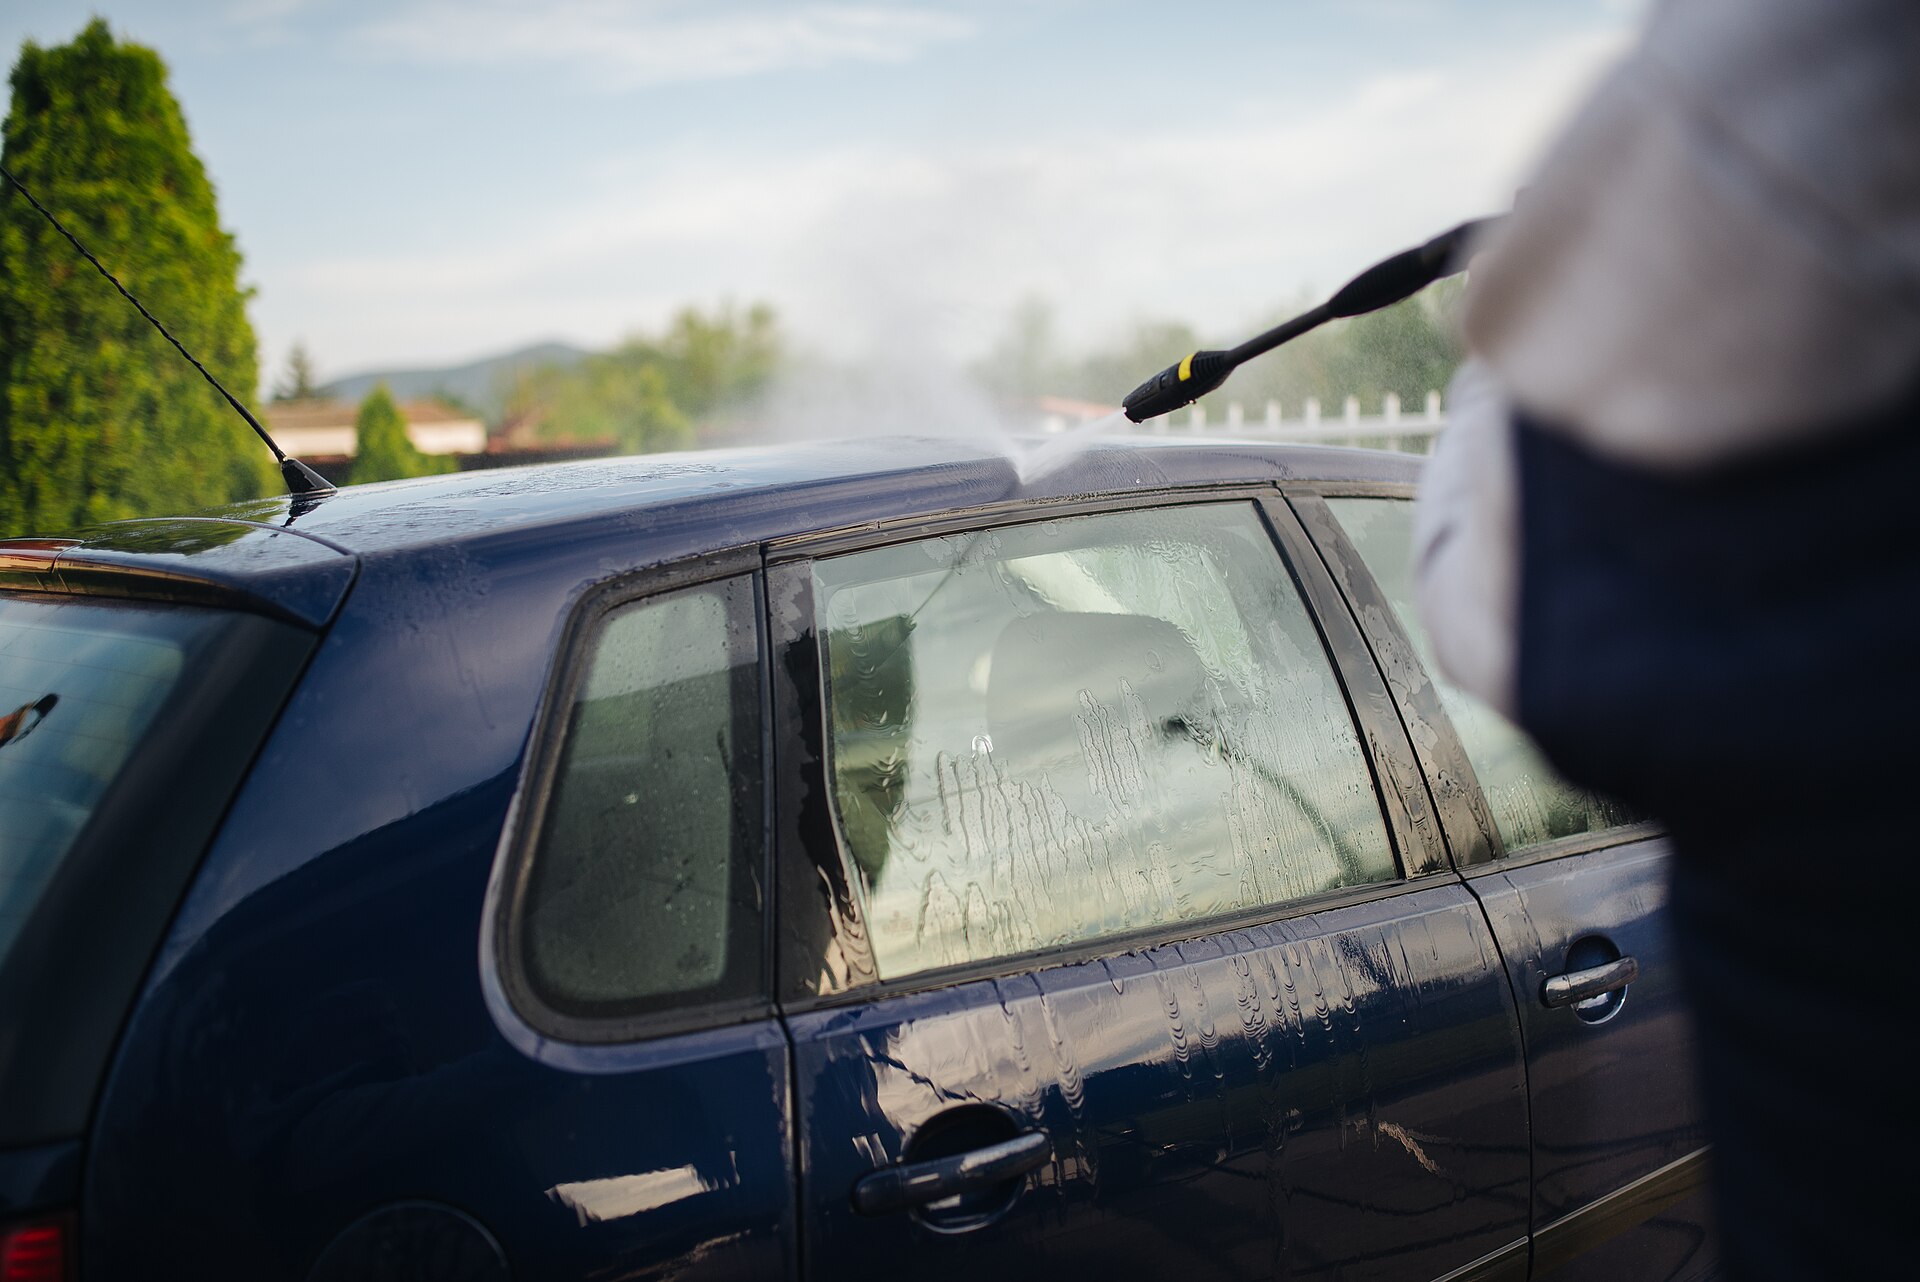
Most of the fine scratches and swirl marks on a car's paint come from washing it, not from driving it. Dragging grit across the surface with a sponge, or drying with an old bath towel, slowly dulls even new paint. A careful home wash takes a little longer than a quick sponge-down but keeps the finish looking better for years. Here's a straightforward method, and the equipment that actually helps.
Before you start
- Check local rules. Some municipalities restrict washing cars on driveways, because soapy runoff reaching storm drains flows untreated into streams and lakes, and some limit water use in dry spells. Rules vary; check local bylaws. Washing on gravel or grass, or using a commercial wash that treats its water, are alternatives.
- Choose the time and place. Wash in shade, or early or late in the day, on cool panels. Sun and hot paint dry soap and water onto the surface, leaving spots and streaks.
- Gather everything first so nothing sits drying while you fetch it.
What you need
- Two buckets, ideally with grit guards (plastic grids that sit at the bottom and trap dirt);
- A pH-neutral car shampoo; washing-up liquid strips wax and sealants and can dry out rubber and plastic trim;
- A wash mitt in microfibre, chenille or lambswool, and ideally a second one for the lower panels;
- Separate wheel brushes and a bucket or mitt used only for wheels;
- A hose with a spray nozzle, or a pressure washer;
- Optionally, a foam cannon or foam gun;
- Plush microfibre drying towels, or a blower.
Step 1: wheels and tyres first
Wheels carry the heaviest dirt, including brake dust, which contains hot metal particles that can bond to surfaces.
- Make sure the wheels are cool; cleaners on hot brakes and wheels can stain.
- Use a wheel cleaner suited to your wheel finish, agitate with brushes, and rinse thoroughly.
- Keep wheel tools separate from paint tools, so grit from the wheels never touches the bodywork.
Step 2: rinse and pre-wash
The goal is to remove as much loose dirt as possible before anything touches the paint.
- Rinse from the top down to wash away loose grit.
- Pre-wash with foam (optional but helpful, especially in winter). A foam cannon attaches to a pressure washer and produces thick foam; a foam gun attaches to a garden hose and makes a wetter, thinner foam. Let the foam dwell for a few minutes so it softens and lifts dirt, but don't let it dry on the paint, then rinse it off.
Foam on its own rarely gets a car fully clean; it reduces how much grit you drag around in the next step.
Step 3: the two-bucket contact wash
- Fill one bucket with shampoo solution and the other with plain rinse water, each with a grit guard.
- Load the mitt with suds and wash one panel at a time, from the top down: roof, glass, bonnet and boot, upper sides, then lower sides, bumpers and sills last.
- Use straight, overlapping passes with light pressure rather than circles; any fine marks are then less visible.
- After each panel, rinse the mitt in the rinse bucket, rubbing it against the grit guard, then reload it from the shampoo bucket.
- Rinse each section before it starts to dry, especially on warm days.
If you drop the mitt on the ground, don't put it back on the paint; swap to a clean one and wash it thoroughly later. A separate mitt for the dirtiest lower panels keeps grit away from the rest of the car.
Rule of thumb: the less grit that touches the paint, the fewer swirl marks you'll make. Rinse well, pre-wash when it's dirty, rinse the mitt often, and work from cleanest to dirtiest.
Pressure-washer settings for cars
A pressure washer is excellent for rinsing and foaming, but it can damage paint and trim if misused. General guidance:
- Pressure: a mid-size electric machine in roughly the 1,200–1,900 PSI range is ample for cars; see our guide to pressure washer PSI and GPM.
- Nozzle: use a wide fan, typically the 40° (white) or 25° (green) tip. Never use the 0° (red) or 15° (yellow) tips on paint, trim or tyres.
- Distance: keep the tip at least 30 cm (1 ft) from the paint, and further from delicate areas.
- Take care near stone chips and flaking paint, badges, rubber seals, panel gaps, wrap and film edges, tyre sidewalls and older or classic cars. Don't spray directly into engine bays, electrical connectors or air intakes.
- Personal safety: never point the wand at people or pets, wear eye protection and closed shoes, and keep electrical connections dry.
Step 4: drying without scratching
Water left to dry leaves spots, especially with hard water, as the minerals stay behind on the paint.
- Microfibre drying towels with a deep pile absorb a lot of water. Lay the towel flat and pat or draw it gently across the panel rather than scrubbing.
- A drying aid (a light quick-detailer or spray sealant misted on wet paint) adds lubrication and reduces spotting.
- Blowers push water out of mirrors, grilles, badges and wheel gaps that otherwise drip afterwards. A dedicated car dryer blows filtered, often warm air. A clean leaf blower works too, but keep its nozzle away from the paint and avoid blowing dust back onto a wet car.
- Open the doors, boot and fuel flap, and wipe the sills and door jambs.
Chamois and silicone water blades work, but they can drag trapped grit across paint; use them only on a thoroughly rinsed car.
Washing in winter
Road salt and brine speed up corrosion, so regular washing matters more, not less, in winter.
- Wash when it's above freezing if you can, so water doesn't freeze in locks, door seals and on the brakes.
- Rinse the lower panels, wheel arches and underside thoroughly; an underbody spray attachment helps.
- Dry door and boot seals, and open and close the doors a few times, so they don't freeze shut.
- When home washing isn't practical, a touchless commercial wash is a gentler option than brush washes for rinsing off salt between proper washes.
Looking after your kit
- Wash microfibre towels and mitts separately from other laundry, without fabric softener, which clogs the fibres.
- Rinse and dry buckets and grit guards after each wash.
- Replace mitts and towels that are stiff, stained or have picked up grit.
To keep paint protected between washes, see our guide to car wax, sealants and ceramic coatings. For the interior, our car vacuums guide covers the cleaning tools.
The short version
- Wash in shade on cool panels, and check local runoff and water rules.
- Wheels first, with separate tools.
- Rinse and foam to remove loose grit before touching the paint.
- Use the two-bucket method, top down, rinsing the mitt after every panel.
- With a pressure washer, use a 25° or 40° tip and keep your distance.
- Dry with plush microfibre or a blower to avoid water spots.
Bloiq is reader-supported. Some links may earn us a commission; it never affects what we write. How we make money.
Cover photo: Shixart1985, CC BY 2.0, via Wikimedia Commons