Car polishers: dual-action vs rotary, pads and compounds explained
How dual-action and rotary polishers differ, what throw and speed mean, which pads and compounds to pair, and how to polish paint safely at home.
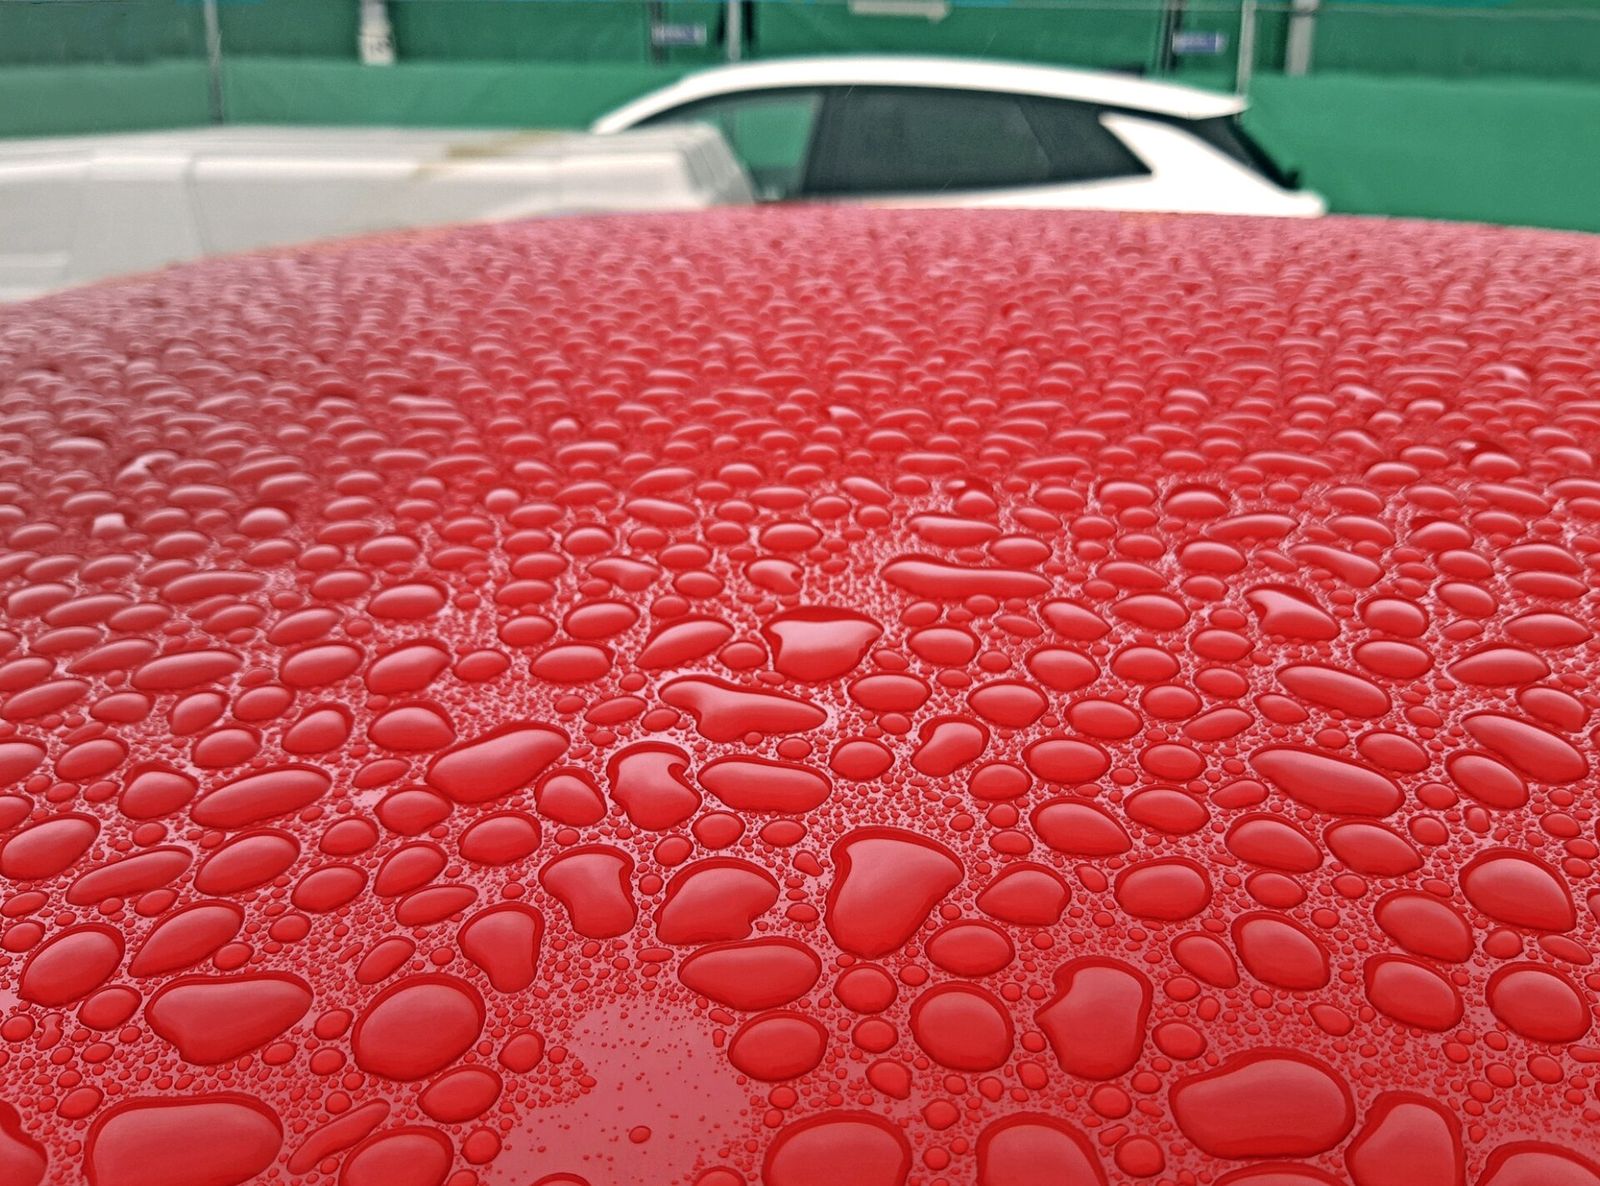
Swirl marks, light scratches and dull paint can't be washed or waxed away. They have to be polished out, and a machine polisher does in an afternoon what would take days by hand. The choice between a dual-action and a rotary machine, and then between dozens of pads and compounds, decides whether the result is a deep gloss or a panel full of holograms. This guide explains how each type works, what the specifications mean and how to pair pads with compounds.
What polishing actually does
Most modern cars have a thin, transparent clear coat over the colour layer. Swirls and scratches are tiny valleys in that clear coat. Polishing uses fine abrasives to level the surface around them, so light reflects evenly again.
That has two consequences:
- Polishing removes paint. The amount is tiny per pass, but the clear coat is thin (often about the thickness of a sheet of paper or less), so it is a finite resource.
- Deep scratches stay. If a fingernail catches in a scratch, it has probably gone through the clear coat, and polishing can only make it less visible.
Protection comes afterwards. Wax, sealants and coatings add no correction of their own; see our guide to car wax, sealants and ceramic coatings for what to apply once the paint is corrected.
Dual-action polishers
A dual-action (DA) polisher, also called a random orbital polisher, does two things at once: the pad spins, and the spindle moves it in a small offset orbit. On most DA machines the pad spins freely, so it slows down or stops if you press too hard or tilt it. That self-limiting behaviour is what makes DAs forgiving.
- Heat: low; the oscillating motion spreads friction over a wider area.
- Risk: burning through paint is rare with sensible technique.
- Finish: generally free of holograms (the hazy trails rotaries can leave).
- Speed of correction: slower than a rotary on heavy defects, although modern compounds and pads have narrowed the gap.
A variant is the forced-rotation (gear-driven) DA, where the pad keeps turning under pressure. It cuts faster than a free-spinning DA and is still less aggressive than a rotary, at the cost of more weight and vibration.
Rotary polishers
A rotary polisher spins the pad on a fixed axis, like an angle grinder at much lower speed. All its energy goes into cutting, which makes it fast and capable of removing heavy defects, sanding marks and oxidation.
- Heat: high and concentrated; paint can soften or burn, particularly on edges and body lines.
- Risk: burning through the clear coat is a real possibility for a beginner.
- Finish: often leaves holograms that need a second, finer step (frequently with a DA).
- Suits: professionals, body shops, and experienced owners correcting heavy damage or very hard paint.
Dual-action vs rotary at a glance
| Dual-action (free-spinning) | Forced-rotation DA | Rotary | |
|---|---|---|---|
| Motion | Spin plus random orbit | Geared spin plus orbit | Spin only |
| Learning curve | Gentle | Moderate | Steep |
| Correction speed | Moderate | Fast | Fastest |
| Burn-through risk | Low | Low to moderate | Highest |
| Holograms | Rare | Rare | Common without a finishing step |
| Best for | Beginners, most enthusiasts | Enthusiasts wanting more cut | Professionals, heavy defects |
Rule of thumb: if this is your first polisher, buy a dual-action. A rotary only makes sense once you know why you need one.
Specifications that matter
- Throw (orbit): how far the pad moves off-centre on a DA, in millimetres. Around 8 mm is compact and good for small panels and curves; 15 mm and 21 mm long-throw machines cover large flat panels faster but feel less nimble in tight spots.
- Backing plate and pad size: larger pads (around 125–150 mm, or 5–6 inches) for bonnets, roofs and doors; small pads (75–90 mm, or 3 inches) for pillars, bumpers and around lights. Some owners keep two machines, or swap backing plates.
- Speed range: variable speed matters. Low speeds spread product; higher settings do the correction. DA speed is quoted in orbits per minute (OPM), rotary speed in revolutions per minute (RPM), so the figures aren't comparable between types.
- Soft start: ramps up gently so product doesn't fling off the pad.
- Power and weight: more power helps the pad keep turning under load; less weight matters for vertical panels and long sessions.
- Corded or cordless: cordless machines avoid dragging a cable over the paint but run for a limited time per battery. If you already own a cordless tool platform, check what polishers it includes.
Pads: foam, microfibre and wool
The pad decides how aggressive a combination is at least as much as the compound does.
- Foam pads are the most common. Manufacturers grade them from firm cutting pads through medium polishing pads to soft finishing pads, usually by colour, but colours aren't standardised between brands, so read the description.
- Microfibre pads cut fast on a DA and suit hard paint, but can leave a slight haze that needs a finishing step.
- Wool pads are traditionally paired with rotaries for heavy cutting; they run cool but leave a rougher finish.
Practical points: have several of each pad you use, because pads load up with spent product and paint residue. Clean them on the fly with a brush or a blast of compressed air, and wash them after the job. Let them dry fully before storing.
Compounds and polishes
Compounds are liquids or pastes with abrasive particles. They are broadly described as:
- Cutting compounds: the most abrasive, for heavy swirls, scratches and sanding marks.
- Polishes: medium to fine, to remove lighter swirls and refine after compounding.
- Finishing polishes: very fine, for maximum clarity, especially on dark paint.
- All-in-one products: a light polish combined with a wax or sealant; a good one-step option when perfection isn't the goal.
Many modern products use diminishing abrasives that break down as you work, getting finer during the cycle, so working time matters. Others use non-diminishing abrasives that cut at a consistent rate. Follow the maker's instructions on speed and how long to work each section.
Start with the least aggressive combination
The most important habit is to do a test spot:
- Wash and decontaminate the car so grit isn't ground into the paint. Our guide to washing a car at home covers the safe method.
- Mask rubber trim, badges and textured plastics with low-tack tape; compound stains them and pads can catch them.
- Pick a small area, roughly 50 × 50 cm, on a typical panel.
- Start with a polishing pad and a polish. Apply a few small drops, spread at low speed, then work at a medium-high setting in slow, overlapping passes with light, steady pressure, keeping the pad flat.
- Wipe off with a clean microfibre cloth and inspect under a bright light or in sunlight.
- Only if defects remain, step up to a cutting pad or a compound, then finish with the polishing combination.
Once a combination works on the test spot, use it across the car. Panels can vary, and repainted parts may behave differently.
Mistakes to avoid
- Working edges and body lines hard: paint is thinnest there. Stay off them or make only a quick, light pass.
- Tilting the pad: this concentrates pressure and heat on a small area.
- Polishing in direct sun or on a hot panel: product dries too quickly and dusts.
- Chasing every last scratch: some defects are too deep to remove safely. A paint thickness gauge is worth considering if you polish often.
- Skipping protection: freshly polished paint is bare. Apply a wax, sealant or coating afterwards.
- Forgetting yourself: eye protection is sensible, as polish can spatter, and hearing protection helps on long sessions. See our workshop safety gear guide.
The short version
- First machine: a dual-action polisher with variable speed and soft start.
- 8 mm throw for versatility; 15–21 mm for faster work on large panels.
- Get a 125–150 mm backing plate, plus a small one for tight areas if you can.
- Buy a set of cutting, polishing and finishing pads, several of each.
- Pair a compound and a polish, or use an all-in-one for a one-step job.
- Always test spot, start gentle, keep the pad flat, avoid edges, and protect the paint when you've finished.
Bloiq is reader-supported. Some links may earn us a commission; it never affects what we write. How we make money.
Cover photo: Kotivalo, CC BY-SA 4.0, via Wikimedia Commons