Tape measures, squares and marking tools: what makes them accurate
How blade width, standout, the sliding hook and accuracy classes affect a tape measure, which squares you need, and the pencils and knives that mark cleanly.
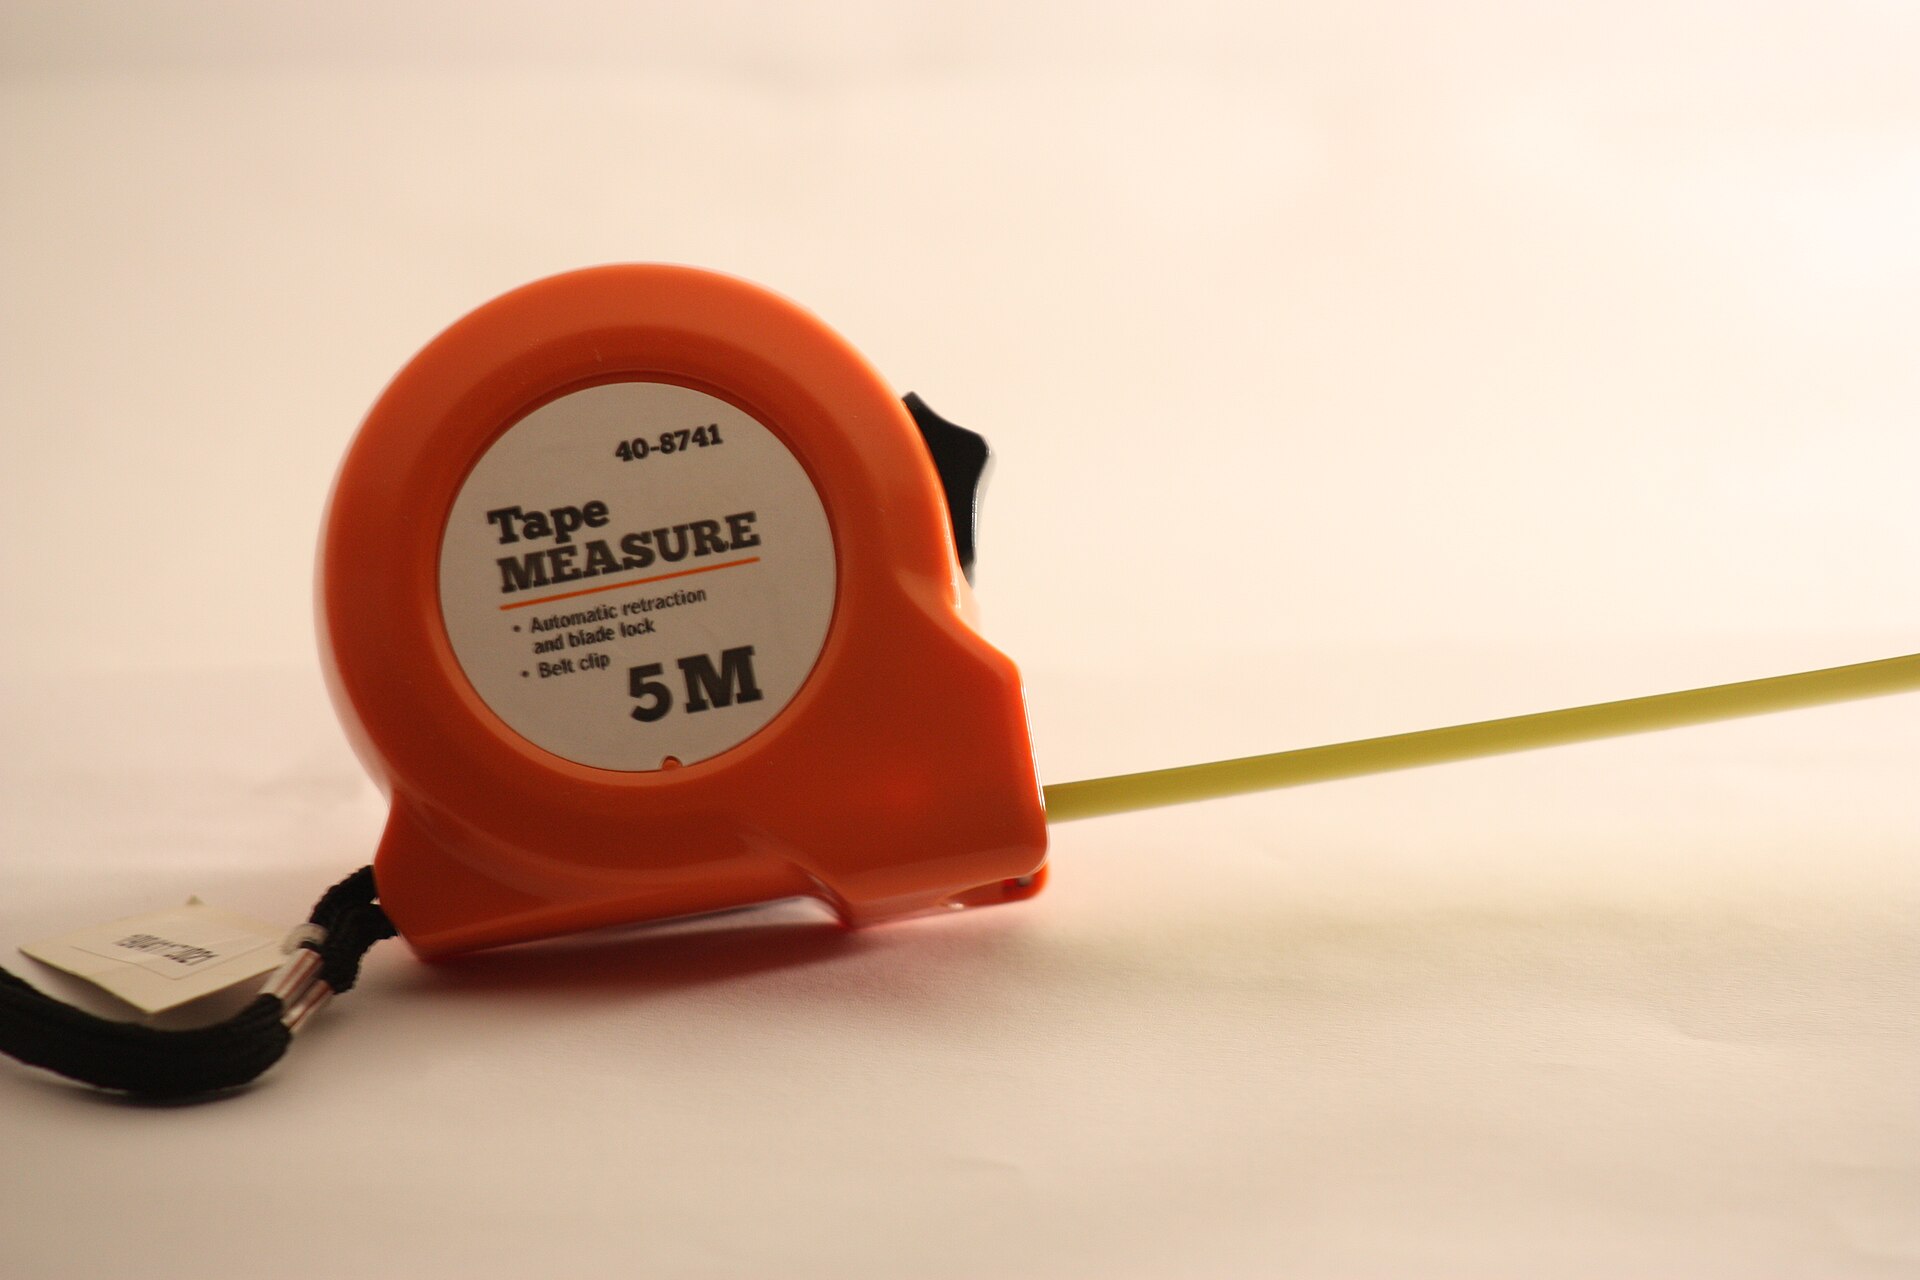
Most cutting mistakes start before the saw is switched on: a misread tape, a square that isn't square, or a pencil line two millimetres wide. Measuring and marking tools are small next to a power tool, but they decide how well everything else fits. This guide explains what the specifications on a tape measure mean, which squares are worth owning, and how to mark a line you can actually cut to.
Blade width and standout
The blade of a steel tape is curved across its width. That curve, called the cup, is what lets it stick out unsupported. Wider and more deeply cupped blades reach further before they bend down, a figure sold as standout (or reach).
| Blade width | Typical length | Typical standout | Good for |
|---|---|---|---|
| 13–16 mm (1/2–5/8 in) | 2–5 m | Short, roughly 1–1.5 m | Pocket, sewing, furniture, quick checks |
| 19 mm (3/4 in) | 5 m (16 ft) | Moderate | Everyday DIY and home use |
| 25–32 mm (1–1 1/4 in) | 5–10 m (16–35 ft) | Long, often 3 m or more | Framing, flooring, measuring alone across openings |
Standout figures are measured by each manufacturer in its own way, so treat them as a comparison within one brand rather than a precise promise. A wide blade is also heavier and bulkier on a belt. For most homes, a 5 m (16 ft) tape with a 19 mm or 25 mm blade is the sensible middle ground.
For distances beyond 10 m, such as garden layouts and fences, an open-reel tape with a fibreglass or steel blade of 20–30 m (66–100 ft) is easier to wind and less likely to kink.
The hook is meant to move
The metal hook on the end of the tape slides back and forth by exactly its own thickness. That's deliberate and is called true zero:
- When you hook it over an edge and pull, the hook slides out, so the measurement starts at the inside face of the hook.
- When you push it against a wall, the hook slides in, so the measurement starts at its outside face.
Never squeeze the rivets to "fix" the play; it makes every measurement wrong by a millimetre or so. If the hook gets bent, the tape can no longer be trusted. Some hooks are magnetic, or have a slot for catching a nail or screw head, which helps when you work alone.
For inside measurements, such as a window opening, many tapes print the length of the case on its side so you can add it to the reading. Even so, a straight piece of timber or a pair of overlapping rules is often more accurate than bending a tape into a corner.
Accuracy classes and blade markings
In the UK and the European Union, measuring tapes can be marked with an accuracy class under the Measuring Instruments Directive. Class I is the tightest, class II is the common grade for good construction tapes, and class III is looser. The permitted error grows with length:
Rule of thumb: a class II tape may be out by about 0.3 mm plus 0.2 mm per metre of length, so a 5 m class II tape stays within roughly ±1.3 mm over its full length. A class I tape is allowed about half that.
Tapes without a class mark may be perfectly good, but you have no stated guarantee. Whatever you buy, use the same tape for the whole job: two tapes can disagree by a millimetre or two.
Other markings worth checking:
- Metric, imperial or both. Combined tapes are handy for converting plans but busier to read. Pick the system your project uses.
- Stud and joist marks. Imperial tapes often highlight every 16 inches (common stud spacing in North America), and many add small black diamonds every 19.2 inches for joist and truss layouts.
- Fraction markings printed on the blade make sixteenths and thirty-seconds of an inch faster to read.
- A protective coating on the first metre or so of the blade, where it wears fastest, keeps the numbers legible for longer.
- A blade lock that holds firmly and a retraction that is controlled rather than violent. A fast, slamming blade is the most common way hooks get bent.
Squares worth owning
A square tells you whether a line or a cut is at 90 degrees (and often 45). Different shapes suit different jobs:
- Combination square. A 300 mm (12 in) steel rule with a sliding head that gives 90 and 45 degrees. It also works as a depth gauge and for marking lines parallel to an edge. The most versatile single square for DIY.
- Speed square (rafter or triangle square). A thick aluminium or plastic triangle. It's quick for marking across boards, guides a circular saw for short cuts, and has scales for roof pitches and angles.
- Try square. A fixed blade and stock, often used in furniture making for checking board ends and joints.
- Framing (steel) square. A large L-shaped square, typically about 600 × 400 mm (24 × 16 in), for checking large panels, stair stringers and framing.
- Sliding bevel. It doesn't measure an angle, but copies one from a wall or an existing piece so you can transfer it.
Check any square before you trust it. Draw a line along the blade from a straight edge, flip the square over and draw a second line from the same point. If the lines diverge, the square is out by half the gap. For large layouts such as a deck or shed base, use the 3-4-5 method: measure 3 units along one side and 4 along the other, and the diagonal should be exactly 5 units when the corner is square. Comparing the two diagonals of a rectangle works the same way.
For levels, plumb lines and finding studs behind walls, see our guide to stud finders and laser levels.
Pencils and markers that work
The right marker depends on the surface and on how fine the cut needs to be.
- Carpenter's pencil. Flat, so it doesn't roll off a sloping roof or a sawhorse, and strong enough for rough timber. Sharpen it with a knife to a chisel point. The line is wide, which is fine for framing but too coarse for joinery.
- Mechanical pencil (0.5–0.7 mm). Gives a consistent fine line for furniture, trim and cabinetry, without sharpening.
- Marking knife. For accurate woodwork, a knife line is finer than any pencil and cuts the surface fibres, so a chisel or saw has a precise place to start. Our guide to hand saws and pull saws explains how to saw to a knife line.
- Marking gauge. Scribes a line parallel to an edge, which is ideal for repeated measurements such as hinge recesses.
- Chalk line. Snaps long, straight lines on floors, sheet goods and roofs. Blue chalk is usually the easiest to clean off; red and other permanent colours are hard to remove from finished surfaces, so keep them for rough work.
- Fine permanent markers and paint markers work on plastic, pipe, tile and metal, where graphite barely shows.
- Scribes and centre punches mark metal precisely; soapstone shows up well on steel that will be welded or cut with heat.
- Wax and grease pencils write on glass, glossy tile and wet surfaces.
Mark the waste side of a line with a small cross. Then cut on the waste side so the line stays on the finished piece, and you'll lose far fewer pieces to a saw kerf in the wrong place.
Habits that make measurements accurate
- Measure twice and from the same reference edge. Errors pile up when you measure each piece from a different end.
- Start at the 10 cm (or 1 in) mark instead of the hook for precision work, then subtract. This is known as "burning an inch" and removes any hook error.
- Mark with a V (a crow's foot) rather than a dash: the point of the V is exactly where you meant.
- Measure the actual piece where you can. Holding a board in place and marking it directly avoids reading errors altogether.
- Keep the tape clean and dry. Grit wears the print and moisture rusts the spring; wipe a wet blade before it retracts.
For holding work still while you mark and cut, see our guide to clamp types.
The short version
- A 5 m (16 ft) tape with a 19–25 mm blade suits most homes; choose wider blades for long, solo measurements.
- The loose hook is correct. Don't tighten it, and replace a tape with a bent hook.
- An accuracy class (class I or II) is a useful guarantee where it is marked.
- A combination square and a speed square cover most DIY needs; check any square with the flip test.
- Match the marker to the job: carpenter's pencil for rough work, a fine pencil or marking knife for joinery, chalk for long lines.
Bloiq is reader-supported. Some links may earn us a commission; it never affects what we write. How we make money.
Cover photo: Anton Ehrola, CC BY-SA 4.0, via Wikimedia Commons