Nail guns explained: brad, finish, framing and roofing nailers
Which nailer suits trim, framing or roofing, what nail gauge and collation angle mean, and how pneumatic and cordless nail guns compare for home projects.
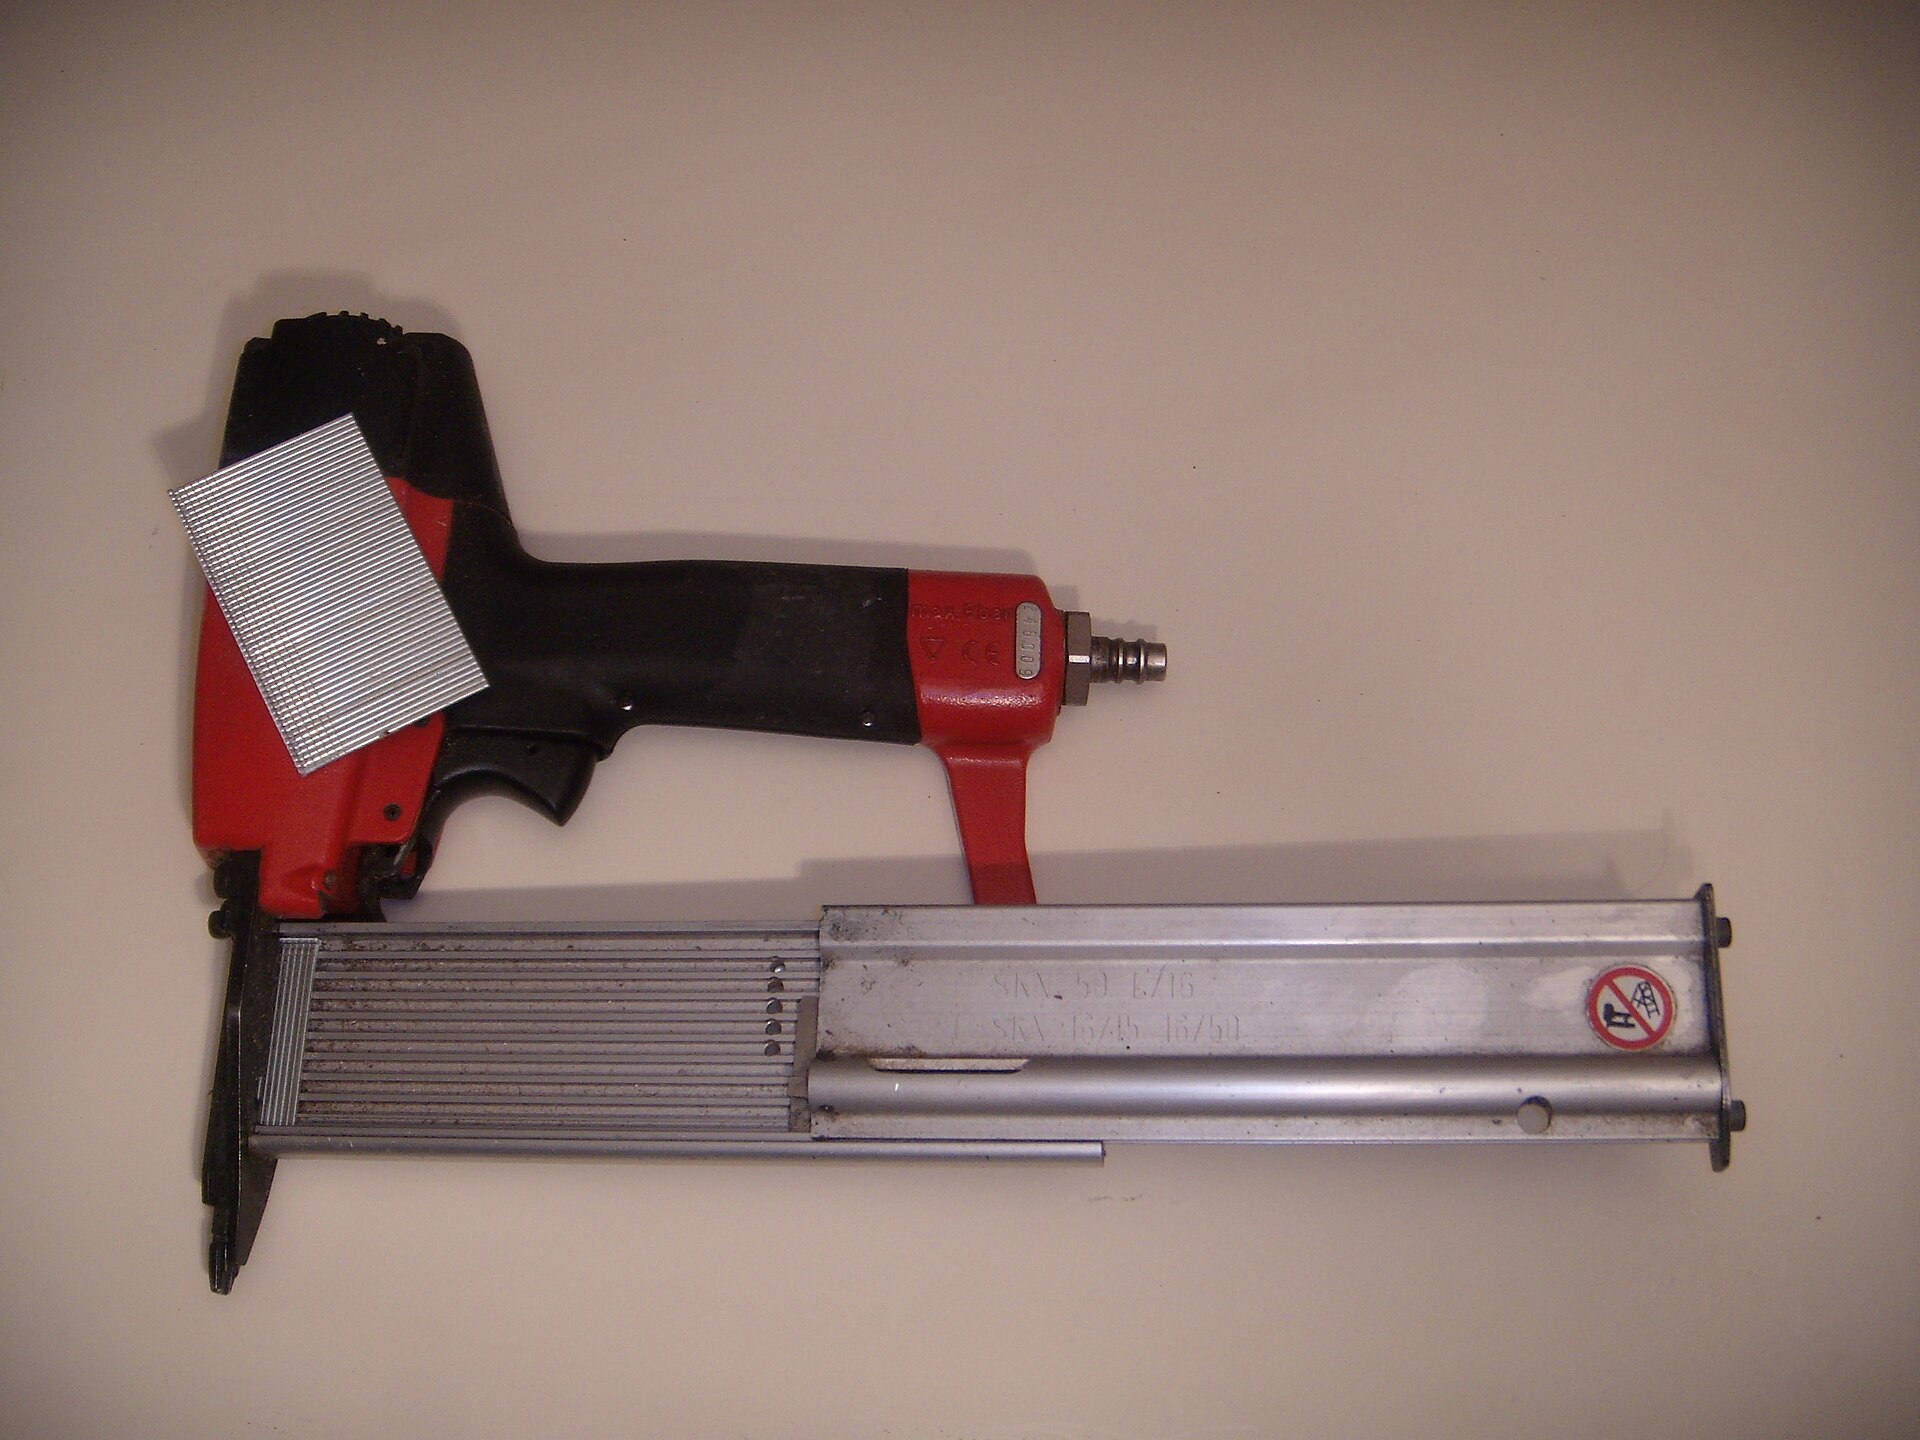
A nail gun turns an afternoon of hammering into a few minutes of work, and leaves neater results on trim than most people manage by hand. But "nail gun" covers several quite different tools, each designed for a particular size of nail, and they aren't interchangeable. This guide explains the main types, what the numbers on the box mean, and how pneumatic and cordless models compare.
Gauge, length and collation: the basics
Three specifications define which nails a nailer takes:
- Gauge is the thickness of the nail. As with wire, a higher number means a thinner nail: 23-gauge pins are hair-thin, 15-gauge finish nails are much sturdier.
- Length range is the shortest and longest nail the tool accepts.
- Collation is how the nails are held together in strips or coils (glue, paper tape, plastic or wire) and, for strip nailers, the angle of the magazine.
Nails must match all three. A nailer designed for 30° paper-taped nails won't reliably fire 21° plastic-collated ones, even if the length fits.
Pin and brad nailers: fine trim and crafts
Pin nailers (23-gauge) fire headless or nearly headless pins, typically from about 3/8 in to 1-3/8 in, with some models going longer. The holes are almost invisible. Pins have little holding power on their own; they're used to hold small mouldings, veneers and glued parts while the glue sets.
Brad nailers (18-gauge) fire thin nails with a very small head, typically about 5/8 in to 2 in. They're the most versatile trim nailer for DIY:
- Small mouldings, quarter-round and shoe moulding
- Picture frames, craft projects and small boxes
- Attaching thin panels and backs to cabinets
- Tacking parts together before screwing or gluing
The small holes are easy to fill, but brads can bend in dense hardwoods and don't hold heavy trim well.
Finish nailers: skirting, casing and heavier trim
Finish nailers use thicker 16-gauge or 15-gauge nails, typically about 1 in to 2-1/2 in long, with larger heads and much better holding power.
- 16-gauge: usually straight magazines. Good all-round choice for baseboards (skirting), door and window casing, and chair rails.
- 15-gauge: usually angled magazines, which fit into corners and tight spots more easily. Stronger nails for door jambs, stair parts, heavy crown moulding and exterior trim.
If you're only buying one trim nailer, an 18-gauge brad nailer suits lighter work, while a 16-gauge finish nailer handles most house trim. Many people end up with both.
Framing nailers: structure and heavy construction
Framing nailers drive large nails, typically about 2 in to 3-1/2 in long, for wall framing, floor joists, decks, fences, sheds and sheathing. They're heavy and powerful.
The main differences between models are the collation angle and nail head:
| Collation | Typical head | Notes |
|---|---|---|
| About 21°, plastic strip | Full round head | Widely accepted by building codes |
| About 28°, wire weld | Clipped or offset round head | Compact magazine; wire bits can fly off |
| About 30–34°, paper tape | Clipped or offset full head | Compact magazine, gets into tight spaces |
| About 15°, wire coil | Full round head | Holds many nails; common for sheathing and siding |
Some building codes and inspectors require full round-head nails for certain structural work, so check your local rules before choosing a clipped-head nailer. Buy nails that match the exact angle range the tool specifies.
For deck and fence building, look for compatibility with galvanised or stainless nails where treated lumber or outdoor exposure calls for them.
Roofing nailers
Roofing nailers are coil nailers designed for short, wide-headed roofing nails, typically about 3/4 in to 1-3/4 in, used to fasten asphalt shingles and roofing underlayment. They're lighter than framing nailers and have an easily adjusted depth setting, which matters: overdriven nails that cut through the shingle are a common cause of roof problems. Roofing work also carries serious fall risk; follow fall-protection guidance or use a professional, and see our guide to ladder types and safety.
Other specialised nailers
- Siding nailers for fibre cement and wood siding.
- Flooring nailers and staplers for tongue-and-groove hardwood, usually struck with a mallet.
- Palm nailers, small tools for joist hangers and tight spaces.
- Crown staplers, for upholstery, sheathing, underlayment and cabinet backs.
Pneumatic or cordless?
Pneumatic nailers run on compressed air.
- Lighter and more compact than cordless equivalents.
- Fire instantly and repeatedly, and are mechanically simple and durable.
- Usually cheaper to buy.
- Need a compressor and hose, which adds noise, setup time and a trip hazard.
Nailers use very little air per shot, so a small portable compressor runs a trim nailer easily; framing all day needs a bit more. See our guide to air compressors.
Cordless (battery) nailers use a motor to drive either a flywheel or a sealed air-spring mechanism.
- No hose or compressor: ideal for small jobs, punch lists and working on ladders or away from power.
- Heavier and bulkier, especially framing models.
- Some designs have a brief ramp-up before firing, and fast repeat firing can be slower than pneumatic.
- They run on the same packs as your other tools, so they fit well into an existing platform; see our guide to cordless battery platforms.
Gas (fuel-cell) nailers, which burn a small gas cartridge ignited by a battery, are another cordless option, mainly for framing trades. They need consumable cartridges and regular cleaning.
For occasional DIY trim work, cordless convenience often wins. For a big framing project or heavy use, pneumatic tools are lighter to hold all day.
Features worth checking
- Tool-free depth adjustment to set nails flush or slightly below the surface.
- Selectable trigger (see safety, below).
- Dry-fire lockout, which stops firing when the magazine is nearly empty and avoids marking the work.
- Tool-free jam clearing.
- No-mar tip for trim, and a rafter hook or belt hook.
- Adjustable exhaust on pneumatic tools, so air and oil aren't blown at you or the work.
Nail gun safety
Nail guns cause many serious injuries each year, often from unintended firing.
- Trigger modes. A sequential (single-shot) trigger requires you to press the nose against the work and then pull the trigger for each nail. Contact (bump) mode fires whenever the nose is pressed while the trigger is held, which is faster but more likely to double-fire or fire unexpectedly. Workplace safety agencies recommend the full sequential trigger as the safest option, especially for less experienced users.
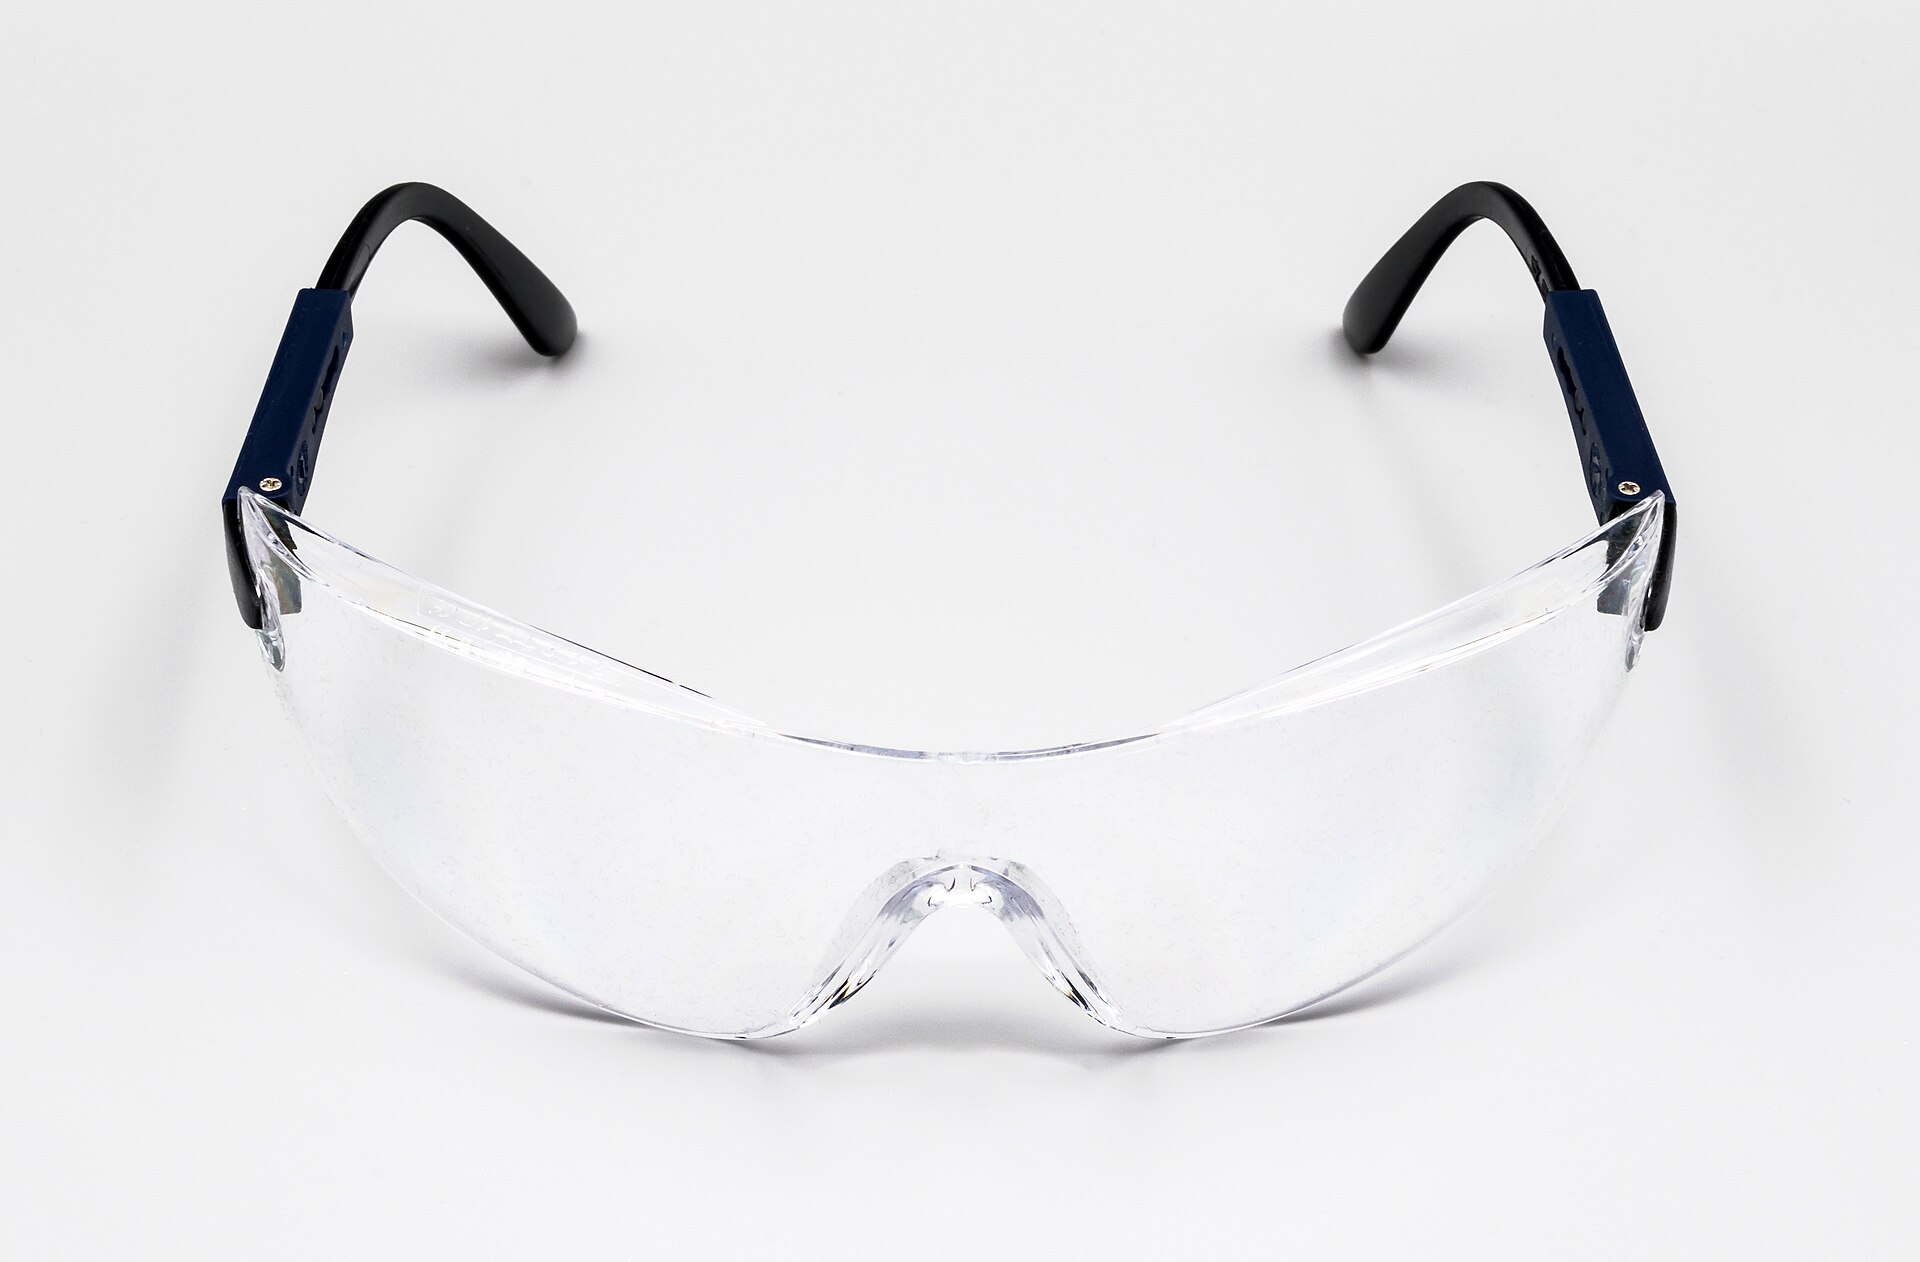
- Wear eye protection rated for impact, and hearing protection.
- Keep your free hand well away from the nailing point, as nails can deflect off knots, other nails or metal and exit the side of the board.
- Never carry the tool with a finger on the trigger, and never point it at anyone.
- Disconnect the air or remove the battery before clearing jams, adjusting or handing the tool to someone.
- Check for pipes and cables before nailing into walls.
The short version
- 18-gauge brad nailer for light trim and crafts; 16- or 15-gauge finish nailer for skirting, casing and doors.
- Framing nailer for structure and decks; match the collation angle and nail head to the tool and local codes.
- Roofing nailer only for shingles and underlayment.
- Pneumatic for lighter tools and heavy use; cordless for convenience and small jobs.
- Use sequential trigger mode, wear eye protection and keep hands clear.
Bloiq is reader-supported. Some links may earn us a commission; it never affects what we write. How we make money.
Cover photo: Boatbuilder, CC BY-SA 3.0, via Wikimedia Commons