Hiking backpacks explained: capacity, torso fit, frames and rain covers
How many litres you need, how to measure your torso and fit a hip belt, how frames and back systems differ, and how to keep your gear dry on the trail.
A good hiking pack disappears on your back; a poor one makes every kilometre longer. Comfort depends far less on the brand or the number of pockets than on three things: a capacity that suits your trips, a back length that matches your torso, and a frame that can carry the weight you actually take. This guide explains each, shows how to adjust a pack properly, and covers the simple ways to keep its contents dry.
How much capacity you need
Pack volume is given in litres. The ranges below are typical; your own number depends on how bulky your sleeping bag, tent and clothing are, and on the season.
| Trip | Typical capacity | Notes |
|---|---|---|
| Day hikes | 15–30 L | Water, food, layers, first-aid kit |
| Long or winter day hikes | 30–40 L | Room for warm layers and extra kit |
| Overnight to 3 nights | 35–50 L | Works well with compact, modern gear |
| 3–5 nights | 50–70 L | The classic backpacking range |
| Longer trips, winter, or group gear | 70 L and up | For bulky kit or food for many days |
Brands don't all measure capacity the same way: some count only the main compartment, others include the lid and side pockets. Treat the figure as a guide and compare packs by looking at them filled, if you can.
Rule of thumb: choose your sleeping bag, tent and mat first, then the pack. A bulky sleeping bag can add 10 litres on its own, while a compact kit lets a smaller, lighter pack do the job.
Buying big "just in case" rarely helps: empty space gets filled, and a larger pack weighs more empty. For the bulky items, see our guides to camping tents and sleeping bag temperature ratings.
Torso length: the measurement that matters most
A pack's back length must match your torso, not your height. Two people of the same height can have torsos several centimetres apart.
To measure, ask someone to help:
- Tilt your head forward and find the prominent bone at the base of your neck (the C7 vertebra).
- Put your hands on your hips with your thumbs pointing backwards, resting on top of your hip bones (the iliac crest).
- Measure along your spine from the neck bone down to the imaginary line between your thumbs.
Many adults fall somewhere between about 40 and 55 cm (16–22 in). Makers sort their sizes into small, medium and large ranges within that span, but the ranges differ between brands, so check each pack's size chart. Many packs also have an adjustable back system that lets you move the shoulder harness up or down; these are useful if you fall between sizes or want to share a pack.
Women's and other specific fits usually offer shorter torso ranges, narrower and differently curved shoulder straps, and hip belts angled to suit wider hips. Choose by fit rather than by label: plenty of people are more comfortable in the "other" version.
Hip belts and shoulder straps
On a framed pack, the hip belt carries most of the load, often quoted as around 80 per cent, with the shoulder straps mainly keeping the pack close and upright.
- Hip belt: the padded wings should sit centred on top of your hip bones, wrapping around them, with a little gap between the buckle ends when tight. Some packs offer hip belts in sizes separate from the back length.
- Shoulder straps: should wrap over your shoulders without gaps, with the anchor point a few centimetres below the top of your shoulders.
- Load lifters: the short straps from the top of the shoulder straps to the pack. At roughly 45 degrees they pull the load close to your upper back.
- Sternum strap: sits a few centimetres below the collarbones and stops the shoulder straps from sliding outwards.
How to adjust a loaded pack
Fit a pack with weight in it; an empty pack tells you very little. Load it with roughly what you'd carry on a trip, then:
- Loosen everything: hip belt, shoulder straps, load lifters and sternum strap.
- Hip belt first: put the pack on, position the belt over your hip bones and tighten it firmly.
- Shoulder straps: pull them down and back until they hug your shoulders, but don't lift the weight off your hips.
- Load lifters: snug them until the pack sits close, without pulling the shoulder straps off your shoulders.
- Sternum strap: clip and tighten it gently.
- Walk, then fine-tune: go up and down stairs or a slope. Re-tighten the hip belt after ten minutes or so, as the load settles.
Persistent pain at the hips or tops of the shoulders usually points to the wrong torso size rather than the wrong adjustment.
Frames and back systems
- Internal frame: the standard for hiking. Aluminium stays, a plastic framesheet or a wire perimeter frame inside the pack transfer weight to the hip belt.
- Frameless: very light packs that rely on careful packing, sometimes with a folded sleeping mat as a back panel. Comfortable only with light loads, typically up to around 8–10 kg in total.
- External frame: the pack hangs on a visible frame. Less common now, but still used for very heavy or awkward loads, and well ventilated.
The back panel matters too. Suspended mesh ("trampoline") backs hold the pack away from you, keeping your back cooler, but move the load slightly away from your centre of gravity. Contact back panels sit against you and carry heavy loads more steadily on rough ground.
Every frame has a comfortable load limit, which makers often state. A commonly quoted guide is to keep a loaded backpacking pack to no more than about 20 per cent of your body weight, and a daypack to around 10 per cent.
Rain covers, liners and waterproof packs
Most pack fabrics are water-resistant, but water gets in through seams, zips and the top opening. There are three main ways to deal with it:
- Rain covers are stretchy, fitted covers that go over the outside of the pack. They come in sizes by capacity, and some packs have one built into a bottom pocket. They keep the fabric from soaking up water and adding weight, but rain can still run down your back into the back panel, and covers can catch strong wind.
- Pack liners are a large waterproof bag or a sturdy bin liner inside the pack. They keep the contents dry whatever happens outside, are light, and don't blow away.
- Waterproof packs use coated, welded or taped fabrics and roll-top closures. Excellent for wet climates, paddling trips and canyons, but with fewer pockets and less ventilation.
Many hikers combine a liner with a cover, and keep the sleeping bag and spare clothes in their own dry bags. A wet sleeping bag can be dangerous in cold weather, so it's worth protecting it twice.
Features worth having
- Hip belt pockets for snacks, a map and a phone.
- Stretch side pockets that let you reach a water bottle without taking the pack off.
- Hydration sleeve and hose port, if you prefer a drinking bladder.
- A lid or roll-top: a lid adds storage; a roll-top saves weight and compresses well.
- Side or front access zip to reach items at the bottom without unpacking.
- Compression straps to stabilise a part-full pack.
- Attachment points for trekking poles and an ice axe, if your hikes need them.
Packing it well
- Sleeping bag and camp clothes at the bottom.
- Heaviest items close to your back, roughly between the shoulder blades, for good balance on paths. For scrambling, place them slightly lower for stability.
- Lighter, bulky items around and above them.
- What you need during the day (rain jacket, snacks, first-aid kit, headlamp, sun protection) in the lid, hip belt or outer pockets.
- Fuel away from food, upright and sealed. Our camping stoves guide covers fuel types.
The short version
- Capacity: about 15–30 L for day hikes, 35–50 L for a few nights, 50–70 L for longer trips, after choosing your bulky gear.
- Fit: measure your torso from the C7 neck bone to the top of your hip bones and use each maker's size chart.
- Adjust in order: hip belt, shoulder straps, load lifters, sternum strap, with the pack loaded.
- Frame: match it to your heaviest realistic load; frameless only for light kit.
- Stay dry: a liner inside, a cover outside if you like, and the sleeping bag in its own dry bag.
Bloiq is reader-supported. Some links may earn us a commission; it never affects what we write. How we make money.
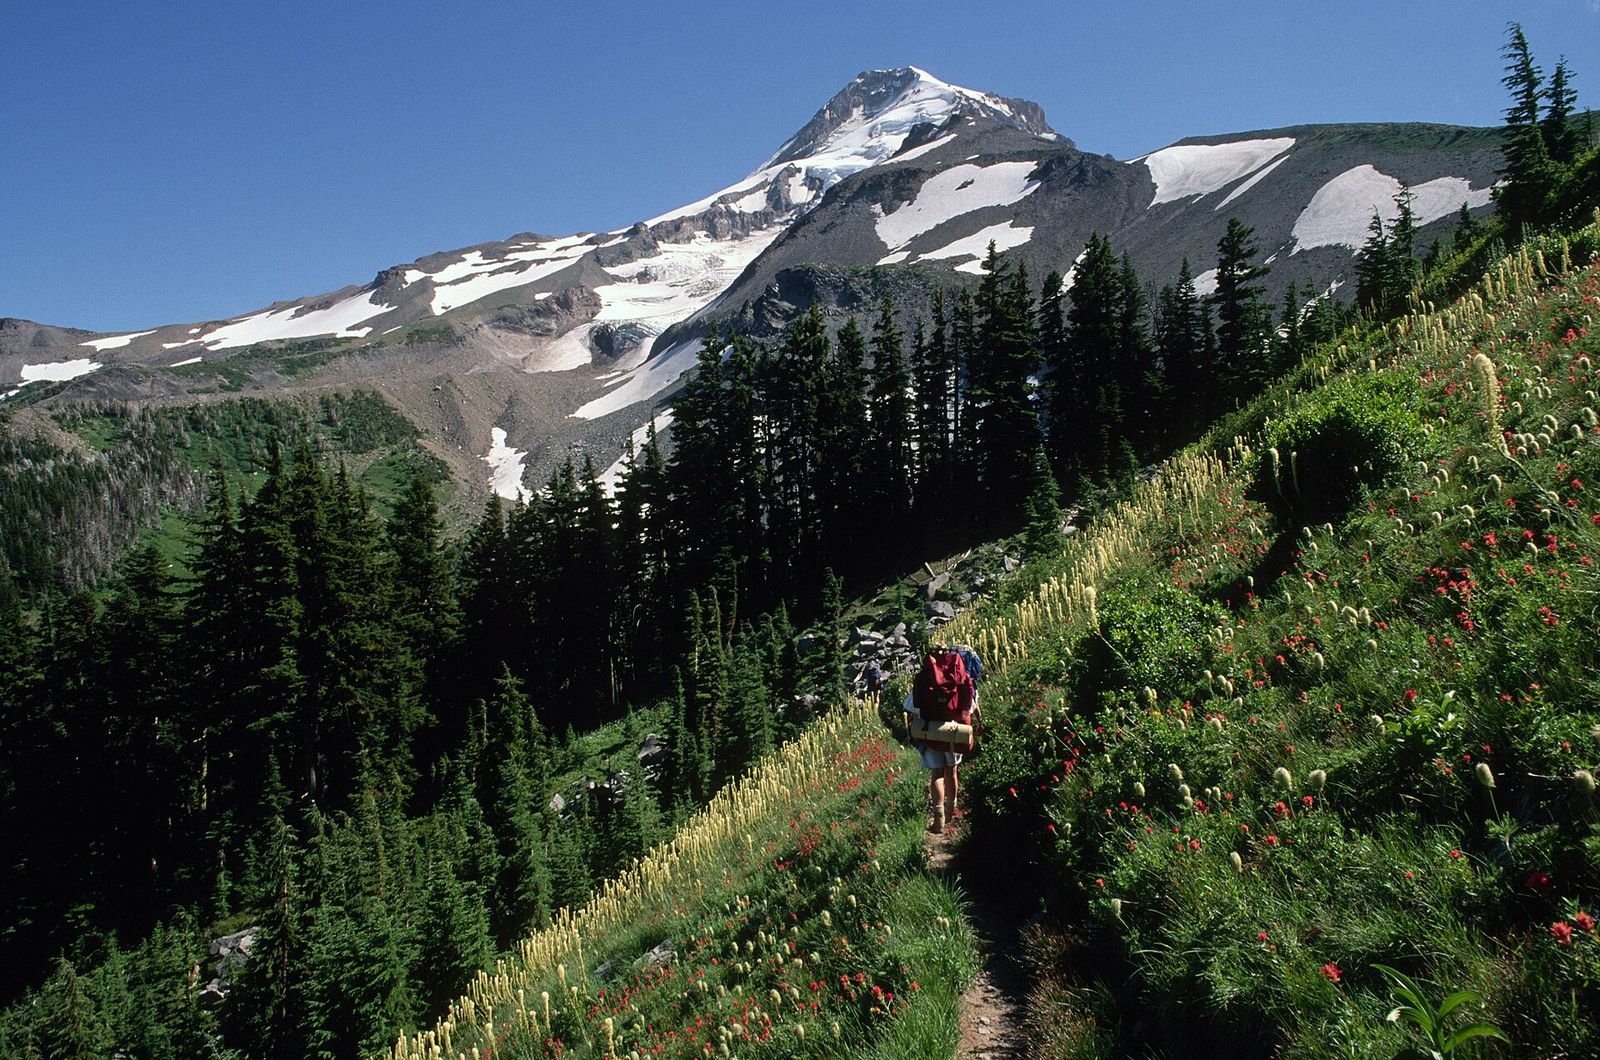
Cover photo: U.S. Forest Service- Pacific Northwest Region, Public domain, via Wikimedia Commons
.jpg)