Auto-darkening welding helmets: shade ranges, sensors and optical class
What the numbers on an auto-darkening welding helmet mean: light and dark shades, sensor count, switching speed, delay, EN 379 optical class and safety markings.
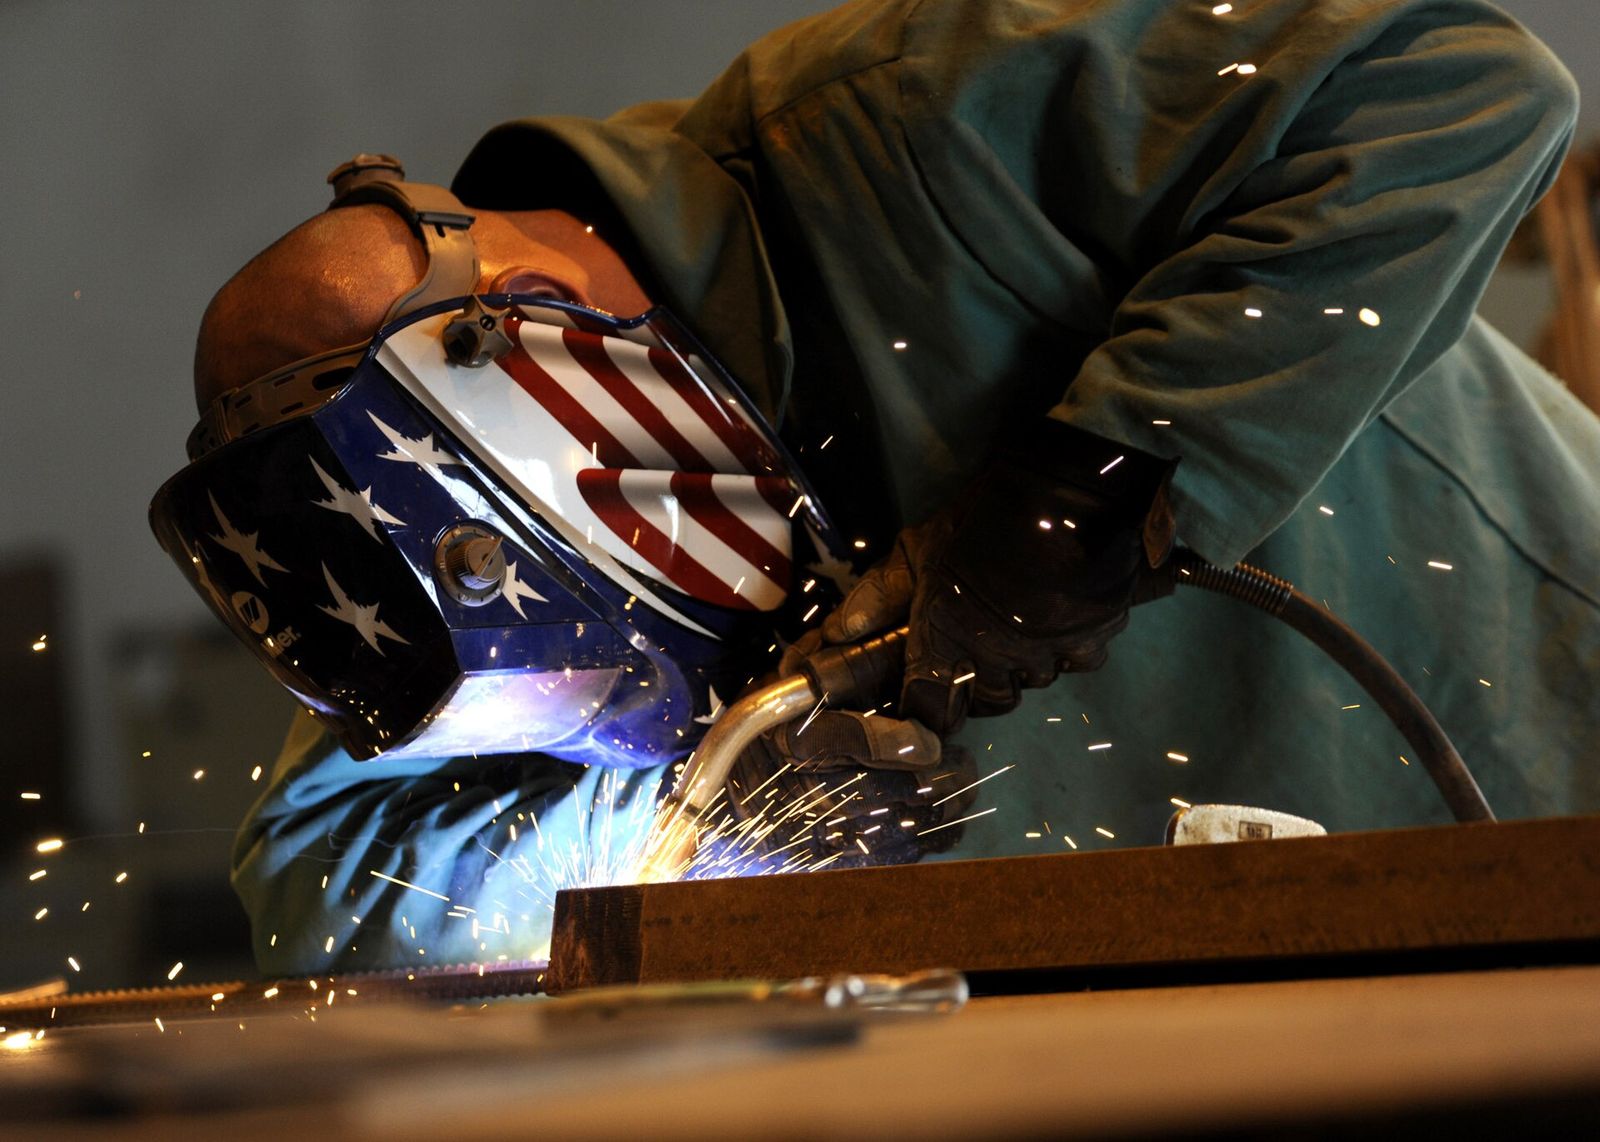
A good helmet is the most important piece of welding safety gear you'll buy. An auto-darkening helmet lets you see your work clearly until the arc strikes, then darkens in a fraction of a millisecond, so you can position the torch precisely without flipping a hood up and down. The spec sheets are full of shade numbers, sensor counts and four-digit optical ratings, though. This guide explains what they mean and which ones matter for the welding you do. If you're still choosing a machine, start with our guide to choosing your first welder.
How an auto-darkening filter works
The heart of the helmet is the auto-darkening filter (ADF), a cartridge of liquid-crystal layers between polarising filters, protected by clear cover lenses on both sides. Light sensors on the front detect the arc and an electronic circuit switches the liquid crystal to the dark shade you've selected. When the arc stops, the filter returns to its light state after a short delay.
Two points are often misunderstood:
- UV and infrared protection is always on. A certified filter blocks harmful ultraviolet and infrared radiation in both light and dark states, even if the battery is flat. What changes is how much visible light gets through.
- The light state isn't clear glass. It's typically around shade 3 or 4, like dark sunglasses, so a well-lit workspace makes setting up easier.
Power comes from a solar cell, a replaceable coin battery, or both. Helmets with replaceable batteries keep working after years of storage; sealed solar-and-battery designs can't be revived once the internal battery fails.
Shade numbers and what range you need
Shade numbers describe how much light the filter lets through: each step up is darker. Most auto-darkening helmets offer a variable dark shade of about 9–13, which covers most stick, MIG, flux-core and TIG work at hobby and light-industrial currents. Many also add a lighter range, often 5–8, for plasma cutting, oxy-fuel work and very low-amp TIG.
As a rough guide, shade charts based on US welding safety standards suggest:
| Process | Current | Suggested shade |
|---|---|---|
| Stick (SMAW) | 60–160 A | 10 |
| Stick (SMAW) | 160–250 A | 12 |
| MIG and flux-core | 60–160 A | 11 |
| MIG and flux-core | 160–250 A | 12 |
| TIG | Under 50 A | 10 |
| TIG | 50–150 A | 12 |
| Plasma cutting | Light to medium current | About 5–9 |
| Oxy-fuel welding and cutting | — | About 3–8 |
Those charts also set minimum shades, and personal comfort varies, so treat the table as a starting point rather than a rule.
Choosing a shade: start with a shade too dark to see the weld zone, then go lighter until you can see the weld pool clearly, without going below the minimum shade for your process and current.
Sensors and sensitivity
The sensors are small windows on the front of the filter. Budget helmets often have two; better ones have three or four, spread across the filter.
More sensors matter when your view of the arc is partly blocked: welding around pipe, out of position, under a bench or with your hand or the workpiece between the sensors and the arc. If one sensor is shaded, the others can still trigger the filter.
A sensitivity control adjusts how much light it takes to darken the filter. Turn it up for low-amperage TIG, where the arc is steady and dim, and down when bright sunlight or a neighbouring welder makes the filter darken when you don't want it to. If you TIG weld at low current, check that the helmet is rated for low-amp TIG; some filters don't trigger reliably on a very small arc.
Switching speed and delay
Switching speed is how quickly the filter goes from light to dark, usually quoted as a fraction of a second, such as 1/20,000 s or faster. Almost any certified helmet is fast enough to protect your eyes, but faster switching reduces the brief flash you see at each arc start, which is less tiring over a long day. Filters can switch more slowly in the cold, so check the operating temperature range if you work in an unheated workshop.
Delay is how long the filter stays dark after the arc stops, typically adjustable from about 0.1 to 1 second.
- Short delay suits tack welding and short welds, so you can see again quickly.
- Longer delay suits high-current work, where the weld and electrode glow brightly for a moment after the arc stops.
Optical class: what 1/1/1/1 means
The European standard for auto-darkening filters, EN 379, grades optical quality in four categories, each rated 1 (best) to 3. You'll see the result printed as four numbers, such as 1/1/1/2.
| Position | What it measures | What a good rating gives you |
|---|---|---|
| 1. Optical class | Distortion through the filter | A sharp, undistorted view |
| 2. Diffusion of light | Haze and scatter | Clearer detail, less "fog" |
| 3. Variation in luminous transmittance | How evenly shaded the filter is across its area | No lighter or darker patches |
| 4. Angle dependence | How the shade changes when you look through it at an angle | Even shading when you look off-centre |
A 1/1/1/1 filter is the clearest you can get, but 1/1/1/2 is very good, since the fourth rating mostly matters when you look through the edges of the filter. Lower ratings are still safe if the filter is certified; they're just less comfortable to look through for long sessions. The full EN 379 marking on the filter usually reads something like "4/9–13 ABC 1/1/1/1 EN 379": light shade, dark range, manufacturer code, optical classes and the standard.
Viewing area, colour and comfort
- Viewing area: compact filters show roughly 90 × 40 mm; large ones around 100 × 60–90 mm. A bigger window helps with out-of-position work and gives better awareness of your surroundings, at the cost of size and sometimes weight.
- Colour: older filters tint everything strongly green. Many newer ones give a more natural, neutral view in both light and dark states, which makes colours and edges easier to read.
- Weight and balance: most helmets weigh roughly 0.4–0.7 kg (about 1–1.5 lb). Balance matters as much as weight; a front-heavy helmet strains your neck.
- Headgear: look for a ratchet adjuster, several points of adjustment and a replaceable sweatband. Hard-hat adapters are available for site work.
- Magnifying lenses: if you use reading glasses, a slot-in magnifier lens behind the filter can replace them.
Standards and markings to look for
A helmet should be certified to the eye-protection standard for your market, and both the shell and the filter should be marked:
- United States: ANSI Z87.1.
- Canada: CSA Z94.3.
- Europe and the UK: EN 175 for the helmet shell and EN 379 for the auto-darkening filter.
- Australia and New Zealand: AS/NZS 1338.1 for filters.
Be wary of helmets that quote a standard without showing the marking on the filter itself.
Grinding mode and other features
- Grind mode holds the filter in its light state so you can grind without the filter darkening at sparks. Always wear impact-rated safety glasses under the helmet as well; see our guide to angle grinder discs and safety.
- Low-battery indicators and automatic on/off help avoid surprises.
- Powered air-purifying respirator (PAPR) helmets feed filtered air into the helmet from a belt-mounted blower. They're worth considering if you weld for long periods, in confined spaces or on materials that produce hazardous fumes, such as stainless steel or coated metal.
Care and replacement
- Replace cover lenses as soon as spatter or scratches spoil the view. They're inexpensive consumables, and the outer one protects the filter itself.
- Test before each session and stop if the filter flickers, darkens unevenly or fails to switch.
- Keep it clean and dry, and store it in a bag away from extreme heat.
- Replace the helmet if the shell is cracked or warped, or the filter is damaged.
The short version
- Get a variable dark shade of about 9–13, plus a 5–8 range if you'll plasma cut or use oxy-fuel.
- Choose three or four sensors if you weld out of position, on pipe or at low TIG currents.
- Look for an EN 379 rating of 1/1/1/1 or 1/1/1/2 if you weld for long periods.
- Check for adjustable sensitivity and delay and a grind mode.
- Make sure the helmet carries the certification marking for your market.
- Wear safety glasses underneath, and keep spare cover lenses to hand.
Bloiq is reader-supported. Some links may earn us a commission; it never affects what we write. How we make money.
Cover photo: Petty Officer 1st Class Carmichael Yepez, Public domain, via Wikimedia Commons