Camera drones for beginners: weight classes, rules and flight time
What the 250-gram line means, how drone registration and flying rules work in general terms, and what to expect from flight time and beginner safety features.
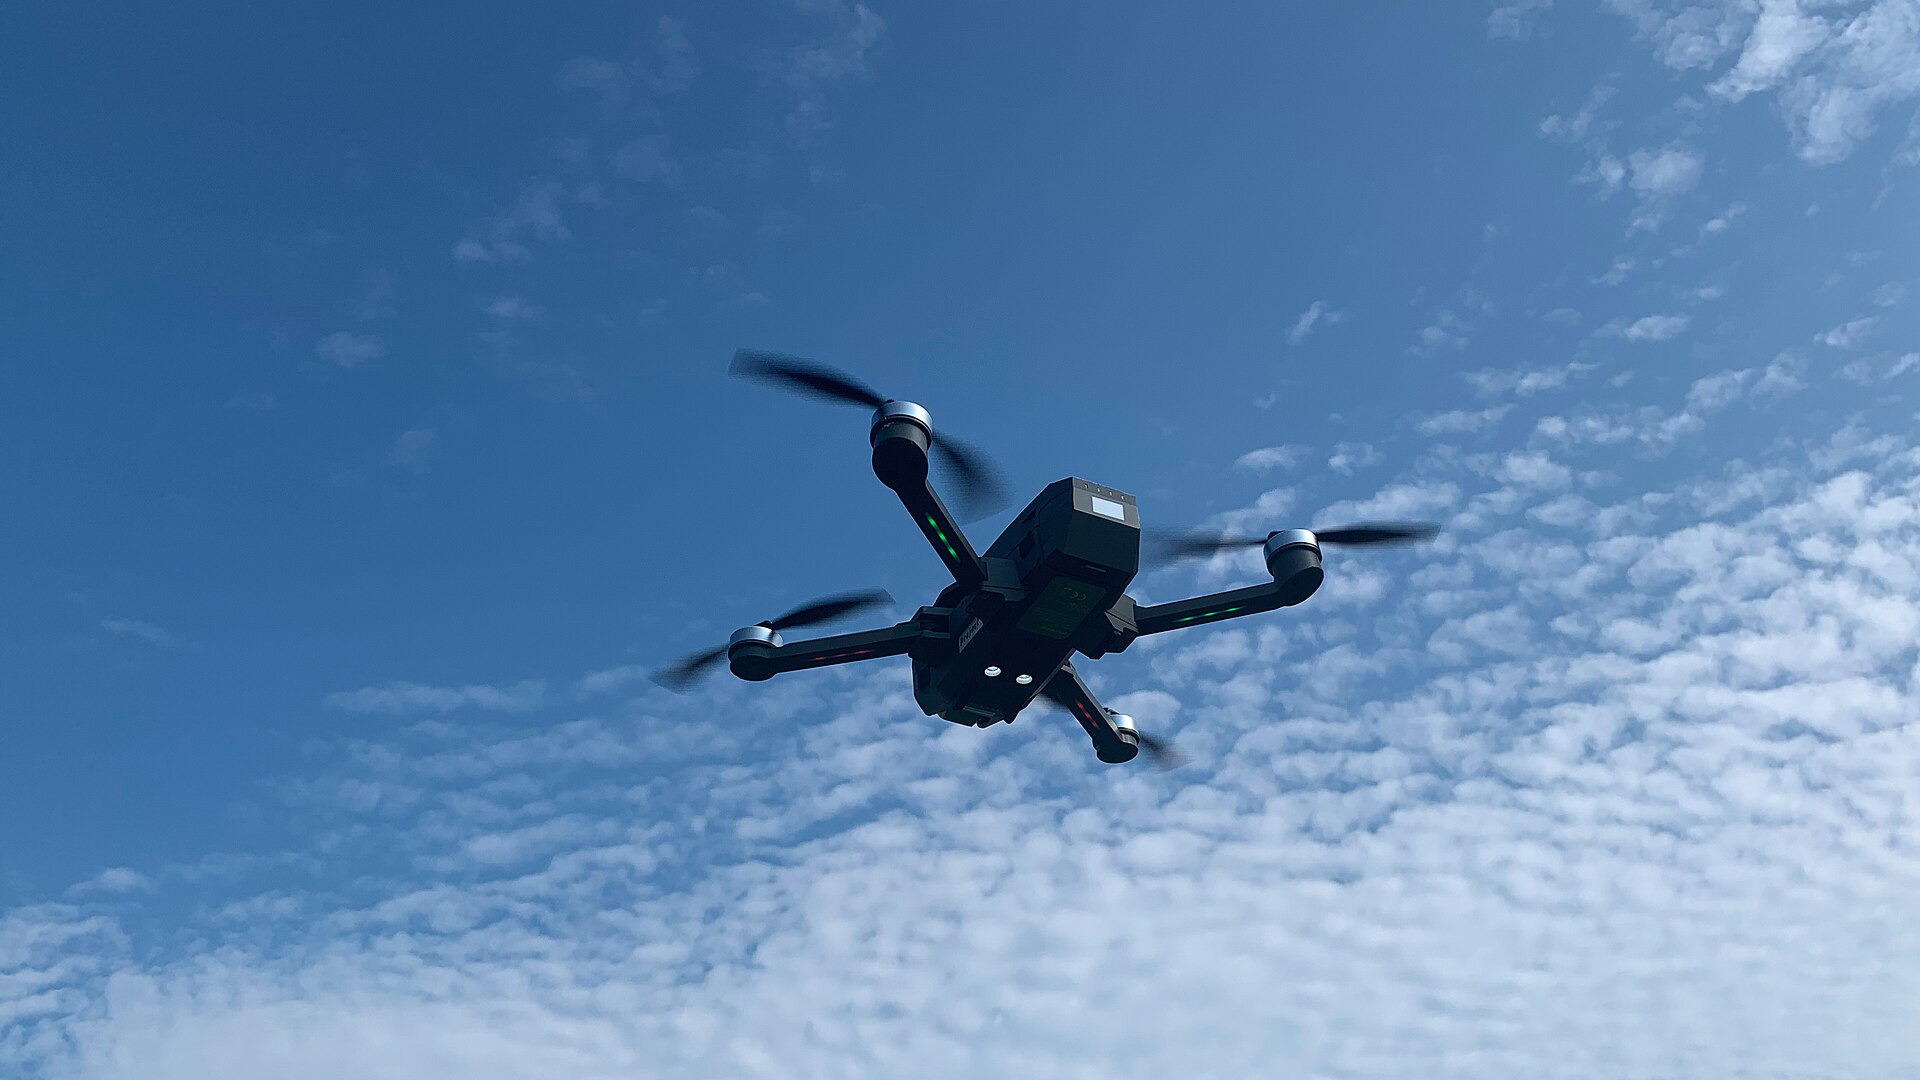
A camera drone is the easiest way to take photos and video from the air, and today's folding models fit in a jacket pocket. The moment one leaves the ground, though, you're sharing airspace with aircraft, and the rules that apply depend mostly on how much the drone weighs. This guide explains the weight classes, how registration and flying rules usually work, what the flight-time figure really means, and which features make a first drone easier to fly.
Why weight is the first thing to check
In many countries, 250 grams is the line that matters most. Drones below it are treated as lower risk and usually face fewer requirements. Drones above it typically need registration, a pilot test or both.
That figure is the take-off weight: the drone with its battery and propellers, plus anything you attach. A larger "extended" battery, propeller guards or a lens filter can push a drone sold as sub-250 g over the line, and the rules change with it.
| Weight class | Typical drone | What usually applies |
|---|---|---|
| Under 250 g | Small folding camera drones, toy drones | Lightest rules; registration may still apply if it has a camera |
| 250 g to about 900 g | Mid-size folding camera drones | Registration and an online test in most countries |
| About 900 g to 25 kg | Larger camera and professional drones | More training, and limits on flying near people |
The European Union also uses class marks printed on the drone: C0 for under 250 g, C1 for under 900 g and C2 for under 4 kg, with each class allowed to fly closer to or farther from people. The UK introduced its own marks (UK0 to UK6) for new models from 2026. Other countries don't use class marks and go by weight alone.
Registration and tests, in general terms
Most countries follow the same pattern: the operator (the person responsible for the drone) registers and displays an ID number on it, and the pilot proves basic knowledge with a free or low-cost online test. Heavier drones, or flying closer to people, need a more advanced certificate. A few examples, as the rules stood in 2026:
- United States: recreational flyers must pass a free online safety test whatever the drone weighs, and register drones over 250 g with the aviation authority. Registered drones must broadcast Remote ID.
- Canada: drones from 250 g to 25 kg must be registered and marked, and the pilot needs at least a basic drone pilot certificate, earned with an online exam. Drones under 250 g need neither, but must still be flown safely.
- European Union: you register as an operator if your drone weighs 250 g or more, or if it has a camera and isn't a toy, so almost every camera drone counts. Drones in class C1 and above also need an online training course and exam. Registration in your home country is valid across the EU.
- United Kingdom: since January 2026, anyone flying a drone of 100 g or more needs a Flyer ID (a free online test), and an Operator ID is needed for drones of 100 g or more with a camera, or 250 g or more without one.
- Japan requires registration from 100 g.
Remote ID is a short-range broadcast of the drone's identity and position, which the authorities can read. Many recent drones have it built in; make sure it's switched on and the firmware is current. Some countries also require third-party liability insurance, even for hobby flying.
These rules change and differ in detail, so check the current rules on your national aviation authority's website before your first flight, and again before flying abroad.
The flying rules most countries share
- Height: stay below about 120 m (400 ft) above the ground.
- Line of sight: keep the drone where you can see it with your own eyes, not only on the screen.
- Airports and restricted areas: stay well clear of airports, airfields and heliports, and of restricted zones such as military sites and prisons. Aviation authorities publish official maps or apps that show where you can fly.
- People: never fly over crowds, and keep a sensible distance from people who aren't involved in your flight. Many countries set minimum distances.
- Emergencies: never fly near fires, accidents or rescue operations. A drone can ground firefighting aircraft.
- Parks and nature reserves: many national parks and some city parks ban drones, and wildlife disturbance rules apply in many places.
- Night: some countries allow night flying with lights; others restrict it.
- Privacy: filming people and private property raises legal and ethical questions. Be considerate, and don't hover near homes, gardens or windows.
Built-in geofencing, which stops some drones taking off in restricted zones, is helpful but not a substitute for checking the rules yourself.
Flight time: what the number really means
Advertised flight times are measured in ideal conditions: a new battery, sea level, no wind and gentle flying until the battery is nearly empty. Camera drones typically advertise somewhere around 25 to 45 minutes. In real use you'll get less.
Rule of thumb: plan on about 70–80% of the advertised flight time, and aim to land with 20–30% of the battery left.
- Wind is the biggest drain. The drone works hard to hold its position, and the flight home against the wind takes longer. Small sub-250 g drones are also pushed around more by gusts, so check the maker's maximum wind resistance.
- Cold reduces battery capacity and can make the voltage drop suddenly. Keep batteries warm until take-off and watch the battery reading closely.
- Fast flying, steep climbs and accessories all cost minutes.
- Return-to-home usually starts automatically when the battery runs low, but it's better to start heading back well before that. Flying out against the wind and returning with it helps.
Most owners carry two or three batteries and a charging hub. Lithium batteries last longer stored part-charged rather than full, and a swollen or damaged battery should never be flown. On flights, spare batteries normally go in cabin baggage with the terminals protected. Most consumer drone batteries are well under the 100 Wh level airlines commonly use as a limit, but check your airline's current rules; our guide to power banks explains watt-hours.
Features that make a first drone easier
- GPS and downward sensors: the drone holds its position when you let go of the sticks, which makes learning far less stressful. Cheap toy drones without GPS drift with every breeze.
- Return-to-home: the drone records its take-off point and flies back if the signal is lost or the battery runs low. Set the return height above nearby trees and buildings.
- Obstacle sensing: ranges from none, to forward and backward only, to all directions. It helps, but thin branches and wires are hard to detect, and sensing works poorly in low light.
- Gimbal and camera: a three-axis mechanical gimbal keeps video smooth. Sensor size matters as much as resolution, just as it does for action cameras and mirrorless cameras.
- Transmission range: quoted in kilometres, but you must keep the drone in sight anyway. A strong signal mainly helps around trees and buildings.
- Beginner or slow mode: limits speed and distance while you learn.
FPV drones, flown through goggles, are a faster, more demanding hobby, and in most places you need a spotter beside you to keep the drone in sight.
Your first flights
- Update the drone, controller and app at home. Updates can take a while and often can't be skipped in the field.
- Choose a large open space away from people, trees, roads and power lines, on a day with light wind.
- Check before every flight: propellers undamaged and firmly fitted, batteries charged, gimbal cover removed, enough GPS satellites and the home point recorded.
- Practise the basics: hovering, slow squares and circles, and flying with the drone facing you, when left and right appear reversed.
- Watch for the common causes of crashes: flying sideways or backwards into trees, running the battery too low, losing track of which way the drone faces, and flying out of sight.
The short version
- Check the take-off weight first: under 250 g usually means lighter rules, but registration may still apply because of the camera.
- Read your national rules before the first flight: registration, online test, Remote ID and insurance.
- Stay below about 120 m (400 ft), keep the drone in sight, and keep away from people, airports and emergencies.
- Expect less than the advertised flight time, land with a reserve and budget for spare batteries.
- For a first drone, prioritise GPS hold, return-to-home, obstacle sensing and wind resistance over camera specifications.
Bloiq is reader-supported. Some links may earn us a commission; it never affects what we write. How we make money.
Cover photo: Project Kei, CC BY-SA 4.0, via Wikimedia Commons