Bread makers: loaf sizes, paddles, programmes and gluten-free cycles
What to look for in a bread maker: loaf sizes and pan shapes, single and twin paddles, which programmes matter, gluten-free settings and the dough cycle.
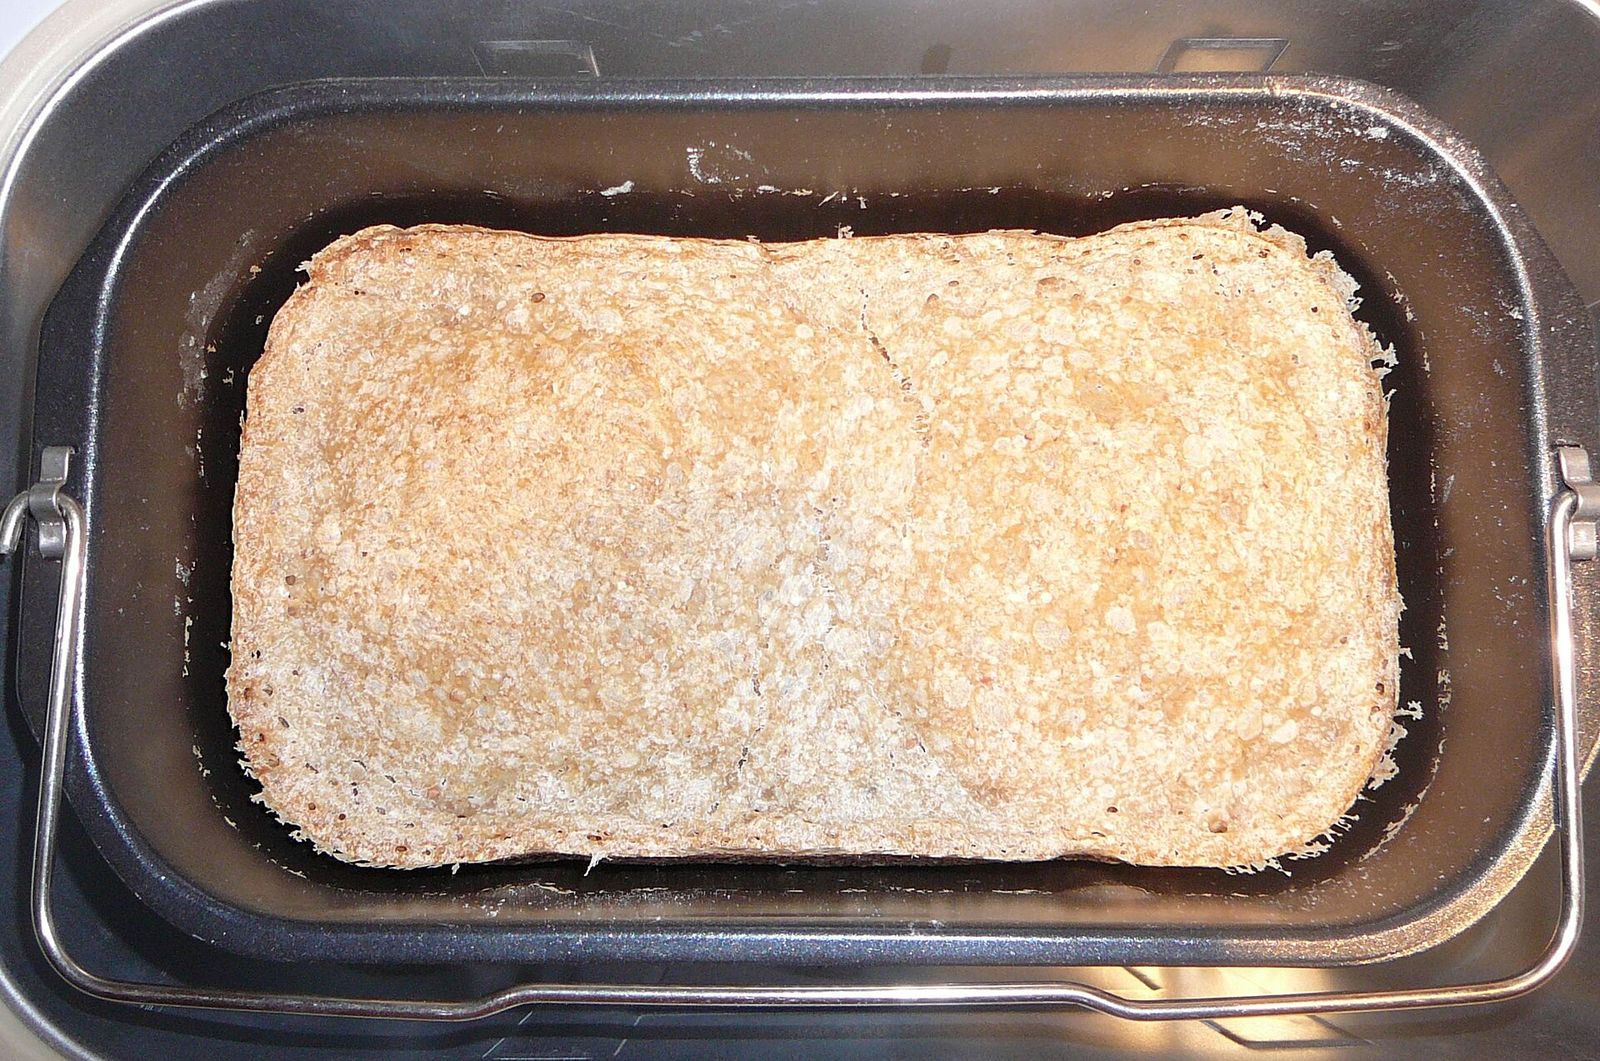
A bread maker mixes, kneads, proves and bakes a loaf in one pan, with only a few minutes of work from you. Set the timer at night and you can wake up to fresh bread. Machines look alike on the shelf, but they differ in loaf size and shape, paddles, the programmes that matter and how well they handle gluten-free or wholemeal recipes. This guide explains what each feature does and who it suits.
How a bread maker works
Inside the machine is a removable, usually non-stick bread pan that sits on a drive shaft. One or two kneading paddles clip onto shafts in the base of the pan, and a heating element surrounds it. A programme runs through a fixed sequence:
- Mixing and kneading develop the gluten.
- Rising (proving), often with a "knock-back" and a second rise, lets the dough expand.
- Baking, often with the crust colour you selected.
- Keep warm, on many machines, holds the loaf for a while if you're not there.
A basic white loaf typically takes around three hours, wholemeal programmes longer, and rapid programmes much less.
Loaf sizes: which capacity you need
Capacity is given as the largest loaf the machine can make, in grams or kilograms in Europe and in pounds in North America. Most machines also make smaller loaves.
| Loaf size | Roughly | Typically suits |
|---|---|---|
| 500 g / 1 lb | A small loaf | One or two people |
| 750 g / 1.5 lb | A standard sandwich loaf | Two to four people |
| 1 kg / 2 lb | A large family loaf | Four or more, or bread for several days |
| 1.25 kg / 2.5 lb and up | Extra large | Big households, batch baking |
Home-made bread has no preservatives and usually goes stale within a few days, so choose the size you'll eat. Sliced and frozen, bigger loaves keep well. A larger machine also needs more worktop and cupboard space.
Pan shape and paddles
- Vertical (tall) pans with one paddle are common in compact machines. The loaf is tall and squarish, so the slices are an unusual shape for a toaster.
- Horizontal pans make a traditional rectangular loaf. They usually have two paddles, because one paddle can't knead dough evenly across a long pan.
- Collapsible or folding paddles fold flat before baking, leaving a smaller hole in the bottom of the loaf. With fixed paddles, you can remove them after the last knead if you're at home.
- Pan and paddle care: non-stick coatings last longer if you avoid metal utensils and dishwashers unless the manual allows them. Check that replacement pans and paddles are available, as they wear long before the motor does.
Programmes that matter
Machines advertise anywhere from a handful to dozens of programmes. These are the useful ones:
- Basic or white: the everyday loaf.
- Wholemeal or whole wheat: longer rest and rising times to help heavier flours.
- French or crusty: longer rising and a crisper, chewier crust, with less fat and sugar.
- Sweet or brioche: lower baking heat for doughs rich in sugar, butter and eggs, which brown quickly.
- Rapid or express: a quick loaf, usually needing more yeast. The texture is generally less good.
- Dough: mixes, kneads and proves, then stops so you can shape and bake by hand (see below).
- Gluten-free: see the next section.
- Bake only: useful for finishing an underbaked loaf or baking a cake batter.
- Jam and cake programmes: handy extras, but rarely the reason to buy a machine.
- Custom or home-made programmes: let you set each stage's time. They're popular with keen bakers who want to adapt recipes.
Most machines also offer crust colour settings (light, medium, dark) and a choice of loaf size, which adjusts the timing.
Gluten-free bread
Gluten-free doughs behave differently. With no gluten to develop, they're closer to a thick batter, they need thorough mixing rather than long kneading, and they usually rise only once.
- A dedicated gluten-free programme is worth having if you bake this way regularly; a general "quick" setting is not the same thing.
- Gluten-free mixes and flour blends vary, so follow the recipe written for your machine where possible, and scrape down the sides of the pan during mixing if the paddles leave flour in the corners.
- For coeliac disease or a serious intolerance: cross-contact matters. A pan and paddles used only for gluten-free baking, or a machine kept only for it, is the safest approach.
The dough cycle: more than loaves
Many owners end up using the dough setting more than any other. The machine does the kneading and the first rise; you then shape the dough by hand and bake it in an oven:
- pizza bases and focaccia;
- bread rolls, buns and baguettes;
- cinnamon rolls, enriched sweet doughs and plaited loaves;
- naan and flatbreads.
This gets you shapes and crusts that a bread pan can't produce, without the effort of hand kneading. If you mostly want dough, compare with a stand mixer, which also whisks and beats, or a food processor with a dough blade.
Useful features
- Delay timer: sets the finish time up to around 12–15 hours ahead. Don't use it with perishable ingredients such as fresh milk, eggs or meat, which shouldn't sit at room temperature for hours.
- Automatic dispensers: a fruit and nut dispenser adds ingredients at the right moment, so they aren't crushed. Some machines also have a yeast dispenser, which keeps yeast away from the liquid until the right time, especially useful on delayed programmes.
- Viewing window: lets you check the dough without opening the lid (opening it mid-rise or mid-bake can make a loaf collapse).
- Power-cut memory: resumes the programme after a short interruption.
- Noise: kneading can be loud and the machine may rock a little. Consider where it will sit if it runs overnight.
Getting good results
- Follow the manual's order for adding ingredients. Some brands want liquids first and yeast last; others the reverse. The goal is to keep the yeast dry until mixing starts.
- Weigh ingredients with kitchen scales rather than using cups; small errors in flour or water make a big difference.
- Use the right flour. Strong (bread) flour gives better rise and structure than plain flour.
- Use the yeast type the recipe specifies. Fast-action (instant) and active dry yeast behave differently.
- Watch the first knead. After a few minutes the dough should form a smooth, slightly tacky ball. Add a little flour or water if it's very wet or dry.
- Remove the loaf promptly and cool it on a rack, or the crust turns soft and damp.
The short version
- Choose a loaf size you'll eat within a few days, or plan to slice and freeze.
- Prefer a horizontal pan with two paddles if you want traditional slices; a vertical pan saves space.
- Make sure it has the programmes you'll use: basic, wholemeal, dough and, if needed, gluten-free.
- A delay timer and fruit and nut dispenser are worth having; a yeast dispenser helps with overnight bakes.
- Check that replacement pans and paddles are available.
- Weigh ingredients and follow the manual's order for adding them.
Bloiq is reader-supported. Some links may earn us a commission; it never affects what we write. How we make money.
Cover photo: Sevela.p, CC BY-SA 4.0, via Wikimedia Commons
.jpg)