Cloudy headlights: restoration kits, sanding grits and UV sealing
Why plastic headlight lenses turn yellow and hazy, how sanding and polishing restore them, why a UV sealant decides how long it lasts, and when to replace instead.
Yellow, hazy headlight lenses make a car look older than it is. They also cut the light that reaches the road and scatter what's left into a glare. The good news is that most cloudy lenses can be brought back with sandpaper, polish and a fresh protective coat. The bad news is that a quick polish without that coat often looks foggy again within months. This guide explains why lenses cloud, how restoration works, which kit suits which lens, and when a new headlamp is the better answer.
Why plastic headlight lenses go cloudy
Most modern headlamp lenses are made of polycarbonate, a tough, light plastic that can be moulded into the complex shapes car designers like. Polycarbonate has one weakness: ultraviolet light breaks down its surface. To protect it, the factory applies a thin, hard, UV-resistant clear coat.
Over years of sun, heat, road grit, car washes and harsh cleaners, that coating wears, cracks and peels. Once it's gone, the bare plastic underneath oxidises and yellows. You see it as:
- an even yellow tint or milky haze, usually worst on the upper surface that faces the sun;
- a rough, chalky feel when you run a finger over the lens;
- patchy, flaking areas where the old coating is lifting.
All of these are outside the lens, and that's what restoration can fix.
Check whether the haze is inside or outside
Before buying anything, find out where the problem is. Clean the lens and look closely in good light.
| What you see | Likely cause | Can restoration fix it? |
|---|---|---|
| Even yellow or milky haze, rough to the touch | Failed UV coating, oxidised surface | Yes |
| Peeling, flaky patches | Old factory coat lifting | Yes, once all of it is sanded off |
| Droplets or mist on the inside | Failed seal, cracked housing or blocked vent | No: the seal or the lamp needs attention |
| Fine cracks running into the plastic ("crazing") | Deep stress damage | Rarely; usually needs replacement |
| Dull, peeling or darkened reflector behind the lens | Reflector coating damaged by heat or moisture | No |
Condensation that clears after driving can be normal on some lamps. Standing water, or mist that never clears, is a fault.
How restoration works
Restoration removes the damaged surface layer and replaces the lost protection. Every method follows the same three stages, even if a kit combines some of them:
- Remove the yellowed plastic and the remains of the old coating, usually by sanding.
- Refine the surface with progressively finer abrasives and polish until it is optically clear.
- Seal the bare plastic with a new UV-resistant coating.
Skip stage three and you are left with fresh, unprotected polycarbonate, which is exactly the material that went yellow in the first place, and it will cloud again quickly.
Sanding grits and the usual sequence
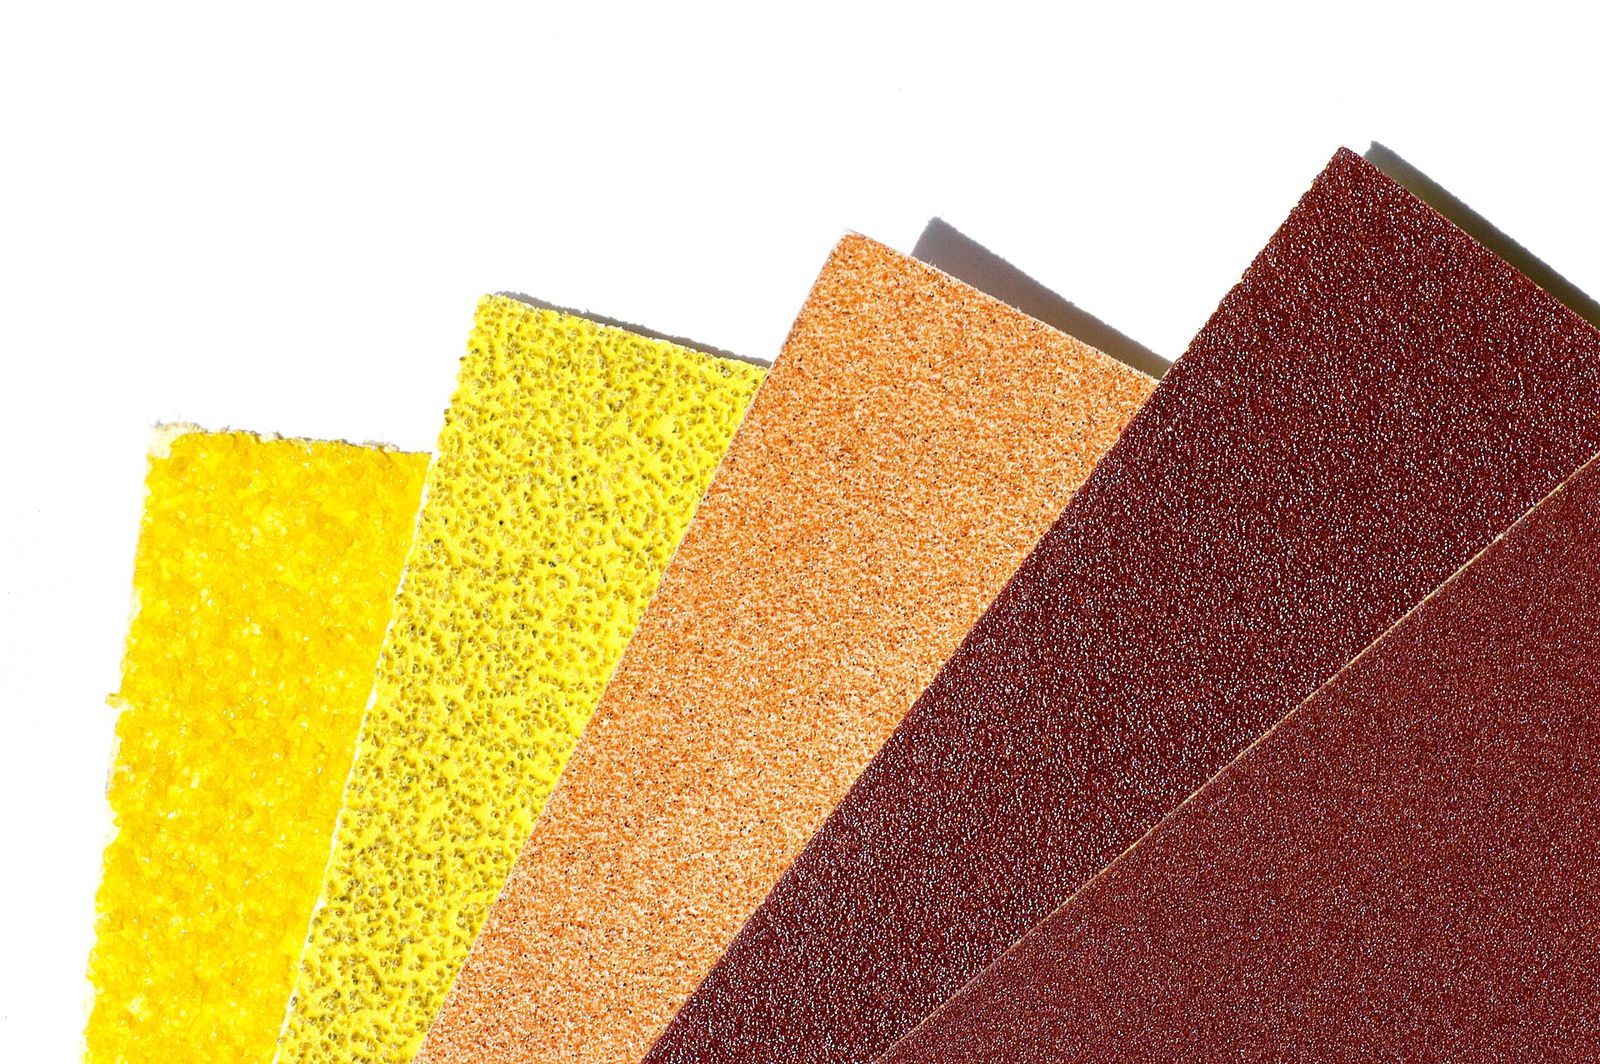
Sandpaper grit numbers describe how fine the abrasive is: the higher the number, the finer the scratch. Headlight work usually uses waterproof "wet and dry" paper, kept wet so it cuts smoothly and doesn't clog.
A typical sequence looks like this:
- 400–600 grit to remove heavy yellowing and all of the old coating. Badly weathered lenses sometimes start a little coarser, light haze a little finer.
- 800–1,000 grit to replace the deeper scratches with finer ones.
- 1,500–2,000 grit to refine further. The lens should now look evenly frosted, with no shiny or yellow patches.
- 3,000 grit (often a foam-backed disc or pad) to prepare it for polishing.
Rule of thumb: don't move to a finer grit until the scratches from the previous one are gone. Change the direction of sanding at each step so you can see when the old scratches have disappeared.
Mask the paint, trim and rubber seals around the lamp with a couple of layers of masking tape first; sandpaper marks on paint are much harder to fix than a cloudy lens.
The surface will look worse before it looks better. A uniformly frosted lens after the fine grits is the sign you're on track.
Polishing and the final clean
After sanding, a plastic polish or fine cutting compound brings back clarity, applied by hand or with a foam pad on a drill or polisher at moderate speed. Keep the pad moving and the plastic cool, because heat can distort it.
Then clean the lens thoroughly before sealing. Many kits supply a wipe or recommend a particular cleaner; check the kit's instructions, as some solvents can attack polycarbonate. The sealant needs a dust-free, oil-free surface to bond to.
UV sealing: the step that decides how long it lasts
The sealant is where kits differ most, and it matters far more than the polish.
- Wipe-on coatings are spread across the lens in one pass and cure in air. They're the easiest to use. Durability varies a lot between products.
- UV-cured coatings harden under sunlight or a UV lamp. Some kits include the lamp.
- Spray clear coats, including two-part (2K) automotive clears, can be very durable when applied well. Two-part products often contain isocyanates, which are hazardous to breathe, so follow the safety instructions exactly, use the specified respirator and work outdoors or in a well-ventilated space.
- Vapour systems soften the surface with a heated solvent vapour that re-flows it smooth and leaves a coating. They work quickly but involve hot, flammable chemicals and need care.
- Waxes and sealant films add some protection but are not a substitute for a proper hard coat.
Apply sealants in the conditions the maker specifies (temperature, humidity, no direct rain for a period afterwards) and keep the lamp clean and dry while it cures. A well-applied hard coat can last for years. A protective film or a regular layer of a UV-resistant paint sealant can help it last longer; our guide to car wax, sealants and ceramic coatings explains the differences.
Choosing a kit
Restoration kits fall into a few broad types:
- Hand kits with sandpaper discs or sponges, polish and a wipe-on sealant. Slower, but very controllable, and fine for moderate haze.
- Drill-powered kits with a backing pad and abrasive discs that fit a household drill. Faster on badly yellowed lenses, but easier to overheat the plastic or catch the surrounding trim.
- Polish-only kits with no abrasives. Fine for very light haze, but they can't remove heavy oxidation.
Whatever the type, check that the kit includes a real UV-resistant sealant, not just a polish, and that it has enough material for both headlamps. Popular household shortcuts such as toothpaste or insect repellent may brighten a lens briefly, but they don't seal it, and some solvents can damage the plastic.
When replacement is the better choice
Restoration fixes the outer surface. It can't fix:
- moisture or dirt inside the lamp;
- a damaged or flaking reflector;
- cracks, chips or crazing that run into the plastic;
- broken mounting tabs, which can let the lamp move and throw the aim out;
- a lens that has already been restored several times and is getting thin or wavy.
In those cases a new headlamp is usually the only lasting fix. Original-equipment and aftermarket lamps vary a great deal in optical quality. A road-legal replacement carries the approval markings required where you drive, such as an E-mark in Europe or DOT and SAE markings in North America. Check the current rules before buying.
After the work: aim, bulbs and the law
Clear lenses often reveal other problems. Check the beam on a flat wall at night; if the cut-off is uneven or set too high, have the aim adjusted. This is also a good moment to look at the bulbs. Halogen bulbs dim with age, and if you're thinking about upgrading, our LED headlight bulbs guide explains which housings work with retrofits and the legal points to check.
Badly clouded lenses can be a reason to fail a safety or roadworthiness inspection in some places, and buyers notice them too; our used car inspection checklist covers what else to look at. Rules vary, so check the current requirements where you live.
The short version
- Confirm the haze is on the outside of the lens, not inside or in the reflector.
- Mask the surrounding paint and trim.
- Sand wet through progressively finer grits until the lens is evenly frosted.
- Polish to full clarity, keeping the plastic cool.
- Seal it with a UV-resistant coating. Without one, the yellowing comes back.
- Replace the lamp if it has internal moisture, a damaged reflector or deep cracks.
- Check the beam aim afterwards.
Bloiq is reader-supported. Some links may earn us a commission; it never affects what we write. How we make money.
Cover photo: Simon Eugster, CC BY-SA 3.0, via Wikimedia Commons