Heat guns and soldering irons: temperatures, tips, uses and safety
What heat guns and soldering irons are for, how temperature control, nozzles and tips work, and the fire, fume and lead-paint precautions to take.
Heat guns and soldering irons both apply controlled heat, but they do very different jobs. A heat gun blows a stream of hot air over a wide area; a soldering iron delivers heat to one tiny point. This guide explains what each tool is good for, what temperature control and tip or nozzle choices mean, and the safety steps that matter most, from fire risk to lead paint and flux fumes.
Which tool does which job
| Job | Heat gun | Soldering iron |
|---|---|---|
| Stripping paint and varnish | Yes | No |
| Shrinking heat-shrink tubing | Yes | Only at a pinch |
| Softening adhesives, removing stickers and flooring | Yes | No |
| Bending thin plastic sheet or tube | Yes | No |
| Joining wires and electronic components | No | Yes |
| Repairing circuit boards | Hot-air rework tools only | Yes |
| Stained glass and heavy wiring | No | Yes, with a high-power iron |
Copper water pipe is a separate case: plumbers usually solder it with a gas torch, not an electric iron or a heat gun.
Heat guns: temperature and airflow
A heat gun works like a powerful hairdryer, with far higher output temperatures. Many reach several hundred degrees Celsius, and some go past 600 °C (over 1,100 °F).
Models differ in how you control that heat:
- Two-setting guns offer a low and a high setting. They're fine for occasional stripping and heat-shrink.
- Variable-temperature guns use a dial or digital display to set the output, which matters for plastics, adhesives and delicate finishes.
- Airflow control lets you reduce the blast when working near loose material or small parts.
- A cool-down setting blows unheated air to bring the element and nozzle down faster before storage.
Cordless heat guns exist and are handy for heat-shrink on site, but most heavy paint stripping is done with mains-powered models.
Heat gun nozzles
Nozzles shape the airflow for different jobs:
- Flat or spreader nozzle: a wide, even stream for stripping paint from flat surfaces.
- Cone or concentrator nozzle: focuses heat on a small area.
- Reflector nozzle: a curved shape that wraps heat around tubing and heat-shrink.
- Glass protector nozzle: deflects heat away from window panes when stripping frames, reducing the risk of cracking the glass.
Nozzles become extremely hot. Let them cool before changing them, or use pliers.
Heat gun safety and lead paint
Heat guns start more fires than most people expect. Hot air can ignite dust, old insulation, birds' nests or timber hidden behind cladding and inside wall cavities, and the fire may smoulder unseen for some time.
- Keep the gun moving, and never leave it running unattended.
- Clear flammable material from the work area and keep a fire extinguisher within reach.
- Check for smouldering for a while after you finish, especially around eaves and window frames.
- Stand the gun upright on its rest to cool, away from anything that can burn.
- Never point it at people or pets, and don't block the air vents.
- Take care when heating plastics: overheating PVC and similar materials releases harmful fumes.
Lead paint is the other major hazard. Paint in older homes, especially those built before about 1960, is likely to contain lead, and lead paint was used in some places until the late 1970s or beyond. Heating it can release lead fumes, and scraping it creates lead-contaminated dust. Test old paint before stripping. If it contains lead, avoid high temperatures (in the US, renovation rules prohibit heat guns operating at 1,100 °F, about 590 °C, or above on lead paint), contain and clean up dust carefully, and consider professional removal. Keep children and pregnant people away from the work.
Soldering irons: power versus temperature control
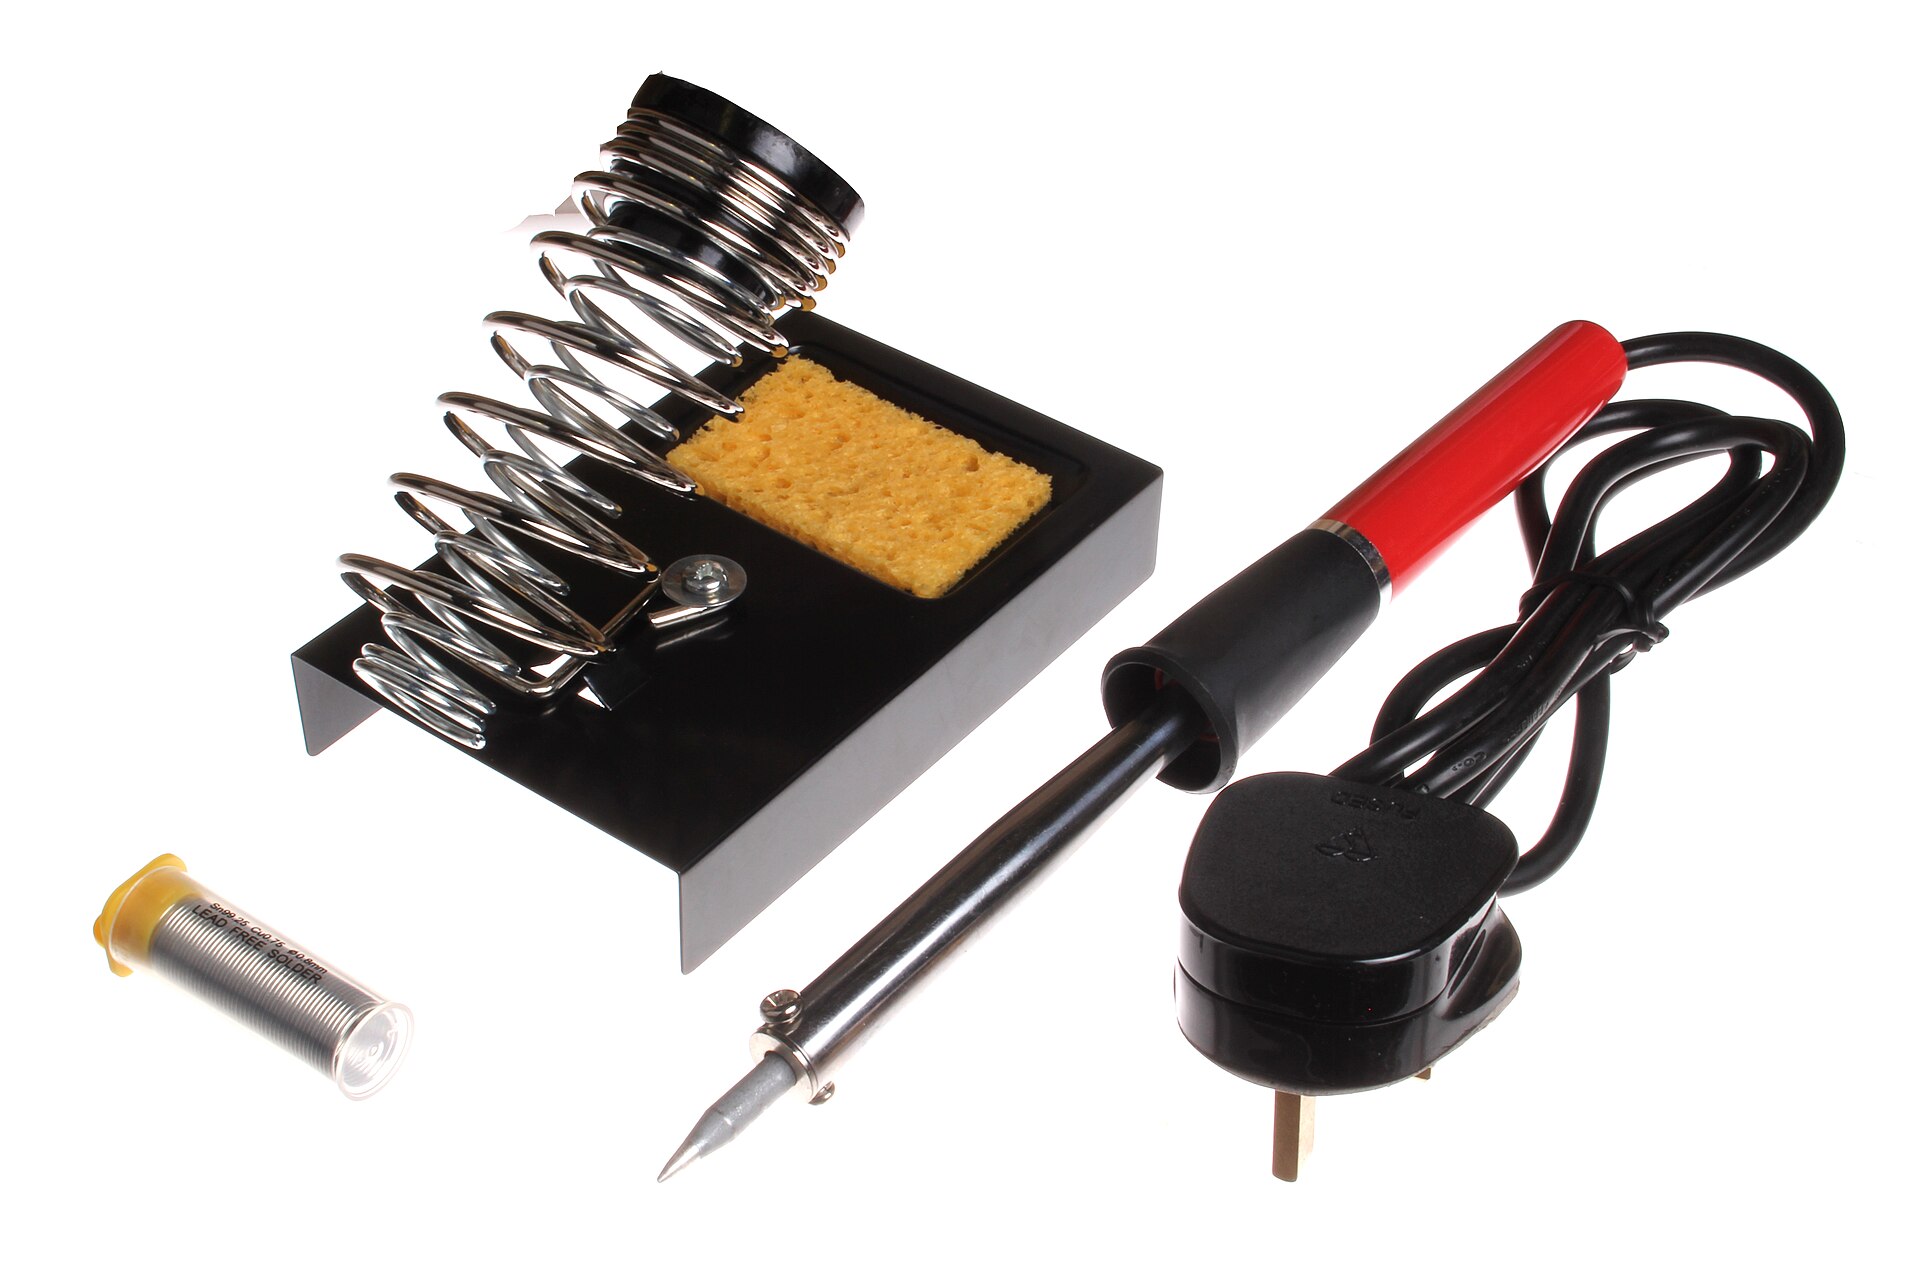
A soldering iron heats a metal tip to melt solder, which flows into a joint and bonds the parts when it cools. The key buying decision is whether the iron is temperature controlled.
- Basic pencil irons have a fixed element, often 25–60 W, with no thermostat. They're cheap and fine for occasional wire joints, but the tip can run too hot at rest and cool too much on large joints.
- Temperature-controlled irons and soldering stations hold a set tip temperature and push more power in when the joint draws heat away. They give more consistent results and longer tip life.
- Compact smart irons, powered by a USB-C supply or a battery pack, often include temperature control, a sleep mode and fast heat-up.
- Soldering guns heat almost instantly and suit heavy wires and occasional jobs, but they're clumsy for electronics.
- Butane irons work without mains power, useful for car and field repairs.
Wattage matters mainly for how quickly the iron recovers its temperature on big joints. Stained glass, thick cables and large connectors need more power than circuit-board work.
Setting the temperature
The right temperature depends on the solder and the size of the joint.
- Tin-lead solder (for example 63/37) melts at about 183 °C.
- Lead-free solders, now standard in most commercial electronics, typically melt at about 217–227 °C.
Tip temperatures are set well above the melting point so the joint heats quickly. Many people work somewhere around 300–370 °C for electronics, lower for tin-lead than for lead-free. Follow the solder maker's guidance. Too hot oxidises the tip quickly and can lift circuit-board pads; too cool gives dull, grainy joints.
Rule of thumb: use the lowest temperature that lets a joint flow within a few seconds. If you need to crank the temperature up, a larger tip or more power usually works better.
Soldering tips and their care
- Conical tips have a fine point for small components but transfer heat poorly.
- Chisel (screwdriver) tips are the most versatile, with a flat face that transfers heat well.
- Bevel or hoof tips carry a small reservoir of solder for dragging across rows of pins.
- Knife tips handle drag soldering and some surface-mount work.
Most modern tips are iron-plated copper. Keep them tinned with a thin coat of solder, wipe them on brass wool or a damp sponge, and never file or sand them, as that destroys the plating. Switch the iron off or use sleep mode between sessions.
Soldering fumes and lead safety
The smoke from soldering comes mainly from flux, not the metal. Rosin-based flux fumes can irritate the airways and are a recognised cause of occupational asthma.
- Work in a ventilated space, and use a fan or fume extractor to draw fumes away from your face.
- If you use lead solder, wash your hands afterwards and don't eat or drink at the bench.
- Always return the iron to its stand. The tip can cause serious burns and set fire to benches.
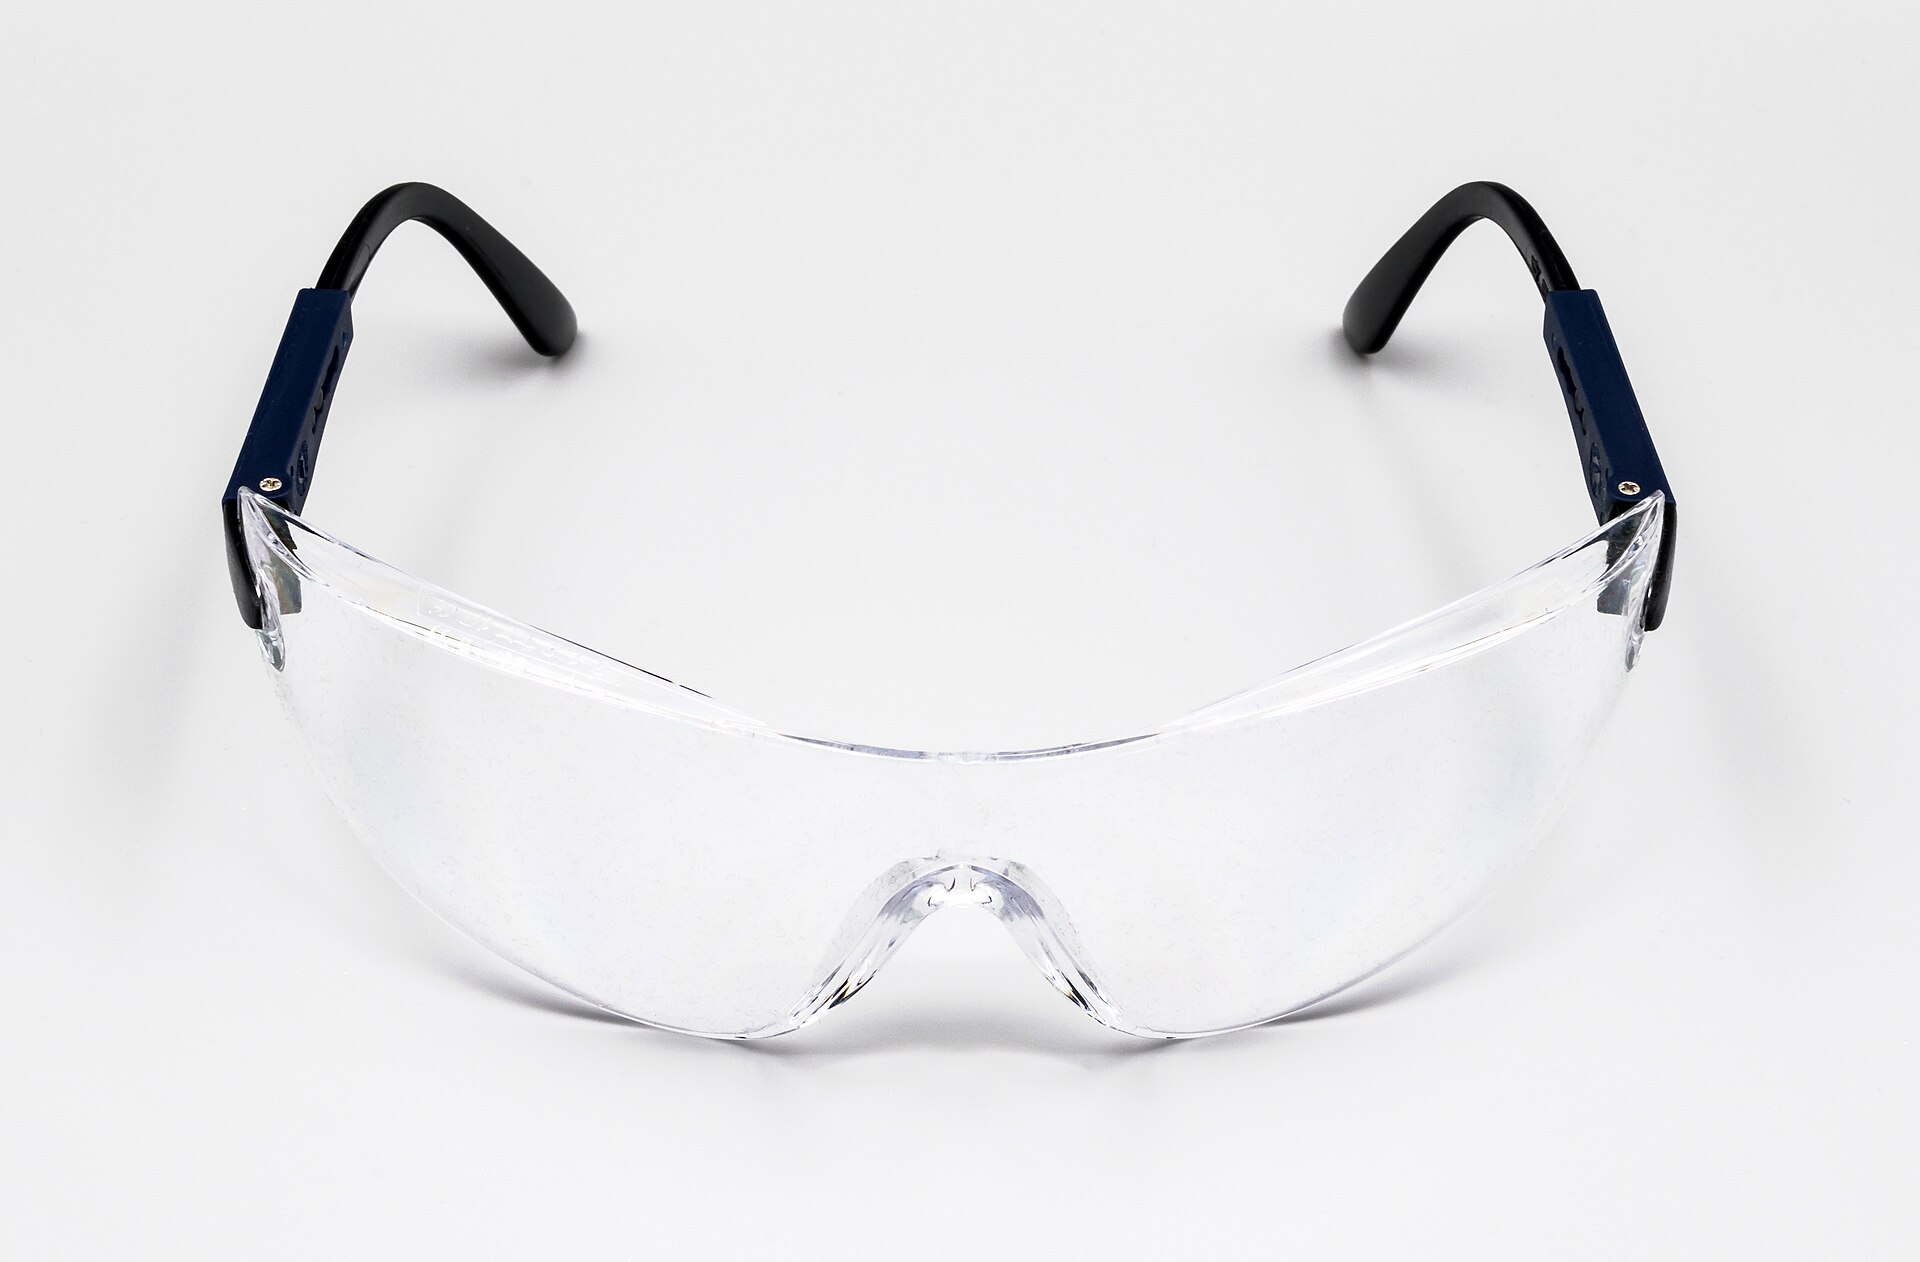
- Wear eye protection; flux and solder can spit when a joint is cut or flicked.
Many of the same ventilation principles apply to other hobby tools; see our guide to diode laser engravers for more on fumes in small workspaces.
The short version
- Heat gun for stripping, heat-shrink and adhesives; soldering iron for electrical joints.
- Choose variable temperature on a heat gun if you work with plastics or finishes.
- Treat heat guns as a fire risk: keep moving, clear flammables, check for smouldering.
- Test old paint for lead before heating it.
- Buy a temperature-controlled soldering iron if you'll solder regularly.
- Start with a chisel tip, keep it tinned, and never file it.
- Ventilate and keep the iron in its stand.
Bloiq is reader-supported. Some links may earn us a commission; it never affects what we write. How we make money.
Cover photo: oomlout, CC BY-SA 2.0, via Wikimedia Commons